Estimated reading time: 4 minutes
While growing food in the ground is the traditional way to garden, it can be pretty frustrating. You have to deal with pests, disease, too much sun, too much rain, and sometimes even too much wind if a major storm blows through. Any of these can easily kill plants you've been nurturing for months.
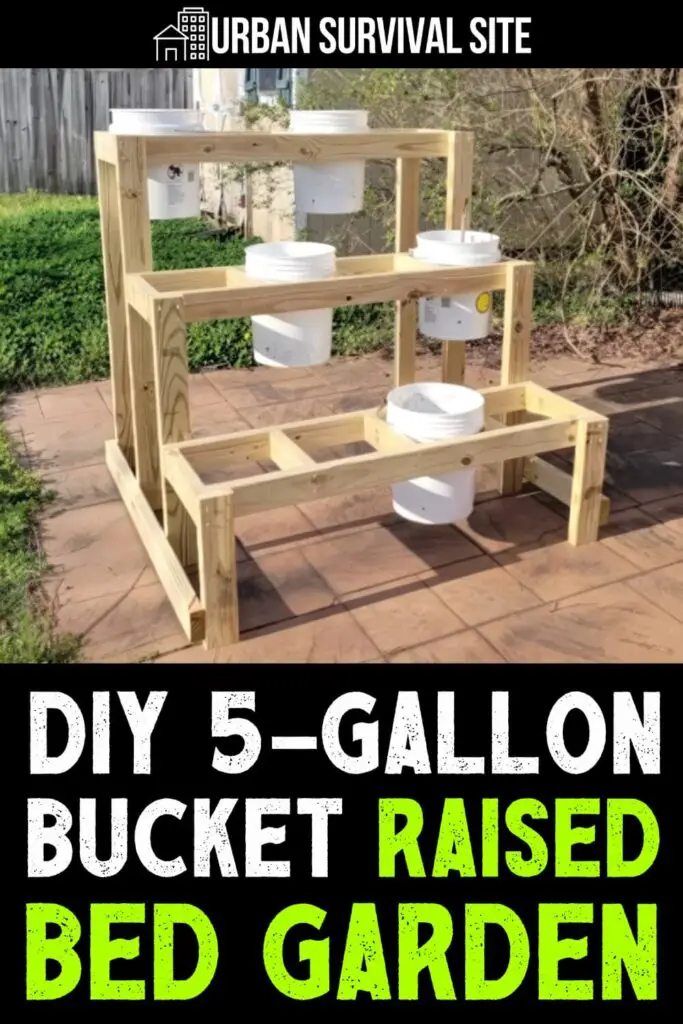
All of this is why bucket gardening has become so popular. You have more control over the soil, it's easier to prevent pests and disease, and you can move them around if the weather isn't ideal. To make them look even better and to use your space more efficiently, you can put them in a raised bucket garden stand.
I've seen a lot of designs and tutorials, but this is one by Lazy Lab Acres is my favorite by far. You can watch the video below. For your convenience, I typed up the list of materials and instructions below the video.
Want to save this post for later? Click Here to Pin It On Pinterest!
Materials Needed:
- 12 eight-foot 2x4s (pressure-treated)
- 2 lb boxes of 2.5-inch exterior/deck/stainless screws
- 5-gallon buckets (with drilled drainage holes)
- Tools: Drill/impact driver, miter or circular saw, speed square, tape measure
Cut List:
From the first 6 boards:
- 6 pieces at 52.5″ (long sides of shelves)
- 15 pieces at 11.25″ (bucket spacers)
From the remaining 6 boards:
- 4 pieces at 51″ (legs for top shelf)
- 2 pieces at 48.75″ (horizontal supports at base)
- 2 pieces at 34″ (legs for middle shelf)
- 2 pieces at 17″ (legs for bottom shelf)
Instructions:
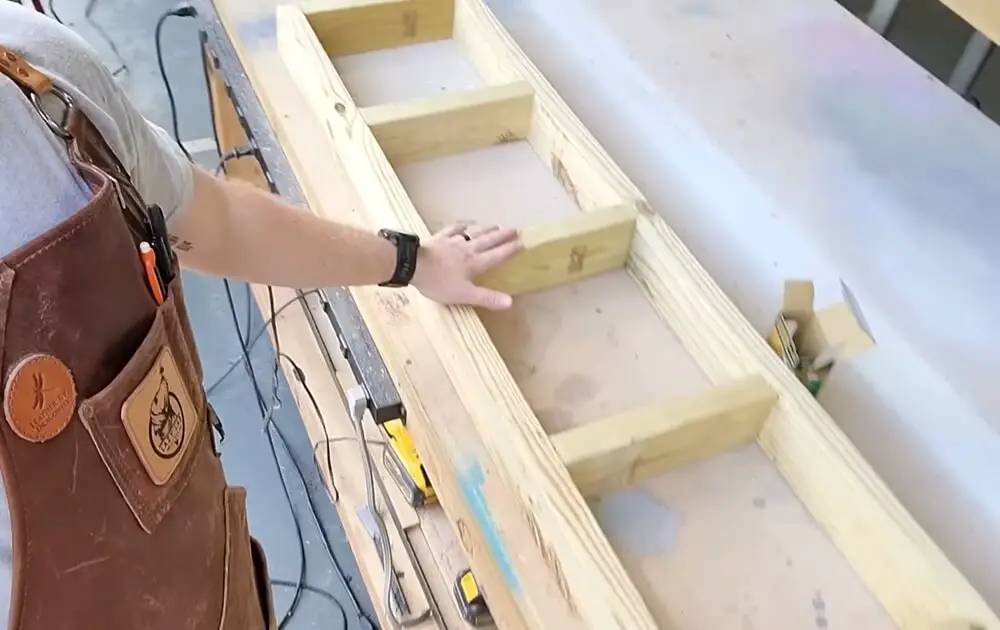
Step 1: Build the Bucket Holders (Shelves)
Each shelf uses:
- 2 pieces at 52.5″
- 5 pieces at 11.25″
Instructions:
- Lay out the 52.5″ boards parallel.
- Space the 11.25″ cross pieces evenly between them (~11.25″ apart) to form slots for the buckets.
- Secure with 2.5″ deck screws.
- Repeat this process to build 3 total shelves.
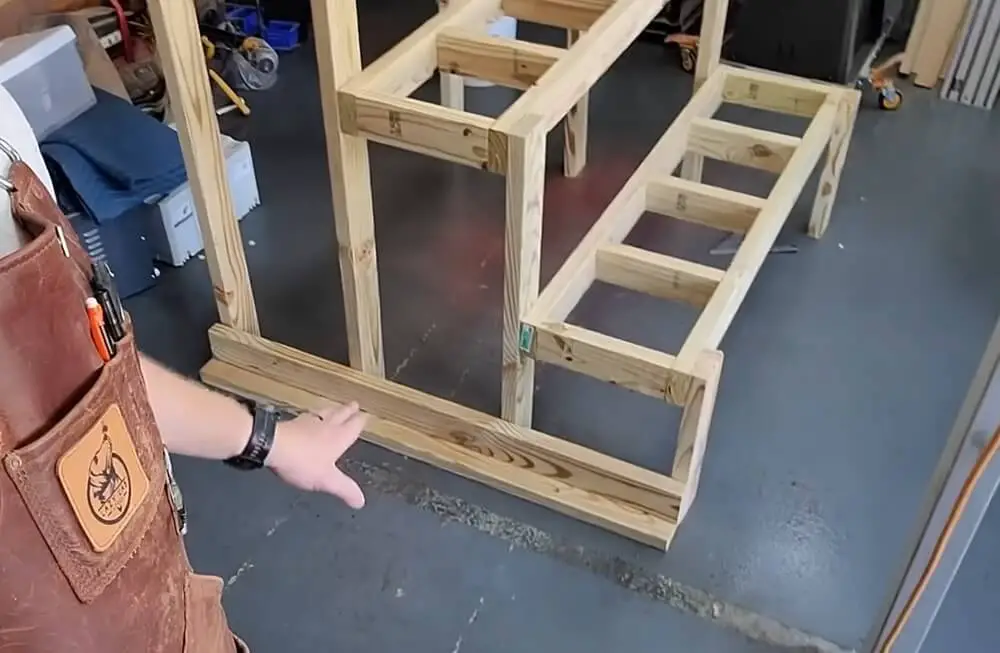
Step 2: Attach the Legs
Use the shelves to form a 3-tier stand:
- Flip what will be the tallest shelf (top shelf) upside down and attach four 51″ legs to each corner.
- Place what will be the middle shelf upside down and attach the 34″ legs to the front corners.
- Place what will be the bottom shelf upside down and attach 17″ legs to its front corners.
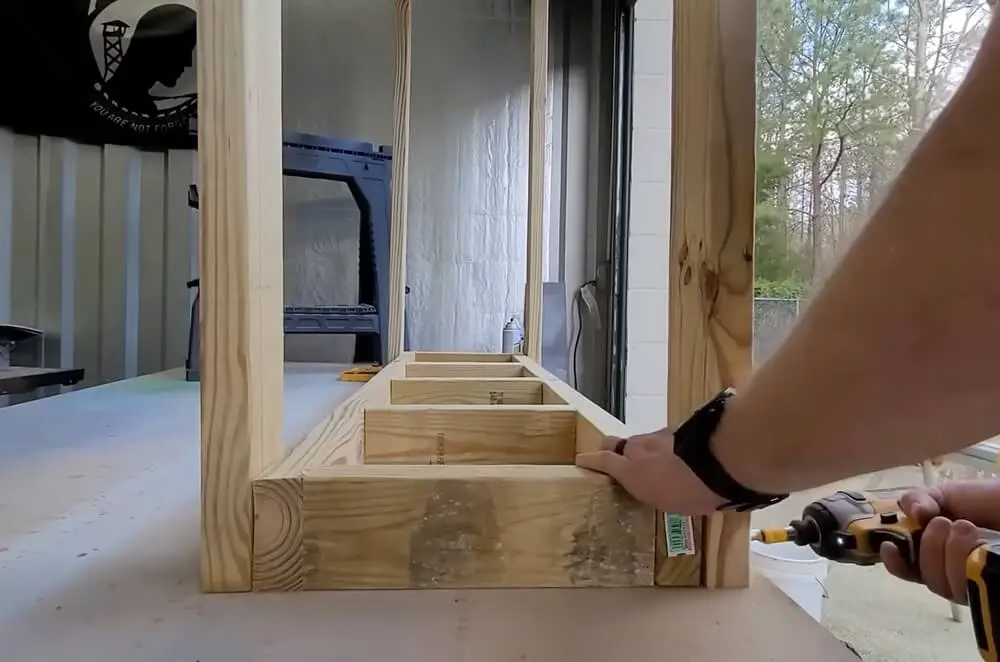
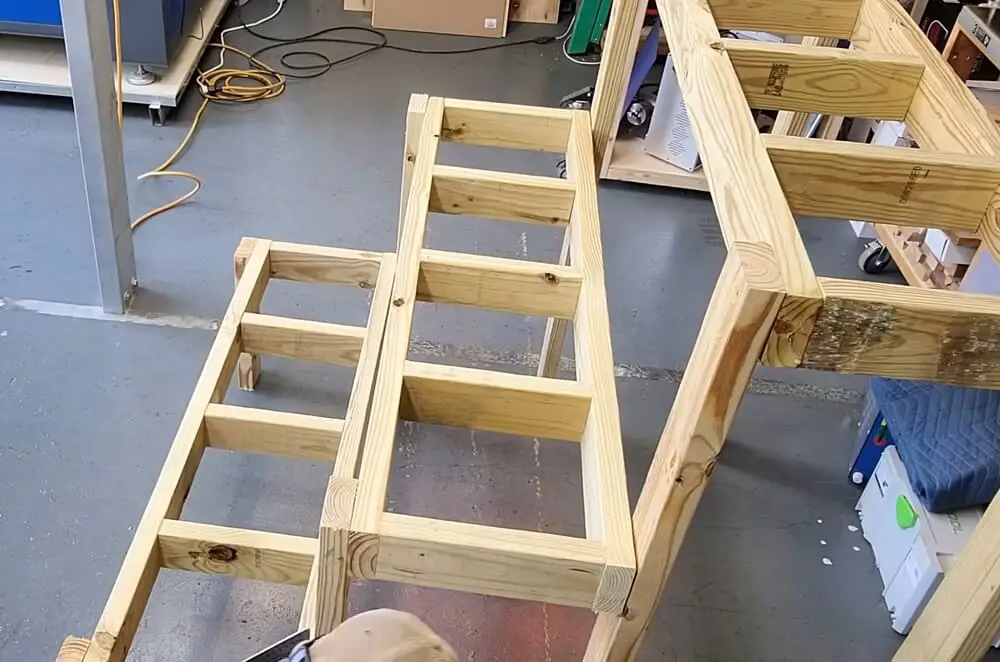
Step 3: Connect the Shelves
- Attach the middle and bottom shelves to the back legs of the top shelf structure using screws, ensuring each shelf is level and square (use speed square).
Tip: The shelves are spaced to allow ~2.5″ of clearance beneath each bucket (since buckets are ~14.5″ tall).
Step 4: Install Bottom Horizontal Supports
- Lay scrap 2x4s under the base to lift it off the ground.
- Screw the two 48.75″ supports horizontally between the bottom of the legs to stabilize the structure.
Final Touches:
- Test-fit your buckets to ensure they rest securely in the slots.
- Optional: Add casters underneath for mobility.
- If you use regular wood, paint or seal it for weather resistance.
You can find gear and more plans at LazyLabAcres.com.
Like this post? Don't Forget to Pin It On Pinterest!
You May Also Like:
The post DIY 5-Gallon Bucket Raised Bed Garden appeared first on Urban Survival Site.
from Urban Survival Site
No comments:
Post a Comment