Estimated reading time: 10 minutes

If you're a prepper, you can't have too many trash bags. In a long-term disaster with no garbage collection or utilities, trash bags will be essential for sanitation. But that's not the only reason to stock up on them. As with several other items, there many things you can do with trash bags. Plus, they take up very little space, they're lightweight, and they don't cost much.
For many of the uses listed below, the standard 13-gallon bags most people use in their kitchens will be fine. However, you should also get some large contractor bags. They are MUCH harder to tear, which is very important if you're gathering water, patching leaks, building a raft, etc. Also make sure you have some duct tape and paracord. Now on to the list.
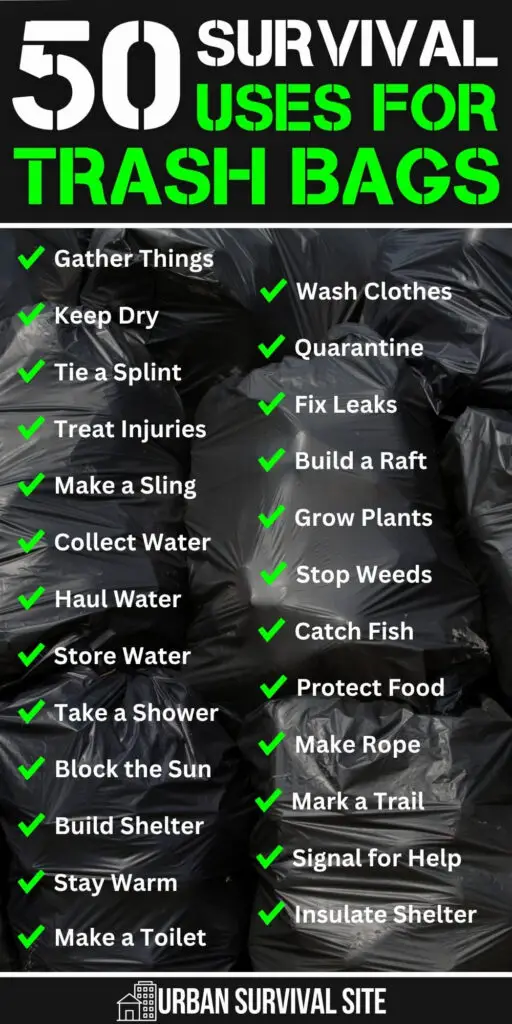
Here are 50+ survival uses for trash bags:
1. Gather Things
Let's get the most obvious one out of the way first. Trash bags are great for gathering things like fruit, vegetables, cans, bottles, or any other small items that could be useful.
2. Keep Supplies Dry
Put your clothes, food, water-sensitive gear, etc. in a trash bag in order to keep them protected from the rain. You could also seal your things in a trash bag while crossing a river.
3. Keep Your Feet Dry
If you're crossing a river or walking through a wet area, step into a couple trash bags and tie them shut against your shins. This will keep your shoes dry.
4. Keep Yourself Dry
Trash bags make great ponchos. Just cut holes for your head and arms and put it on like a shirt. You could also lay trash bags on the ground where you sleep to keep moisture from the ground at bay.
5. Waterproof Bandages
After bandaging a wound, cut out an appropriate size piece of a trash bag and tape it over the bandage. This will keep it from getting dirty or wet.
6. Make a Tourniquet
If you don't have a belt or rope or anything else, twist up a trash bag and use that instead. It's not ideal, but it could still save someone's life.
7. Tie a Splint
You can also use trash bags to tie a splint in place. However, you may have to use several of them to make sure it's sturdy.
8. Treat Injuries
If someone has a soft tissue injury with pain and inflammation, fill a trash bag with snow or ice, tie it shut, and use it as a cold compress.
9. Make a Sling
As long as the bag is large enough, it will work just fine. The method is the exact same as it would be if you used a large piece of cloth. Follow this link to learn how.
10. Collect Rainwater
Dig a hole in the ground and put the trash bag inside it. Secure the edges of the bag in place with heavy rocks, then wait for it to start raining.
11. Get Water from Trees
Put a rock in a clear trash bag and tie the bag over the end of a branch with lots of leaves on it. The sun will draw water from the leaves and it will pool around the rock. Learn more.
12. Make a Solar Still
These don't collect much water, but they're better than nothing if you're desperate. Here's a video of someone who made a solar still using a black trash bag.
13. Haul Water
If there's a lake or river nearby, use a trash bag to gather water and haul it back to your camp. You'll definitely want the contractor bags for this so you don't lose all your water because of a tear.
14. Store Water
If you don't have any other type of container, you could store some water in trash bags. Or you could line water storage containers with trash bags to keep the water safer.
15. Take a Shower
Fill a black trash bag with water and hang it in the sunlight for a few hours. Once the water is warm, poke some holes in the bottom of the bag and you can have a warm shower.
16. Stay Clean
If you're butchering an animal, cleaning up waste, helping someone who is bleeding, working in the garden, etc., you can use a large trash bag as an apron and use smaller pieces as gloves.
17. Prevent Hypothermia
If temperatures are low, you can tape trash bags around your legs, arms, and torso for some makeshift thermal underwear that will help retain your body heat.
18. Block the Sun
If you've been outside for a while and there's no shade, you can tape together a few trash bags, stretch them out, and tie them to a tree for a temporary shade.
19. Build a Shelter
In case you need an emergency shelter, you can use branches, cordage, and a 55-gallon trash bag. Here's how. This takes much less space in your bag than a tent or tarp.
20. Stay Warm
Cut open the sealed end of a trash bag and use duct tape to attach it to the open end of another bag. Then use it like you would a sleeping bag. It will hold in your body heat and help you stay warm.
21. Make a Mattress
Fill several trash bags with leaves, hay, or some other kind of stuffing and flatten them out to form a mattress. It's not ideal, but it's better than sleeping on the ground.
22. Make a Pillow
Blow some air into a trash bag and tie it shut to make a nice pillow. Again, this is not ideal, but at least you won't get a crick in your neck from sleeping without a pillow.
23. Make a Toilet
As I said in my article about buckets, you can put some kitty litter in a trash bag, put the bag in a bucket, and use it as a portable toilet.
24. Wash Clothes
Put some clothes in a trash bag and add some warm water and soap. Shake the trash bag for a while, then drain the soapy water. Now add some plain water and repeat the process to rinse the clothes.
25. Quarantine the Sick
It could become necessary to quarantine someone who is contagious. In case this happens, trash bags and duct can be used to seal off a room. Read this for more information.
26. Black Out Your Windows
If you're concerned about drawing attention during a power outage, tape black trash bags over your windows so other people won't see that you have lights in your home.
27. Fix Leaks
If you have a leak in the roof or a container or anywhere water is getting through, trash bags can temporarily fix the problem.
28. Build a Raft
Some branches, cordage, and trash bags full of air can make a raft that can hold at least one person. Watch this video to see exactly how it's done.
29. Stay Afloat
If you don't have time to build a raft, you could at least use a single trash bag full of air to keep yourself from sinking in deep water. Only do this as a last resort.
30. Grow Plants
Put clear trash bags over plants to protect them on freezing nights, keep them moist, or block the wind. Prop them up with some sticks so they don't touch your plants, and don't leave them on all the time.
31. Stop Weeds
Line your garden with trash bags to stop weeds from growing. All you need are some heavy rocks to keep them from blowing away.
32. Catch Fish
Poke lots of holes in a trash bag to create a makeshift net, then stand in the middle of a river and catch fish as they come along.
33. Protect Food
Double or triple bag your food to keep bugs out. To protect it from bears and many other wild animals, hang the bag high in a tree.
34. Eat Food
Trash bags can be stretched over a flat surface and used as a plate. Another option is to put a bag in a hat or bucket and use it as a bowl.
35. Make a Rope
You can cut trash bags into long strips and braid them together to make a rope. You might be surprised by how sturdy it is.
36. Mark a Trail
Cut white trash bags into strips and tie them to trees or whatever else you can find. As long as each one is within visual range of another, you or others will be able to follow a trail without getting lost.
37. Signal for Help
A white trash bag could be used as a flag you can wave back and forth. You could also use several rocks and black trash bags to spell SOS in large letters that can be seen from the sky.
38. Line a Backpack
If your bug out bag isn’t waterproof, line the inside with a trash bag. That way, even if you’re caught in the rain or need to cross a stream, your gear will stay dry.
39. Improvise a Floatation Device
Stuff a trash bag with empty bottles, foam, or anything buoyant and seal it tight. Tie it to yourself or your gear as an improvised floatation device if you need to cross water.
40. Make a Windbreaker
If it's windy and you're losing body heat fast, tape a trash bag over your outer clothing to block the wind. Even a thin layer helps reduce convective heat loss.
41. Insulate a Shelter
Tape or tie trash bags around the inside walls of a makeshift shelter to block wind and trap warm air. You can also stuff them with leaves or clothing for added insulation.
42. Create a Footprint for Your Tent
Lay a trash bag or two under your tent to protect the bottom from sharp rocks and moisture. This will help your tent last longer and keep you drier inside.
43. Wrap and Protect Tools
Wrap knives, axes, or other tools in trash bags to protect them from moisture and prevent rust. You can also use bags to keep handles from freezing or getting slick in bad weather.
44. Prevent Blisters
If you’re out of socks or yours are soaked, you can put a trash bag between your foot and your shoe to reduce friction and avoid painful blisters.
45. Camouflage Gear
Black or green trash bags can be used to quickly cover shiny or colorful gear, making your camp or pack less visible from a distance.
46. Make a Kite for Signaling
Tape sticks together in a cross, cover with a trash bag, and attach string to make a quick kite. You can use it as a signaling device, especially in open areas.
47. Create an Emergency Flotation Marker
Fill a trash bag with air and attach it to a weight underwater (like a stone or anchor). It will float and mark a location (such as a fishing spot or submerged item) in lakes or rivers.
48. Make a Face Mask
Cut a small piece of trash bag and wear it over your nose and mouth to help reduce smoke inhalation or protect against dust in windy or post-disaster conditions.
49. Protect a Cast or Bandage from Water
If someone has a cast or a large bandage, wrap a trash bag around the limb and secure it with duct tape to keep it dry when bathing or walking in wet areas.
50. Store Animal Feed
If you're on a homestead, you can use large trash bags to temporarily store animal feed and keep it dry. Just make sure the bag is sealed and protected from rodents.
51. Cover Firewood
Keep your firewood dry by covering your woodpile with several large trash bags. You can slit the bags open to create wider sheets and hold them in place with rocks or logs.
52. Patch a Broken Window
In a storm, break-in, or earthquake scenario, you can tape a trash bag over a broken window to block wind, rain, or prying eyes until you can make permanent repairs.
As you can see, a simple trash bag is one of the most useful items you can have, especially in a survival situation.
You May Also Like:
The post 50+ Survival Uses for Trash Bags appeared first on Urban Survival Site.
from Urban Survival Site

