[…]
The post Which iOS Food Storage App is Best? appeared first on The Survival Mom.
from The Survival Mom https://ift.tt/dGIErh8
[…]
The post Which iOS Food Storage App is Best? appeared first on The Survival Mom.
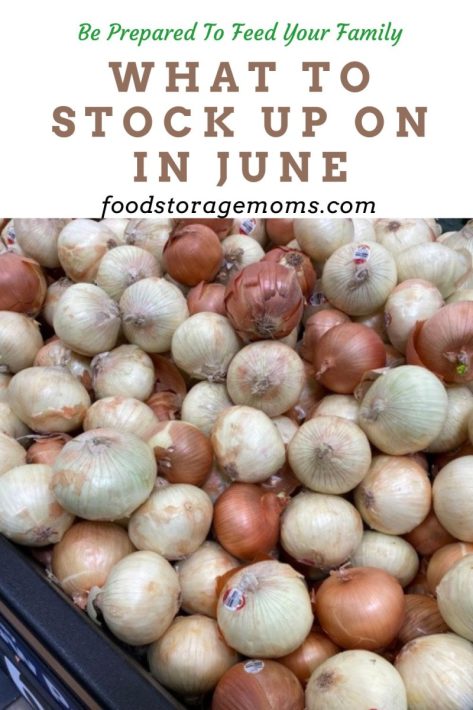
Today, it’s all about what to stock up on in June! Oh my gosh, I love sharing my bargain tips with you. Nothing is better than saving money on those things we need each month. I’m updating the post today as I do every year. Life is good when we save money on those things we need, right?
Now more than ever, we must stock up on those items we need if we can find them. Please check the dates because you may be getting old stock hitting the grocery store shelves. As always, remember to rotate, donate, or discard as needed.
June is National Migraine and Headache Awareness Month, so it’s a great month to stock up on OTC medications you may often use. Be sure to look for reduced prices on aspirin, Tylenol, and sinus medications.
June 10th is National Iced Tea Day, so you’ll see a lot of tea sales! I grew up on Sun Tea—it’s the best! So, let’s get started with the best buys this month.
Please plant a garden or locate a Farmer’s Market nearby. We must be able to grow some of our food. We can do it! This is where I buy my seeds: SeedsNow
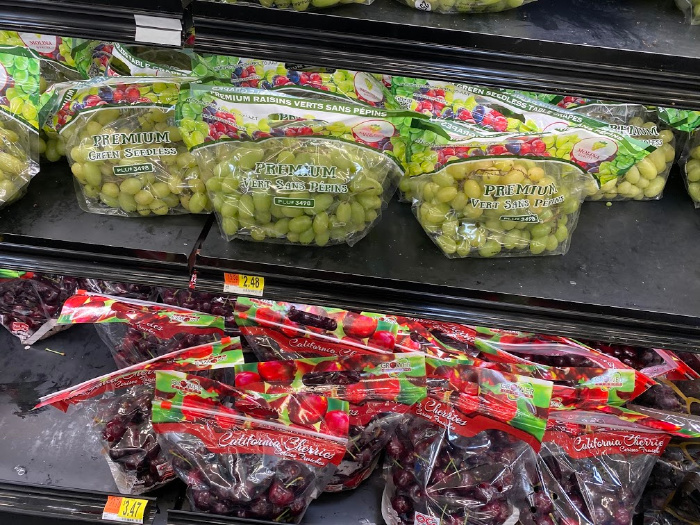
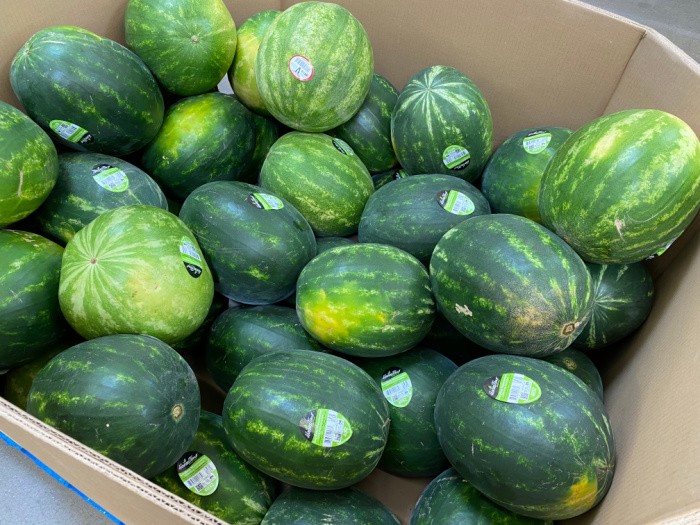
This is a great month to enjoy fresh fruits, like blueberries, strawberries, boysenberries, cherries, nectarines, grapes, peaches, oranges, honeydew, and watermelon. There is something about biting into a really sweet watermelon, right? Mark knows how to pick them out, every single time. He does the “knock-knock” on the melon. If it sounds hollow, it’s perfect, or at least we hope so.
We’ve been eating a lot of naval oranges lately. We’ve been buying them by the box from Costco most of the time, but our local grocery store also carries some with great flavor. I’ve been trying to eat an orange as a mid-day or late-night treat.
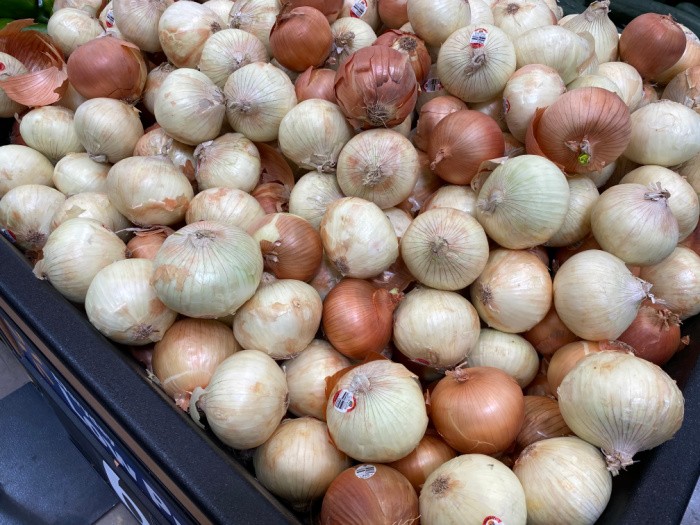
Be ready for your favorite vegetables, like corn, potatoes, summer squash, sweet Vidalia onions, red onions, tomatoes, and cucumbers. Oh my gosh, eating produce in season is the best, right? If you’re trying to eat healthier fruits and veggies, now is the time to stock up.
When the girls were still at home, this was the time of year when we started our annual canning projects. I fondly remember them picking the green beans, strawberries, and other items from our garden. They loved being involved, and I loved teaching them some self-reliance skills.
The fresh fruits and vegetables taste like the real deal because they are truly fresh! If you have a Farmer’s Market near you, you are so lucky!
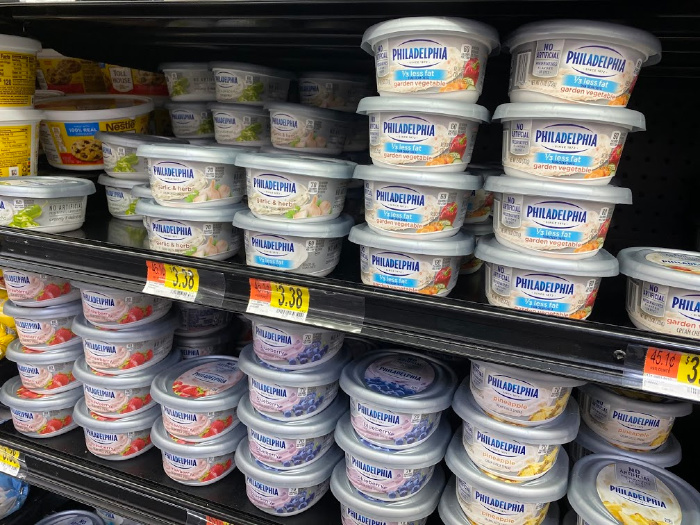
June is National Dairy Month. It started in 1937 as National Milk Month to promote drinking milk. That’s an interesting tidbit.
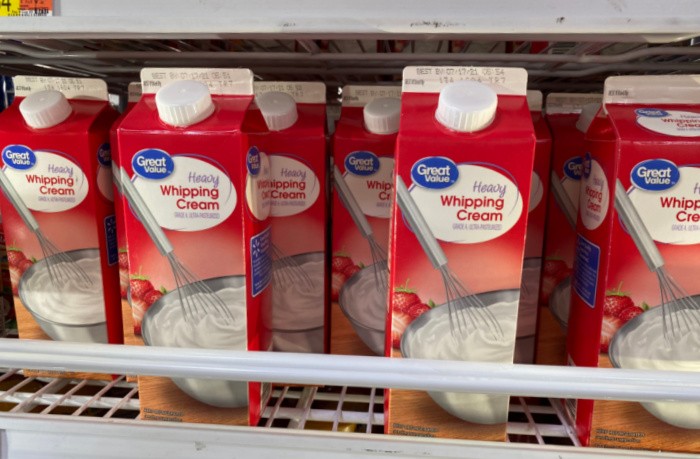
Anyway, it’s a great month to watch for deals on milk, whipping cream, cream cheese, eggs, and all varieties of cheese. It’s a great month to stock up on those items you need for those special party and reunion recipes at reduced prices. Do you remember me telling you we can FREEZE whipping cream in the cartons? SQUEAL! I do it all the time now, and I will never run out of whipping cream again! You freeze it “as is” in the cartons; how simple is that?
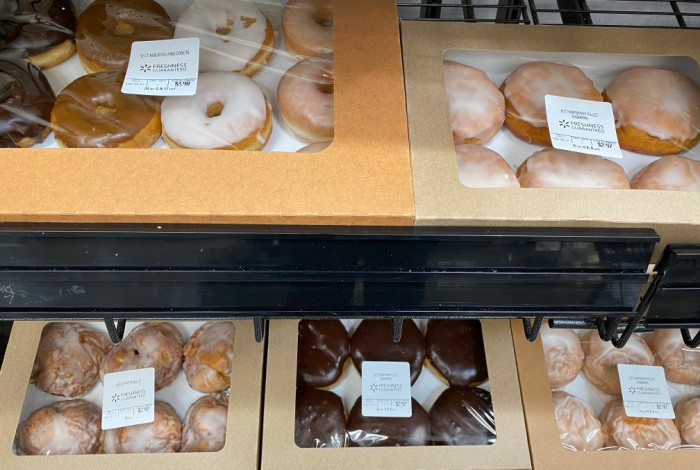
The first Friday of June is National Donut Day! Look for free donuts at some of your favorite donut outlets. You typically need to buy a drink, but a free donut is fantastic!
I always wished we had a quality donut store in Southern Utah when we lived there! Now that we live in the Salt Lake City area, we are close to the Dunford Bakery plant and its outlet store. YAY! Now I need a donut. What about you? Dunford chocolate cake donuts are my favorite!
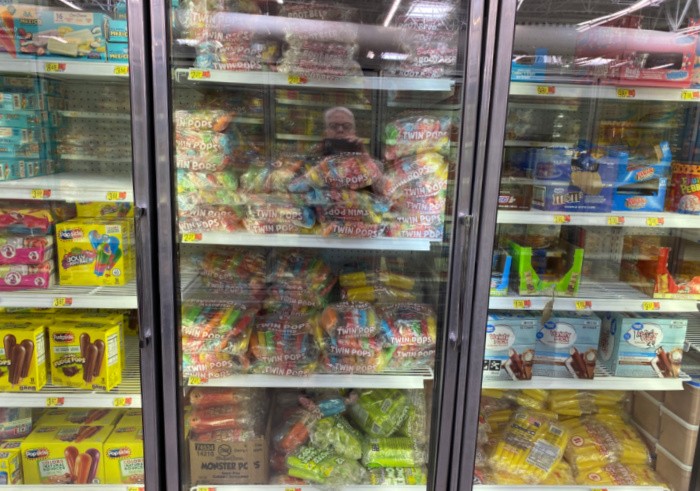
The first day of summer is officially June 21st, so watch for reduced prices on ice cream, bars, popsicles, sandwiches, and more. Nothing is quite like a cool frozen treat on those hot summer days!
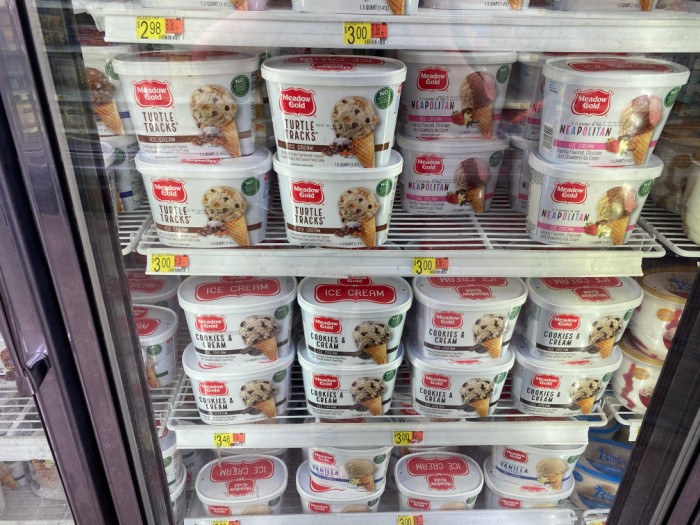
You can stock your freezer with the frozen treats you love and enjoy them all summer.
Check out drugstores, Target, and Big Box stores for markdowns on all frozen treats. Your local grocery store chains will have coupons galore to buy your favorites, so watch your mailbox for those weekly ads!
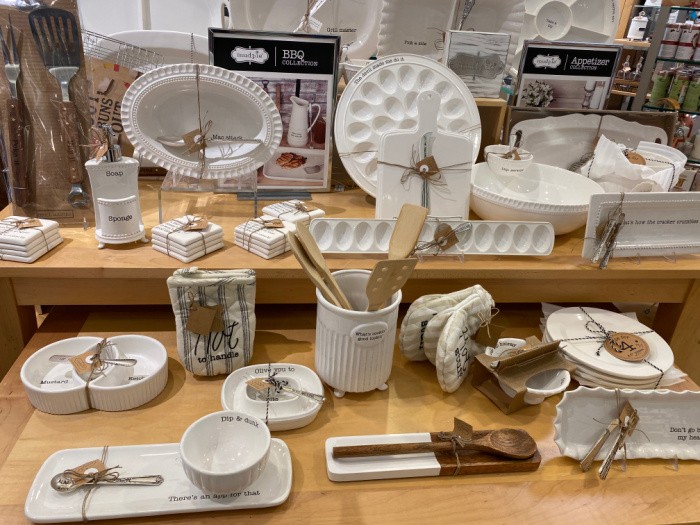
June is a great month to stock up on wedding gifts before a wedding reception. I love using online purchases, but there is something about picking out something extra special for that couple if you want to give a different type of bridal shower or wedding gift.
Unless you just plan to buy a kitchen appliance for your first apartment or home, visiting some specialty shops can be a fun adventure as you look for that unique gift you know the new couple will love.
June is a great month to look for coupons to take Dad to dinner. Every year, I find coupons that say, ” Buy one dinner, get one dinner free.” For some meals, you must buy one drink (typically a soda). Mark’s birthday is in late June, so you can count on me to find a great place to celebrate this month.
Again, watch ads on Facebook, Groupon, or store apps.
Dad loves to mow the lawn, right? If these go on sale, buy them when they drop the price!
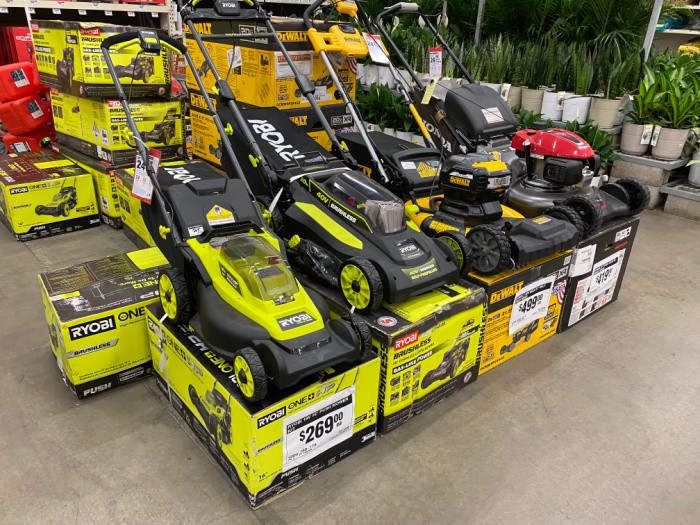
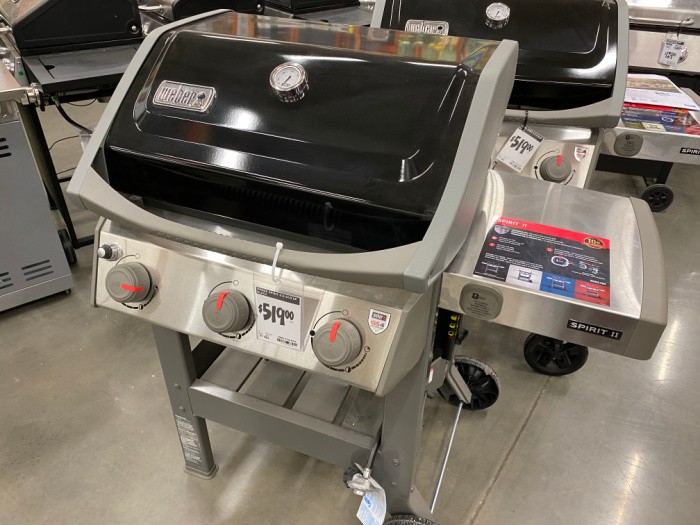
Father’s Day is in June each year, and if you are diligent before Father’s Day, you can pick up huge discounts on tools, sporting goods, and other items for dad or grandpa—or for mom, as in me. LOL! Watch for sales to buy the items you need, or you can give them as wedding gifts!

Some fathers love to go fishing, so June is a great month to get fishing gear on sale.
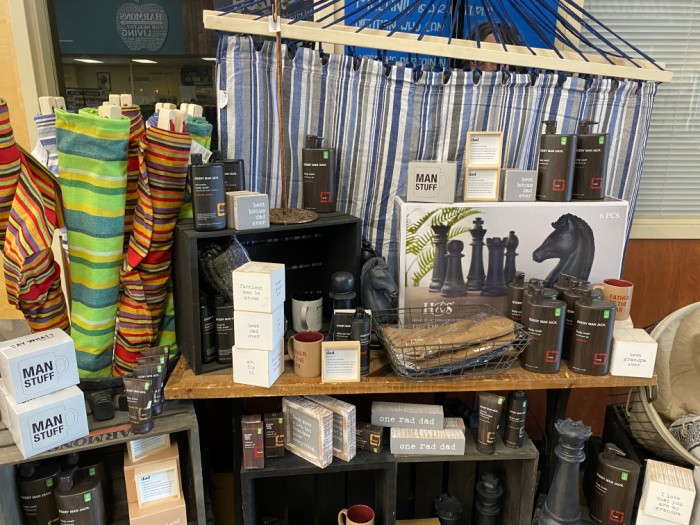
You can probably get some of those dad-friendly items you need before the holiday and save money. Once the big day hits, the prices go back to normal. Tools would make great wedding gifts for that young couple starting.
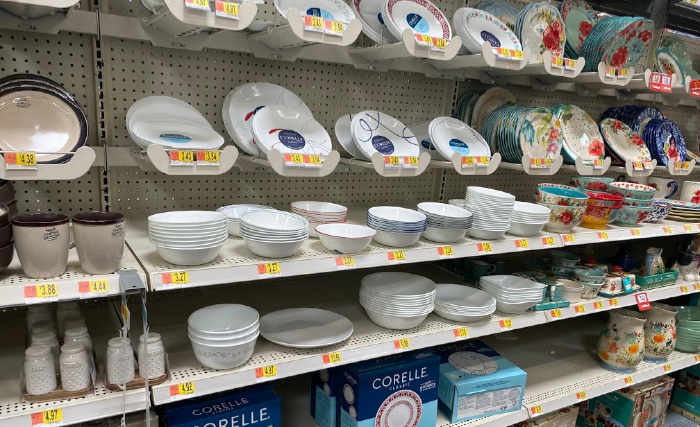
June is a big wedding month for friends and family members. You can look for deep discounts on everyday dishes, fine china, and small appliances.
Even if you don’t have any weddings this month, you may want to pick up a few wedding gifts for the coming months. It’s a great month to purchase some Christmas gifts as well.
You can put them in a closet and have them ready for gift-giving throughout the year. I recommend attaching a “gift receipt” to each box.

By June, a few people have canceled their gym memberships and forgotten their New Year’s resolutions. Therefore, gym companies will offer 30-day free trial packages with discounted membership. Please note that I have never stepped foot in a VASA Gym. I just needed a picture for this post. I probably should have been going to a gym for years, but it’s not me.
Be sure to try the gym first before committing to a monthly fee. Watch out for those extra fees when signing the dotted line. It’s so fun to see what to stock up on in June!
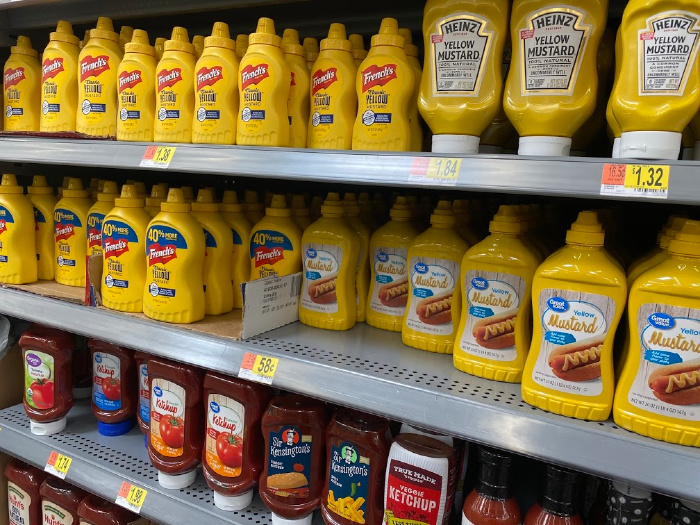
It’s a huge month for barbecues, so stock up on condiments like mayo, Miracle Whip, ketchup, mustard, pickles, and relish. Oh my gosh, I can almost smell the barbecue cooking those discounted hot dogs and hamburgers! The other day, Mark BBQ’d some delicious chicken. What a treat!
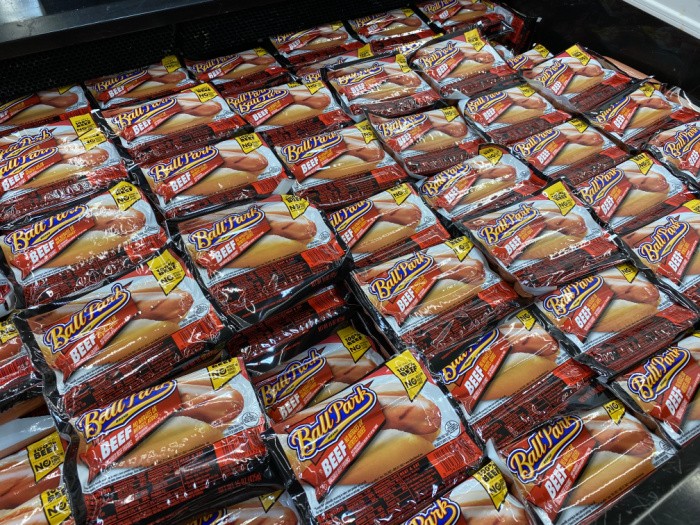
Life is so good when you bite into that first hot dog of the summer! We can stock up on our favorite barbecue sauce and soda for our summer get-togethers!
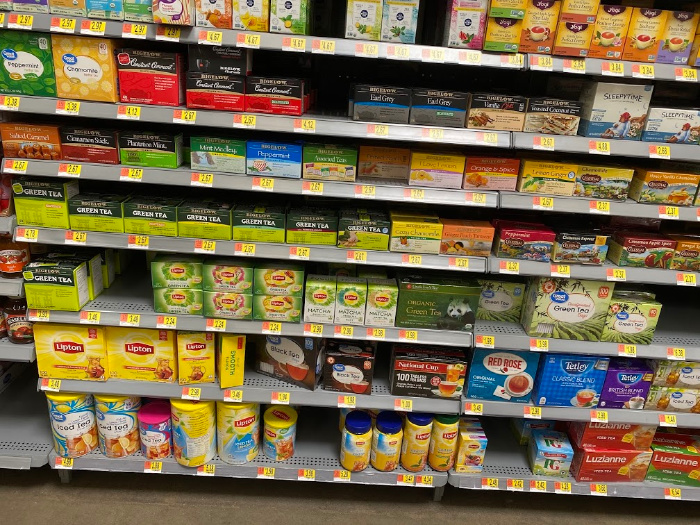
I mentioned that June 10th is National Iced Tea Day, so look for great deals on tea bags, loose tea, and powdered tea drinks. Black tea is fully fermented, so it lasts longer than green tea if you’re looking for something to stock up on in your pantry.
Store your tea in airtight containers on a cool, dark shelf for 18-24 months. When in doubt, throw it in the freezer and use it as needed.
Check the expiration dates on each box or container. It’s so fun to see what to stock up on in June!
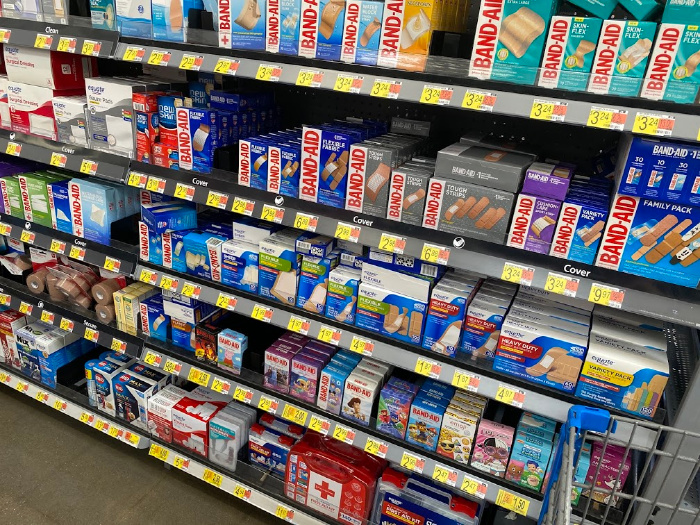
When school lets out, we may see more scrapes, cuts, and minor bruising as kids explore outside after waiting months for the good weather. This is the month to stock up on all sizes and shapes of BandAids, Neosporin, bandages, gauze pads, and other items you like to use when family members get hurt.
Let’s be ready for all of those issues with a first aid kit that’s stocked and ready to go. I bought a nice compact first aid kit at Costco this week for one of my grandsons who works in construction. It was priced right and should do what he needs when on the job.
We don’t want to be caught without those items we need when we do need them, right? In case you missed my post: 35 OTC Medications You Should Store
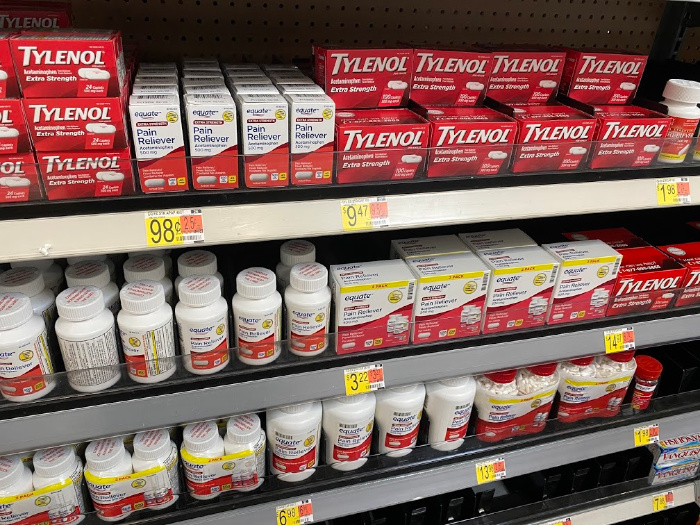
This is the month to stock up on pain relief medication. It’s National Migraine and Headache Awareness Month. You will see discounts and coupons galore for those items you may use most often.
Save money and fill out your first aid kit. Life is good when we’re prepared for the unexpected. You’ll see savings on aspirin, Tylenol, sinus medications, Motrin, and more.
I hope you enjoyed today’s post. I work hard to find the best deals for you. Life is good if we stockpile things we need at discounted prices.
It’s all about what to stock up on in June. Here’s to saving money and prepping on a shoestring. May God bless this world. Linda
Copyright Images: Deposit photos_11809299_m-2015, Donuts Deposit photos_44770105_s-2019, Popsicles Depositphotos_72235199_s-2019, Pink Bank AdobeStock_342409528 by Kanjana, Corn on the Cob Deposit photos_275331248_s-2019
The post What To Stock Up On In June appeared first on Food Storage Moms.
Owning livestock, of any kind, entails a lot of calculation. How much food to get, how much they will cost, etc. If you plan on free-ranging your animals and allowing them to live or eat on a pasture, figuring out how many your acreage can support is one of the most important calculations of all. ... Read more
Here’s How Many Goats to Get Depending on Acreage can be read in full at New Life On A Homestead- Be sure to check it out!
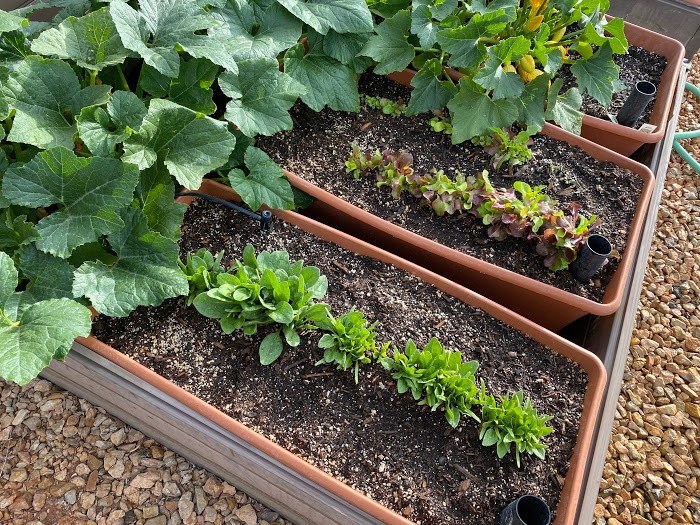
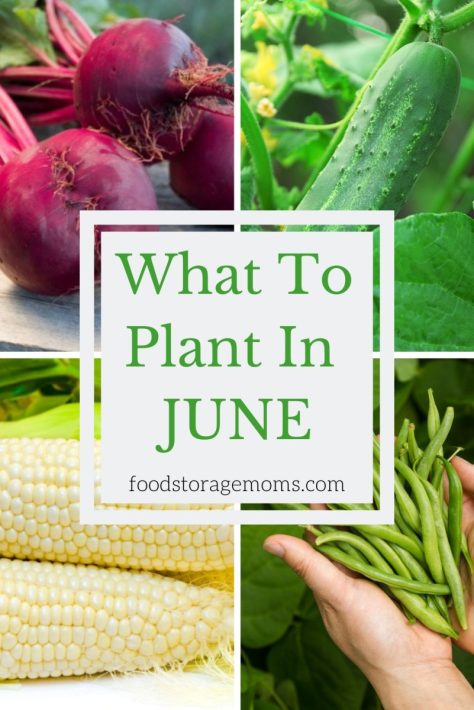
Are you wondering what to plant in June? Some seeds you can plant are beans, beets, carrots, corn, cucumbers, peas, summer squash, and melons. I’m so excited to share this post with you today. I hope you have started a garden, whether big or small. My friends, we must learn to grow some of our food. I updated this post so we can be ready to learn once again about gardening.
We can be much more self-sufficient if we produce or at least part of our food. Be sure and buy excellent seeds. This is where I buy my seeds: SeedsNow
I highly recommend these for seedlings: CowPots and Organic Seedling Soil. You can plant your seeds and place the CowPots in your garden when the temperatures are right.
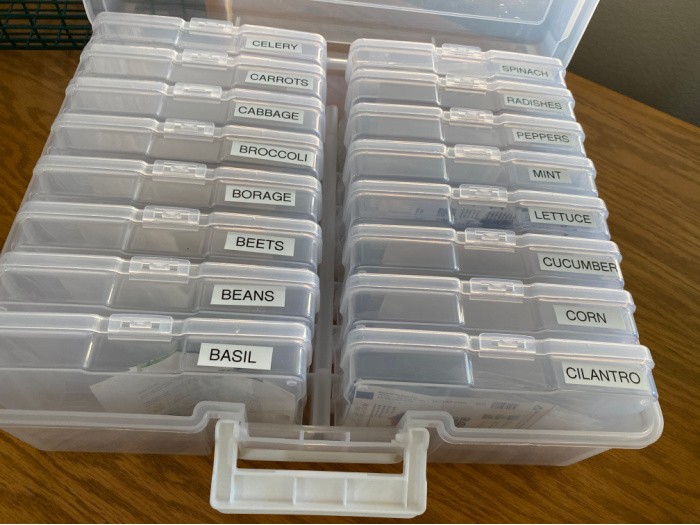
Plastic Photo Container and Label Maker
Check out your hardiness zone for the best time to plant based on where you live.
Check here to find your zone.Please remember to amend your soil, if it needs it. Here are a few of the items I use in my garden when required:
Wiggle Worm Soil Builder Earthworm Castings Organic Fertilizer
Burpee Organic Bone Meal, 3 lb.
Burpee 8-Quart Organic Vermiculite
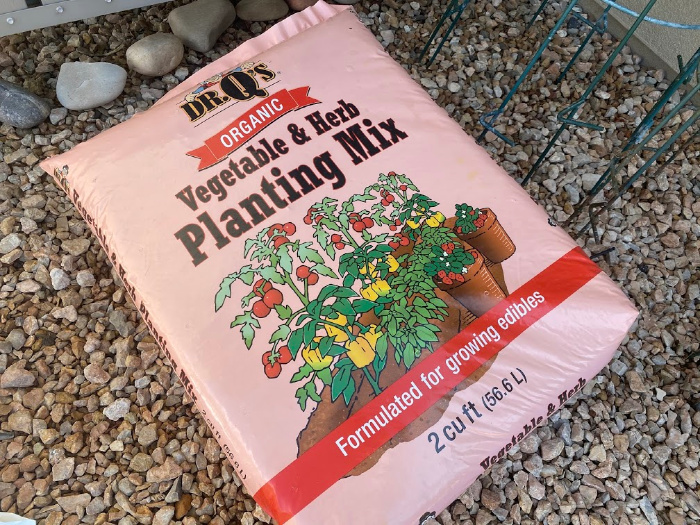
I’m seeing this fantastic product online and in local garden shops! It’s the perfect mix of everything you need in your garden.
Are you wondering what the term pH level is when gardening? Each plant prefers a different level of acidity to grow the very best harvest. The level of acidity desired varies between each plant variety.
Therefore, you can adjust the pH of your soil by adding lime or sulfur to bring it up or down, depending on what your soil needs for the plants going into your garden space. You can have your soil tested, possibly by your state extension service, or try to do it yourself with a soil tester. pH Tester
In some areas, June is the perfect time to get things planted in your garden, but in other places, it may not be the ideal time to grow, particularly if it is too cool. Below, you will learn what you can plant in each zone.
There isn’t much you can plant in zone 1, but here is your list of things to consider planting:
In zone 2, you can plant what you can in zone 1, plus a little more. Here’s what you can plant and feel confident it will grow successfully:
You can plant more in zones 3 and 4 than in 1 and 2. Here’s a list of what you can plant:
During June, you can start seeds indoors, as well as get things planted outdoors.
For the best results, start the following indoors:
Start the following outdoors:
June is the time to start some indoor plants in zone 6, but there are also many that you can plant outdoors.
Here is what you can start sewing indoors:
Additionally, you plant the following outdoors:
With the hottest weather coming in July, you should use caution when planting in zone 7 in June. You will want to start seeds inside for your colder-weather plants. Here’s what to start indoors:
Again, zone 8 is quite hot in June. So, you will want to start seeds indoors for your fall plants. Here are some to start:
June is too hot to start plants outside in zones 9 and 10. You can, however, start the following indoors:
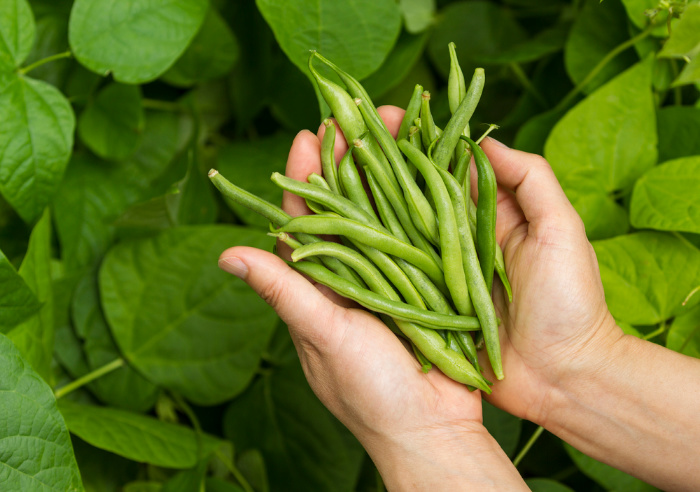
This is one of my favorite vegetables to grow. When our girls were growing up, we grew many green beans. We canned bushels of them in our pressure canner.
They taste so good when they are freshly picked. I only grew bush beans, but you can plant pole beans if you have a way to support them up off the ground. Bush beans grow about 2 feet tall and the pole beans grow up to 10 feet tall.
Bush beans are ready to pick about 50-55 days after planting. Pole beans take a bit longer, so plan on 55-65 days to harvest.
Please remember, if you can stagger the plantings every 2 weeks you can harvest green beans for weeks rather than all at once.
Green beans like a good composted rich soil with rotted-manure. You plant the seeds 1-2 inches deep and cover them with soil. Space the seeds in rows about 6-8 inches apart. Water immediately and keep regularly watering them until they begin to sprout.
After they begin sprouting they need 1 to 1.5 inches of water each week. They need full sun, so plant accordingly. They grow best when the air temperatures are between 65 to 85 degrees.
When the green beans are the size of a pencil they are ready to pick. They can toughen up very quickly, so check on them often. You pick them by snapping them off at the vine.
pH level for Green Beans: 6.0 to 6.2
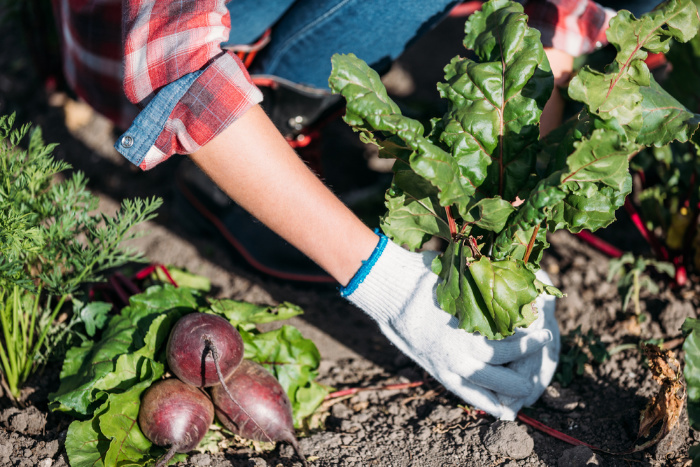
When prepping the soil for planting beet seeds, please don’t neglect the needs of these red beauties. They prefer well-drained soil, never clay like I had in Southern Utah, which is too heavy for the large roots to grow. If your soils are hard it may cause the beet to be tough and not be the best vegetable to cook.
The temperature must be at least 40 degrees F. (4 C) to plant the seeds in order for them to germinate. Beets don’t like the hot weather, and actually do poorly in the high temps.
When the soil is ready, plant the seeds 1 to 2 inches apart and cover the seeds with soil and sprinkle with water. In about 7 to 14 days you will start to see a few sprouts.
Thin as needed to keep the roots a good size for harvesting. You may want to plant some beet seeds every 2-3 weeks to have a good harvest longer.
You can plant them in partial shade, but make sure the soil depth is at least 6-8 inches to produce really good roots. The beets are ready to harvest in about 8 weeks.
When ready to dig them, gently remove the soil around each root. The greens can be harvested when the beets are young and the root is small.
pH Level for Beets: 6.0-7.5

Carrots like really smooth, loamy soil with nutrients added as shown above. I like to moisten the soil slightly and sprinkle the seeds over the soil and cover them with compost.
Keep the rows about 3 inches apart and stagger planting the seeds over two to three weeks to have an abundant harvest for the season.
If you live where the heat is intense, be careful as carrots don’t like to dry out. If you water them by hand for two to three weeks after planting the seeds you will soon see the little sprouts.
This is when you will fertilize with some Miracle-Gro Fertilizer and thin the carrots as needed. Use mulch to cover them if you live where the summers are extremely hot.
pH level for Carrots: 5.5-7.0
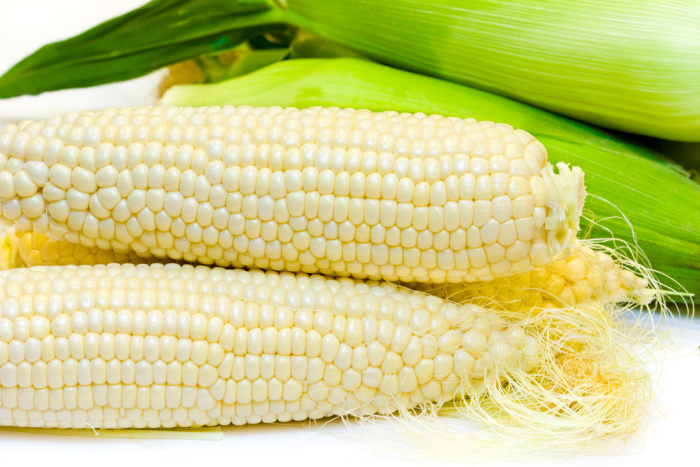
Corn likes full sun, so plant accordingly. They need well-drained and fertile soil. Put 2-4 inches of compost and well-rotted manure so the soil will drain better. They need a soil ph level of 5.8 to 6.5. Add lime to raise the pH and add sulfur to lower it.
Plant the seeds two weeks after the last frost in your area. It’s not recommended to plant seeds in the house and transplant them, so I have always sowed them directly outside. I’ve heard of people planting them inside and transplanting them later, just giving you the heads up.
Plant the seeds 1.5 to 2 inches deep and 4-6 inches apart and in rows of three about 8-12 inches apart. You are better off having several rows, as in three, over having one really long row.
They will pollinate better from one plant to another. Please make sure the temperature of the soil is 60 degrees F. or above for successful germination. This is the Garden Thermometer I have to test my soil temperature.
Fertilize often with nitrogen and phosphorus. 16-16-8 is a good choice for fertilizer. Put two pounds of 16-16-8 per 100 square feet of garden.
Once you see sprouts, corn needs an additional fertilizer of 46-0-0, so sprinkle some around those sprouts. Once the stalks have 8-10 leaves, add a ratio of 1/2 pound of 46-0-0 fertilizer to 100 square feet of garden. When the silk starts developing add 1/4 pound of 46-0-0 fertilizer to 100 square feet of garden.
I recommend planting a few seeds every week so you can have corn for several weeks. Sweet corn is different than other vegetables. One stalk only grows 3-4 cobs and it’s done. Yep, all that work for 3 or 4 cobs, but it’s worth it, I promise.
Corn: ph level of 5.8 to 6.5
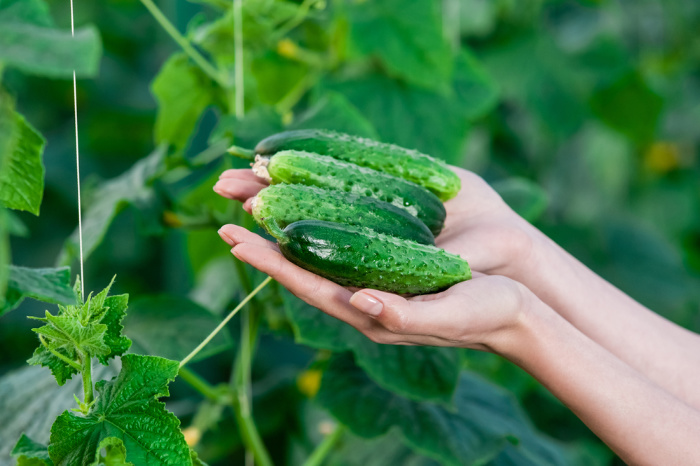
Cucumbers thrive when the weather is hot and they receive a lot of water. Plant them in full sun. If you planted seeds inside make sure you don’t set your seedlings outside until the weather is in the 70-degree range. Check the last frost date and wait two weeks before planting the seedlings or seeds outside.
Decide if you want to grow bush cucumbers or cucumbers on the vine. I have always had better luck with bush cucumbers. Bush cucumbers work great in pots or in small gardens.
This is why they do better in my raised gardens. I suggest you stagger when planting the seeds because you will have cucumbers bearing at different times, instead of all at the same time with a huge picking.
Cucumbers like compost and composted well-rotted manure. They need well-fertilized soil. Cucumbers grow fast and don’t depend on a lot of care or work to get them to thrive. When watering, try and keep the leaves dry, to keep leaf diseases from forming.
Male blooms show up first and drop off. No worries, within a week or two, a female flower will appear. If not, you may have to do hand pollination. You do this by removing the male blossom, leaving the center covered in the pollen. Use a “brush” to apply the pollen you collected to the center of the female flower.
Use metal cages for vines, the cucumbers will hang better on those because they will attach easier to the wires when growing. Plant two to three seeds about one inch into the soil, and cover with soil.
If the soil is moist and warm you will see sprouts within a few days. Plant the seeds or plants 36-60 inches apart. Bush cucumbers can be planted closer. Cucumbers grow from start to finish in 50-70 days.
pH level for Cucumbers: 6.5 to 7.0
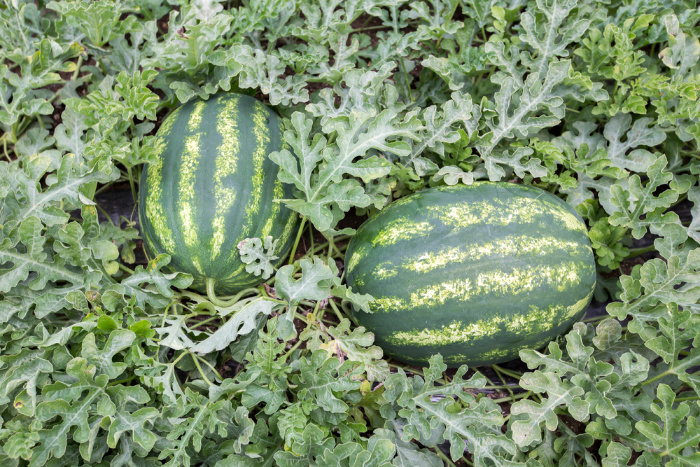
Melons are actually really easy to grow if you have three things: sunshine, warm weather, and amended soil with well-rotted manure and organic compost. The soil temperature has to be above 70 degrees in order to germinate the seeds.
I typically plant three seeds in each hole about 1-inch deep and space them 36-inches apart to allow for growth. Once the seeds grow to 3-4-inches, I choose between the three seeds that sprouted and discard the weakest of the three leaving two standing sprouts.
Melons need water because they are made up mostly of water, so never let them dry out. Be careful with the foliage because that’s where the sweetness comes from.
Keep the garden weeded so you can keep an eye on the fruit when it starts to grow. To test if the fruit is ripe carefully lift the fruit and twist it, it will easily slip off the stem if ripe. SeedsNow
Late melons don’t slip off the stem when ripe. Honeydews are ready to pick when the area where the melon rests on the ground turns from yellow to white.
Hales Best Cantaloupe: Day to maturity = 85-100 days
Honey Rock Cantaloupe: Day to maturity = 85-100 days
All Sweet Watermelon: Day to maturity = 90 days
Sugar Baby Watermelon: Day to maturity = 75 days
Tom Watson Watermelon: Day to maturity = 85 days
Crimson Sweet Watermelon: Day to maturity = 85 days
pH level for Melons: 6.0-6.5
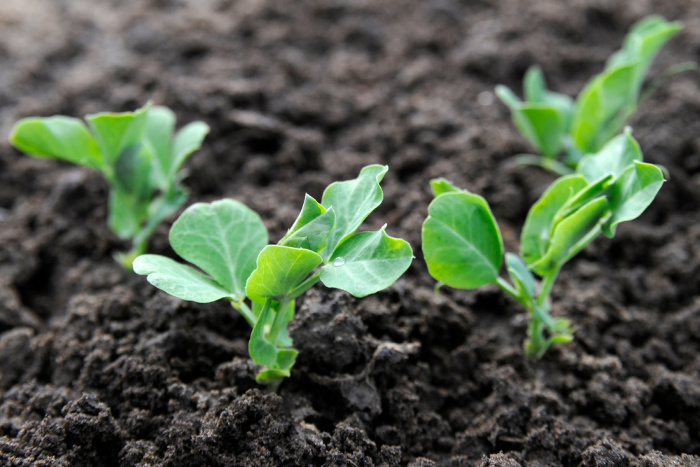
Peas prefer cooler weather, so March is a good month to plant your peas. You can plant them as soon as you can work your soil. If the soil temperatures are 10-20 degrees C or 50-70 degrees F that is best.
The best times to sow peas are mid-February clear until the end of May. Of course, you can plant them again in July through mid-August, depending on how hot it is. If your soil is moist or damp don’t soak your peas, you don’t need to. I have never soaked my peas.
Make sure your soil has the amendments it needs. I prefer bush peas, but that’s because those are the ones that seem the sweetest. My favorite ones are called Little Marvel.
They only grow about two feet tall, and that works for me. They are sweet to the taste and can be harvested in about 60 days. You may want to trellis them. Plant the seeds about 4-6 inches apart and 1/2 to 1 inch deep.
pH level for Peas: 6.0-7.5
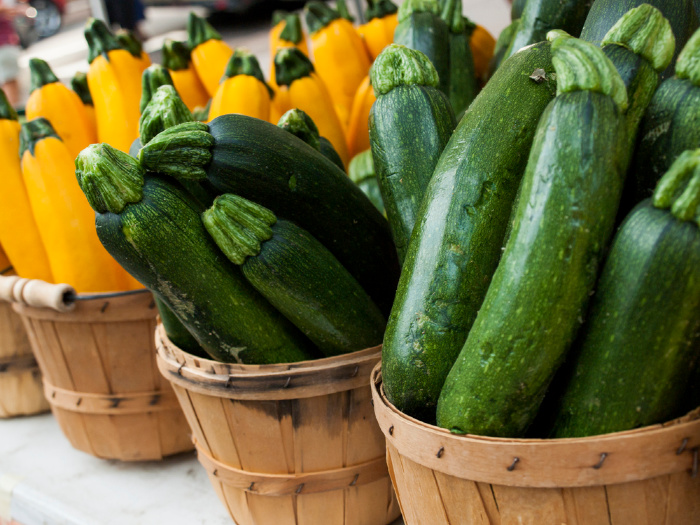
Summer Squash: zucchini, crookneck, and straight-neck (harvested in the summer before they reach maturity).
Winter Squash: pumpkins, butternut, spaghetti, and acorn squash (harvested in the autumn months after they reach maturity).
When you plant the seeds, test the soil to make sure it is at least 60 degrees F. before sowing your seeds. They need full sun exposure. They need loamy soil rich in nutrients. The soil must drain properly.
Plant the seeds in hills (2-3 seeds each) one inch deep. Space them 2-3 feet apart. Thin as needed to produce the strongest plant. Use a cloche to keep the plants warm in case of cool weather. Mulch around the plants to keep them moist and weed-free. When the first blooms appear, fertilize the plants.
Water deeply, at least one inch of water per week. The soil needs to be moist 4 inches down. If your blossom ends turn black and rot, then you have blossom rot. It’s usually caused by uneven moisture in the soil. It could also be a calcium problem.
Water must be consistent and frequent for the fruit to produce. If the fruits are misshapen they may not have received enough water or fertilizer. Check for fruit you can pick daily, they grow faster than you may think.
pH level for Squash: 5.5 to 6.8
Don’t forget to plant some Marigolds to attract bees. Marigolds by Linda
I hope I inspired you to plant a garden or sow some seeds in a pot or two today. It’s all about what to plant in June. The more experience we have with gardening, the more we learn about growing our food.
We must be self-reliant, save seeds, and learn a skill whenever possible that we may not feel comfortable doing. Listen, we can do anything, I promise. We will learn together and be prepared better than ever before. May God bless this world, Linda
This is where I buy my garden seeds: SeedsNow
Copyright Images: Gardening Deposit photos_63079453_s-2019, Green Beans Depositphotos_28603853_XL By tab62, Woman Harvesting Beets Depositphotos_162344438_XL By SashaKhalabuzar, White Corn on the Cob Depositphotos_1412420_XL By shirotie, Cucumbers in A Womans Hands Depositphotos_78652184_XL By vladteodor95, Melon Field with Watermelons Depositphotos_78801568_XL By vverve, Young Green Pea Plants Depositphotos_9938286_XL by muzsy, Squash Vegetables Depositphotos_12126351_XL By urban_light, Bouquet of Fresh Vegetables Depositphotos_172853636_XL by Scharfsinn
The post What To Plant In June appeared first on Food Storage Moms.
Estimated reading time: 4 minutes
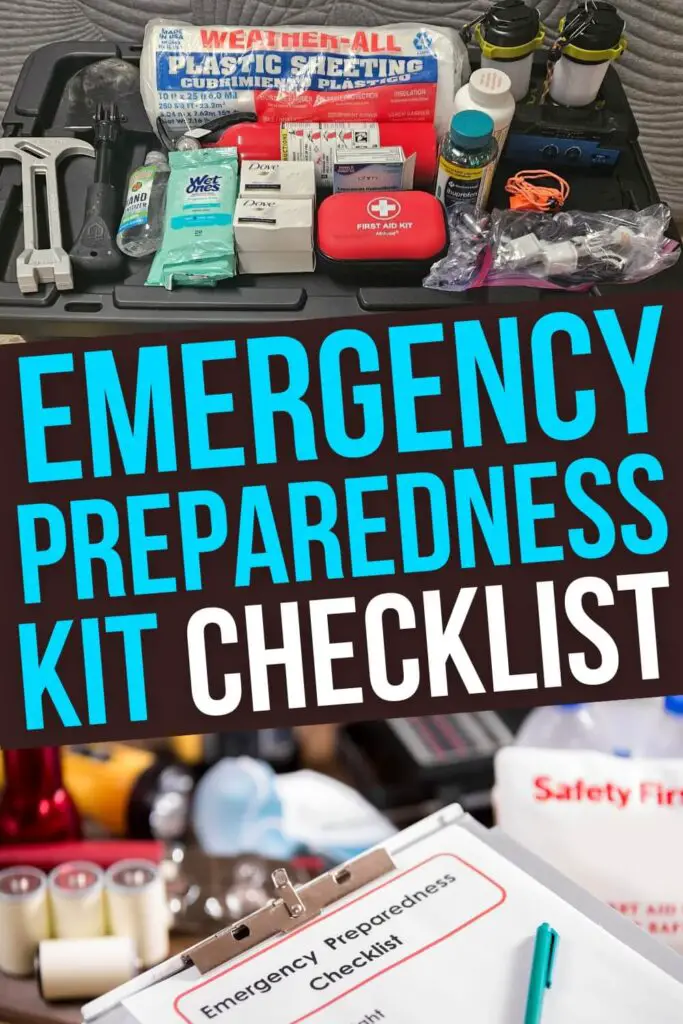
Everyone knows that disasters often strike without warning—whether it's a storm, earthquake, power outage, or worse. Just as you should have renter's insurance or homeowner's insurance, you should also have a well-stocked emergency kit. It could mean the difference between comfort and chaos during a crisis.
This checklist is designed to help you prepare for at least 72 hours without things we take for granted such as food, water, and power. If you gather everything in this list, you'll be in good shape for at least 3 days and better off then 95% of your neighbors.
Again, disasters can strike when you least expect, so start working in your emergency preparedness kit today.
Water is your top priority. You can survive weeks without food—but only days without water.
Shelf-stable foods will keep you fueled and focused during a crisis.
Maintaining cleanliness and order is essential when normal services are down.
Injuries and illness are more dangerous during a disaster. Be ready.
These items help you stay safe, secure, and in control of your environment.
Stay informed and keep your devices running.
Be ready for cold nights, wet conditions, or sleeping away from home.
A sense of normalcy can make all the difference.
They’ve got their own needs—don’t forget them!
Be sure to update your emergency preparedness kit every 6 months by rotating through the food and water, replacing batteries if necessary, and checking all the gear to make sure it's still functioning.
You May Also Like:
The post Emergency Preparedness Kit Checklist appeared first on Homestead Survival Site.
In less developed nations, people don’t make as much money as in the “so-called” developed nations. This gives certain folks from these nations excellent survival problem solving skills because money […]
The post 10 Must-Know Brazilian Hacks for Everyday Survival appeared first on Survivopedia.
When SHTF, survival is about more than just stockpiling supplies or having a bug-out bag ready. It’s about avoiding critical mistakes that can lead to fatal outcomes. Many people imagine surviving an SHTF scenario as something out of a movie, but reality is much more unforgiving. In times of chaos, the smallest misstep can get […]
The post 11 Screw Ups That Can Get You Killed When SHTF appeared first on Ask a Prepper.
Estimated reading time: 23 minutes

The old saying “Necessity is the mother of invention” rings true when you look into how Americans filled their bellies during the Great Depression.
After the stock market crash in October 1929, the nation headed into an economic slide that lasted an entire decade. Unemployment was high, and many Americans had to find ways to survive on little to no income.
But Americans are nothing if not creative. Flour sacks became dress material. Cardboard became shoe insoles. And in the kitchen, families came up with new recipes that made use of whatever foods they had on hand.
Although some of these recipes would get a definite thumbs down today – even in the midst of our current inflationary times – others are still prepared and eaten today. Here's a list of some of the weird foods people ate during the Great Depression.
Table of Contents
With fresh meat hard to come by, people turned to cheap cuts and processed alternatives like bologna. But folks prepared them in new and different ways to shake things up a bit. If you have cheese and cauliflower, you can make a version like the one in the video below.
Simple and inexpensive, this a Depression-era meal of cabbage and dumplings was filling and not too bad in the taste department. It consists of fried cabbage and onions along with egg and flour dumplings. Another common name for it is “halushka.”
For the Braised Cabbage:
For the Dumplings:
1. Cook the Bacon – Place bacon in a cold stock pot, turn heat to medium-high and let it render until starting to crisp. Don’t fully cook.
2. Braise the Vegetables – Add sliced cabbage, onions, and carrots to the bacon and its fat. Toss to coat all the vegetables, then cover the pot with a lid and let the mixture steam and braise until tender.
3. Make the Dumpling Dough
4. Cook the Dumplings
5. Combine and Finish
This highly Americanized version of a Chinese dish was popular during the Depression. It's another mishmash that makes use of whatever ingredients you have on hand. This Chop Suey recipe includes ground beef, macaroni, rice, and tomato sauce.
This weird-sounding soup was a staple in Amish households during the Great Depression. The ingredients are hot coffee, four slices of toast, sugar, and cream. You can read more about coffee soup and watch an amusing video right here.
Another favorite with the Amish community during the Depression, Cold Milk Soup is a mixture of bananas, sugar, and milk. It's kind of like breakfast served at any time of day, and you could change it up by adding bread or whatever fruit you had on hand.
What do you do when your bread has gone stale during hard times? You cook it and eat it anyway. Watch the video below to learn from Clara Cannucciari, who lived through the Depression, on how to make cooked bread.
Nicknamed S**t On a Shingle, Save Our Stomachs, or SOS for short, creamed chip beef was served to soldiers in WWI and WWII and found its way into American kitchens during the Depression. Some diners still serve it today.
The recipe features dried beef mixed into a roux made of butter, flour, and milk that usually is served on a piece of toast. Nostalgic or disgusting? You decide.
For the Meat Mixture:
For the Cream Gravy (Roux):
For Serving:
Many thrifty homesteaders know that dandelion greens are edible, and so did Depression-era homemakers. You can dress the backyard greens with olive oil, lemon juice, and salt.
You'll want to forget about the egg drop soup you may have ordered in a Chinese restaurant when you review this recipe. The video below from Clara has a recipe featuring potatoes, onions, and scrambled eggs.
Mashups were a common way to use up whatever you had on hand during the Depression, and the Garbage Plate is another example. This recipe combines macaroni salad, home fries, baked beans, and sausage or ground beef and is topped with chili, onions, mustard, and hot sauce or ketchup.
For the Base (Starches):
For the Proteins:
For the Meat Sauce (a.k.a. “Hot Sauce”):
For the Macaroni Salad:
Toppings:
1. Make the Home Fries:
2. Make the Meat Sauce:
3. Make the Macaroni Salad:
4. Cook the Proteins:
5. Assemble the Garbage Plate:
Not so fondly named after the U.S. President many people blamed for the Great Depression, Hoover Stew was a mishmash of macaroni, canned tomatoes, canned corn or canned beans, and cut-up hotdogs. This dish became a mainstay in 1930s soup kitchens.
No ice cream? No problem. Here is a recipe for a Depression-era substitute. The ingredients include raspberry Jell-O, milk, sugar, vanilla extract, and heavy cream. You can watch the video below to see how to make this easy no-churn recipe from 1938.
Did you know that Kraft Mac and Cheese made its debut during the Depression? Introduced as Kraft Dinner in 1937, this still popular and still inexpensive boxed product sold for 19 cents and claimed to serve four people. Kraft Foods sold 8 million boxes that first year.
Kraft Macaroni and Cheese still consists of dried macaroni and a little packet of processed cheese powder. Although there are now many variations of the original as well as similar competing products, Kraft Mac and Cheese sales average about a million boxes every day. Here is a recipe for making a similar meal at home without the box.
When there wasn't enough meat to make an actual “meat” loaf, American homemakers added anything they could think of to stretch whatever protein they had for their loaves.
Raisins, peanut butter, stale bread, nuts, cereal, crackers, leftovers – were all possible ingredients for an “Anything Loaf.” This video shows how to make a traditional 1938 meatloaf.
Scientists at Cornell University devised Milkorno as an inexpensive food during the Depression. It's an unappetizing-sounding mixture of cornmeal and dried milk powder that could be used as the basis for muffins, biscuits, pudding, and other baked goods.
Home economists claimed that a family of five could eat for less than $5 a week by substituting Milkorno for cornmeal and flour. And a 1930s magazine ad for Milkorno claimed that Eleanor Roosevelt used Milkorno for state dinners at the White House.
I don't know about you, but I am not too keen to try a pie with the word “mock” in its title. However, Depression-era recipes, which contain no apples and use buttery crackers for the crust, are surprisingly tasty.
The secret to the apple-y taste is the addition of cream of tartar. Cream of tartar, or potassium bitartrate, is the sediment found in the barrel after wine is fermented. According to scientists, the ingredient can trick your brain into thinking you're eating apples.
Mulligan stew was a catch-all term for a catch-all dish that became popular with hobos, homeless people who rode the rails during the Great Depression. An authentic Mulligan Stew was a weird mix of whatever could be thrown into a pot to make a filling meal. Sometimes even sawdust or lint was part of the stew.
In this video, Max Miller recreates a version of Mulligan stew from a 1940 newspaper.
The idea for this one must have come out of sheer desperation. Since onions and peanut butter were available and cheap, why not combine them? In fact, the U.S. Bureau of Home Economics promoted peanut butter-stuffed onions as a budget-friendly, protein-rich meal.
Clara is back with a video on making Poorman's Meal, an aptly named recipe that consists of fried potatoes and diced hotdogs.
Home cooks used potatoes, one of the most widely available foods during the Depression, as the basis for many dishes. They often made simple potato pancakes by frying leftover mashed potatoes or combining grated potatoes with flour and eggs.
Potato pancakes worked as a meal on their own or as a side dish. Below is a video that shows you how to make potato pancakes.
In an effort to set a good example for the nation during the Depression, Eleanor Roosevelt insisted that simple recipes be served to White House guests. Prune pudding was among them.
Plus, it's great for those times when you need prunes but you don't really like the taste of prunes. This dessert makes them much more palatable.
Okay, now that we've got you thinking about pie, here's another strange pie recipe that made the rounds during the 1930s. The ingredients include apple cider vinegar, unsalted butter, flour, brown sugar, ground cinnamon, ground nutmeg, eggs, salt, and water.
With rising inflation and shortages, these types of recipes are getting more and more popular. If you'd like to explore this trend further, here are some resources to check out.
You May Also Like:
The post 20+ Great Depression Recipes That Still Taste Great appeared first on Urban Survival Site.