Estimated reading time: 7 minutes
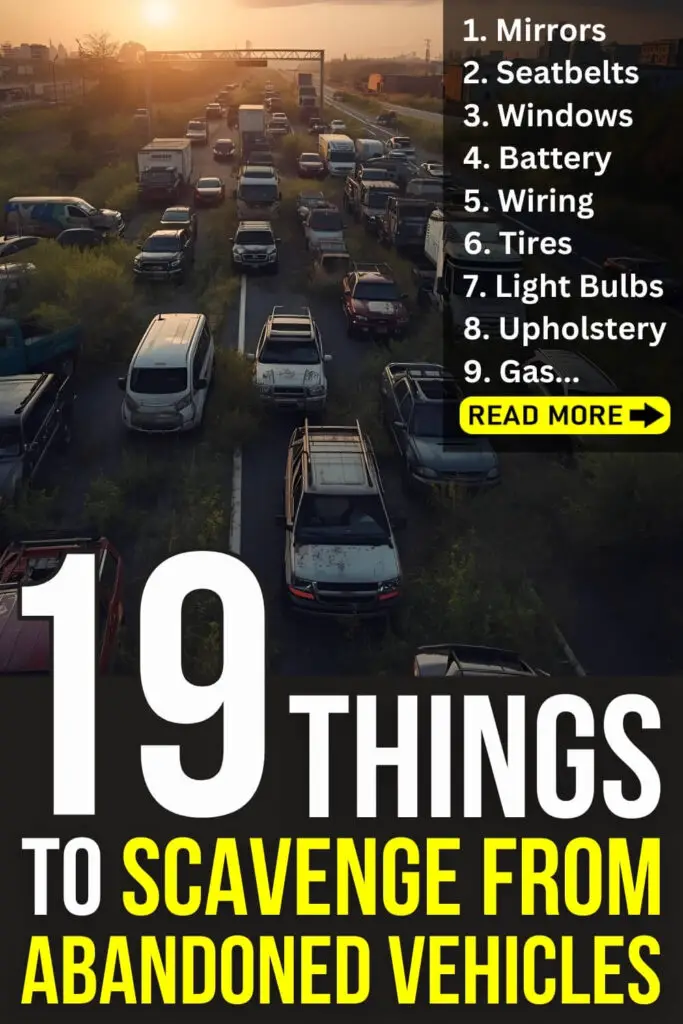
Cars are everywhere. If you're anywhere near a city when the SHTF, you'll come across thousands of them. And if the disaster is severe enough, many of these vehicles will be abandoned. Why does this matter? Because there are many survival items you can scavenge from abandoned vehicles.
Some people will object to this article, saying it's wrong to take what isn't yours. Normally I'd agree, but I believe morality varies depending on the circumstances. If you're in a situation where an apparently abandoned vehicle has items in it that you need to survive, then I would argue that you're morally obligated to take them. If not for yourself, then for your family.
Besides, you could find yourself in a scenario where your own car breaks down or is totaled, in which case you might want to make use of its parts. In case either of these things ever happens to you, here are 19 things you can scavenge from vehicles.
1. Whatever is in the Trunk
The first thing you should check is the trunk. Many people keep tools, flashlights, jumper cables, blankets, and even extra clothing in the trunk. Most people who abandon their vehicles would probably try to take some of those things with them, but not necessarily. If you check a hundred vehicles, you're bound to come across some goodies.
2. Whatever is in the Glove Box or Center Console
Here you might find food, lighters, first aid supplies, papers you can use to help start fires, etc. Again, you never know, so if you're walking down a highway full of abandoned cars, check as many glove boxes and center consoles as you can.
3. Mirrors
Now that the obvious stuff is out of the way, the first thing you should consider taking is the rearview mirror. If it's stuck on the glass with adhesive, you might be able to remove it with a razor blade. Otherwise, you could just break it off. To get the side mirrors out, you'll need a knife or similar object. Mirrors can be used for many things including signaling for help and starting fires.
4. Seats
The fabric in seats can make excellent insulation material in cold environments, and the seat covers can be used as ground covers. If the seats are leather, you can even turn them into useful items such as shoes, leggings, or a carrying pack.
5. Seat Belts
If you don't have any cordage, use the seat belts. Just extend them as far as they will go and cut them out. If you need a cord that's not as thick, just cut up the seat belt into smaller strands. If you unravel them enough, you could even use them as fishing line.
6. Lid, Hood, and Doors
I grouped these together because they can all be used for the same thing: building a shelter. These things will be difficult to remove without the proper tools, but they can be very useful. For example, it's very easy to set up a lean-to with the hood of a car. And in the winter, the doors could be used as sleds.
7. Windows
The top part of the glass on car doors can be used to sharpen knives. Break off this part and wrap duct tape around the jagged edges and you'll have a portable knife sharpener. You could also try using some of the broken glass as a cutting tool, but this might be difficult since car glass tends to fall apart into little pieces when broken.
8. Battery
You can use a car battery to keep your devices charged during an emergency. But to do this, you'll also need some 12v receptacles and a power inverter. Watch this video to learn how.
9. Wiring
The wires in the engine could be used as cordage for any number of things such as constructing shelters, making snares, bundling things together so they're easier to carry, etc.
10. Headlights
The glass from a headlight can be used as a cutting tool if the piece is long and sharp enough and the rest is wrapped in duct tape to make a handle. And the lamp and case from a headlight can be used to make a fire if the lens reflector has been well polished.
To do so, put some tinder in the reflector that holds the bulb and put it under the sun. Both sides, being highly reflective, will magnify the sunlight and direct heat to the tinder. Hopefully, an ember will be created in the tinder that you can blow on to start a fire.
11. Tires
Modern tires, unfortunately, don't have as many uses as older tires due to the steel cable running through them. Nonetheless, you can still burn tires for signaling purposes since the black smoke can be seen for miles on a clear day. But be warned: tire burning is illegal in most areas, so proceed with caution. Tire smoke is also toxic so keep your distance.
12. Tubes
The inner tubes can be cut up into rubber bands which have all sorts of uses: tourniquets, shelter making, strapping items to your clothes or pack, and so forth.
13. Hoses and Tubing
Rubber hoses and tubing from the engine compartment can be invaluable. They can be used as makeshift siphons for transferring gasoline or water. Additionally, these hoses can be cut and used as waterproof sealing for makeshift shelters or to repair other equipment. In a pinch, they can also be utilized as tourniquets or to tie down or secure gear.
14. Upholstery Foam
The foam found in car seats and cushions is a useful resource. It can be cut into shapes for insulation, padding, or even as a makeshift sleeping pad. This foam can also be used for soundproofing in situations where discretion is vital. Be cautious when repurposing foam, as it can be flammable and give off toxic fumes if burned.
15. Air Filters
Car air filters can be surprisingly versatile. If they're relatively clean, you can use them as a pre-filter for water purification. They won't make the water drinkable by themselves, but they can remove large particles before you boil or chemically treat the water.
Additionally, air filters can be unraveled for their fibrous material, which can be used for insulation or as tinder for starting fires.
16. Oil and Other Fluids
Don't overlook the various fluids in a vehicle. Motor oil, for example, can be used to lubricate tools, preserve wood, or even as a makeshift lamp fuel when combined with a wick. Transmission fluid and brake fluid are flammable and can be used to start or accelerate fires in emergency situations.
Always handle these fluids with care, and remember that prolonged exposure or improper handling can be hazardous to your health.
17. Floor Mats
Most vehicles have rubber or carpeted floor mats that can come in surprisingly handy. Rubber mats can be used as kneeling pads when working on rough or wet ground, insulation between you and cold surfaces, or even makeshift snowshoes in deep snow.
Carpeted mats can double as fire-starting material, extra padding for bedding, or insulation inside a makeshift shelter. They're lightweight, easy to remove, and generally overlooked.
18. Fuses and Light Bulbs
While not immediately useful in a primitive survival scenario, fuses and bulbs from the fuse box and light fixtures could be invaluable if you're trying to maintain any kind of improvised electrical system.
Spare bulbs could be swapped into another vehicle or even repurposed for light if you’ve got a power setup. Fuses are especially useful if you’re restoring or cannibalizing vehicles for long-term survival. They weigh almost nothing, so it’s worth grabbing a few.
19. Gasoline
As long as you have a siphon of some kind, you could use leftover gasoline for your own vehicle. Gas could also be used to get a fire going, as long as you're very careful. Don't puncture a fuel tank for gas as even a small spark is enough to make a gas tank explode, even if very little fuel is present.
Final Thoughts on Scavenging Abandoned Cars
When scavenging, time and discretion are critical. Only take what you need, and stay alert because you never know who else might be scavenging the same area.
Keep a multi-tool or basic wrench set on hand for disassembly, wear gloves to avoid cuts or burns, and always check for signs that a vehicle might not be truly abandoned. The best items are often the ones most people overlook, so think creatively and move quickly.
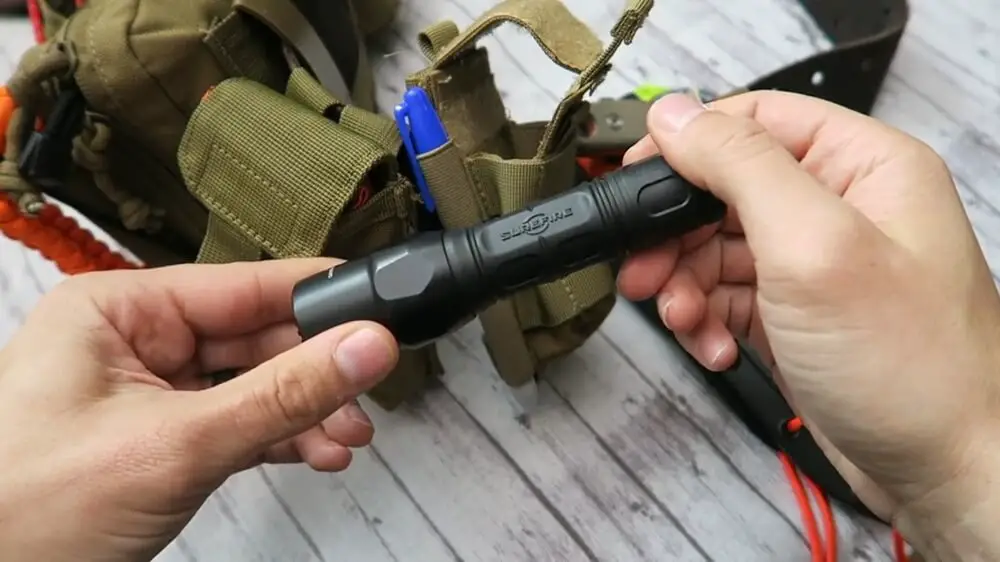
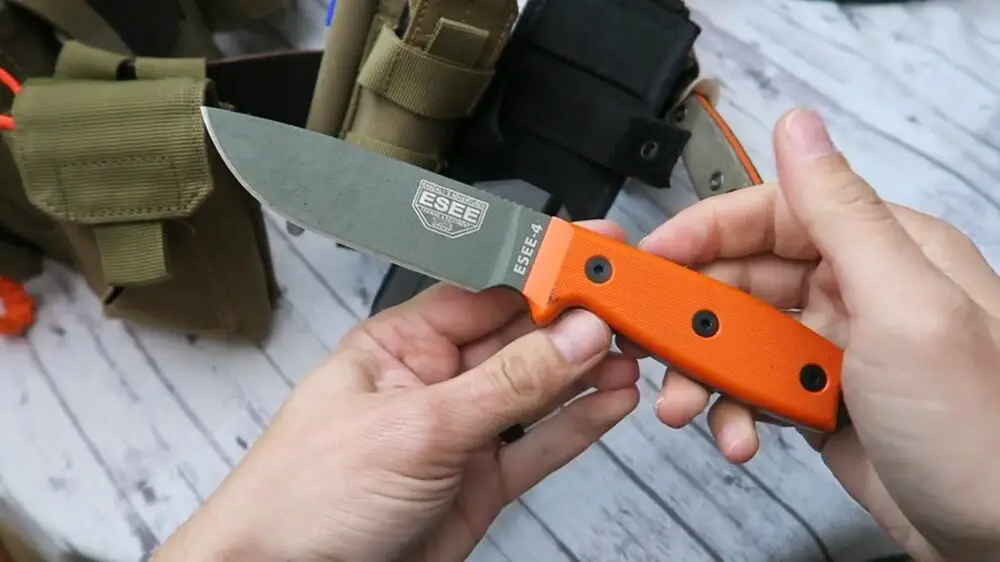
You May Also Like:
The post 19 Items to Scavenge from Abandoned Cars appeared first on Urban Survival Site.
from Urban Survival Site