Estimated reading time: 5 minutes
When the power goes out, you’re stranded in the wilderness, or you’re forced to leave home with nothing but your bug out bag, one thing becomes essential: the ability to cook food and boil water. That’s where the hobo cook kit comes in.
This ultra-lightweight kit was originally designed for life on the road, but it's also perfect for bug out bags, urban blackouts, camping trips, or minimalist wilderness survival. Best of all, you can build it yourself for under $10 using second-hand and household items.
I found this kit on the Youtube channel, Waypoint Survival. You can watch the video and read the instructions below.
What You’ll Need:
- Lightweight aluminum cook pot with lid
- Handle from the same or a similar pot (or make your own)
- Thumb screw (DIY)
- Lightweight aluminum coffee cup
- Hobo stove (DIY)
- Bar soap in a small tin
- Strike-anywhere matches
- Salt and pepper packets
- Motel-style coffee packets, creamer, and sugar
- Small scrub pad
- Napkins or paper towels
- Bent metal tablespoon
- Rubber bands
- Plastic bag for stove
- Spare bag for compression
Step-by-Step Assembly
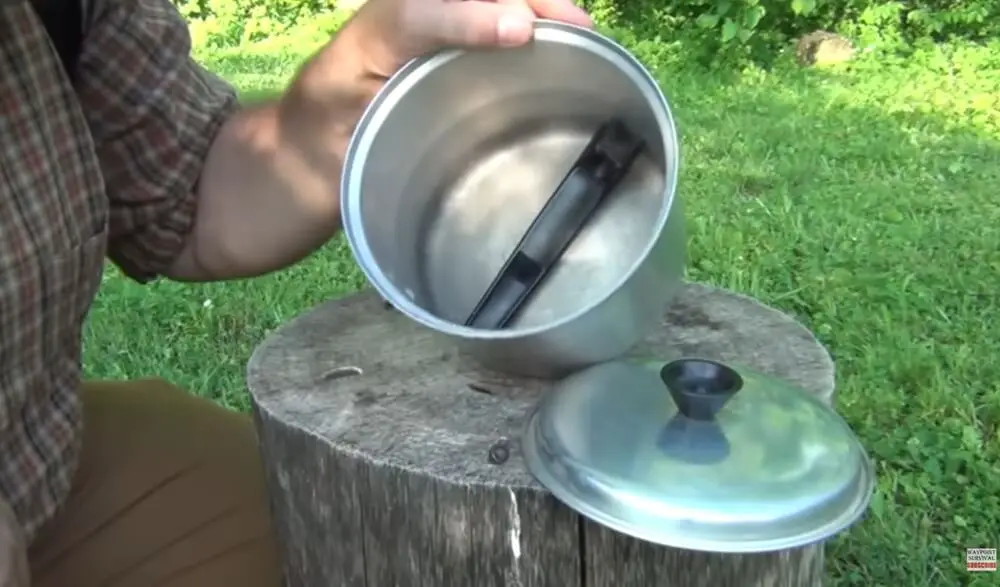
1. Modify the Pot and Handle
Start with a lightweight aluminum pot with a snug-fitting lid. If it’s not snug, gently bend the pot into an oval shape until the lid fits tightly.
Remove the original screw from the handle using a flathead screwdriver. Replace it with a homemade thumb screw: take a longer screw with matching threads, heat the tip, and flatten it with a hammer. This lets you tighten it by hand.
To avoid the screw protruding too far, add two nuts tightened together. This entire setup should fit inside the pot for compact storage.
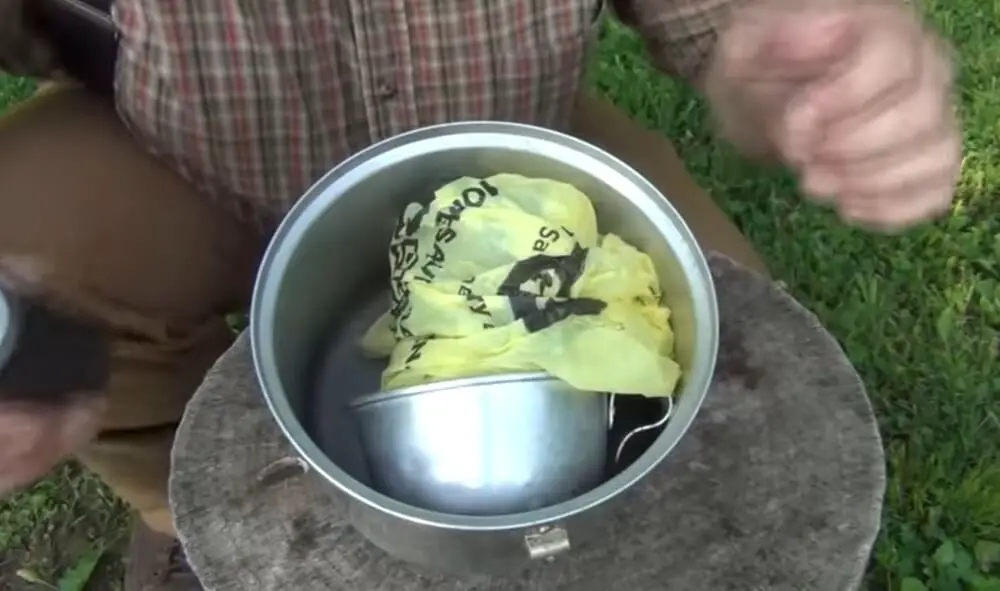
2. Assemble the Core Kit
Pack your essentials inside the pot in layers, starting with:
- A small tin with a piece of bar soap (for washing).
- A box of strike-anywhere matches.
- Your hobo rocket stove, wrapped in a plastic shopping bag to prevent soot transfer.
- A lightweight aluminum coffee cup, placed inside the stove. Store the screw inside the cup.
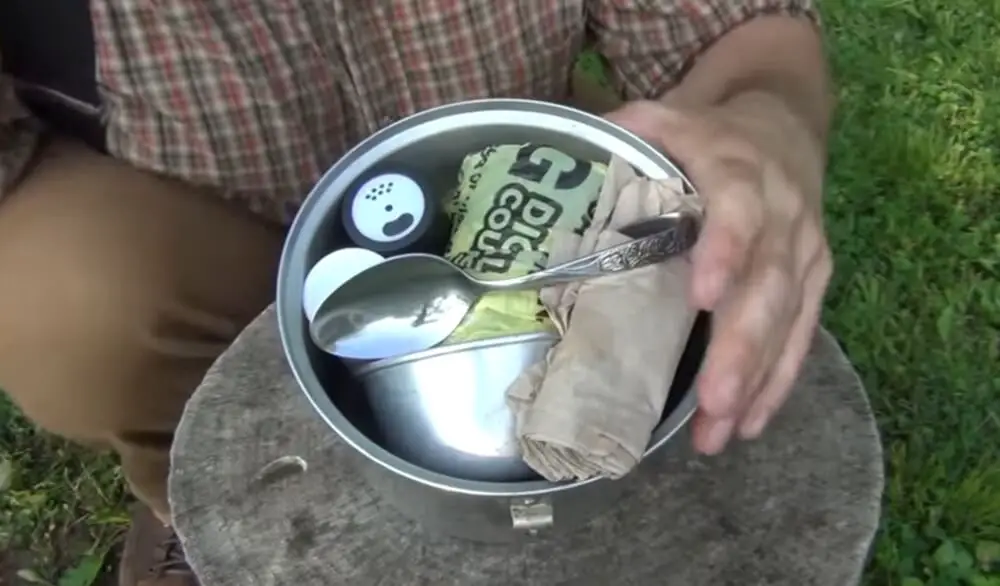
3. Add Seasonings and Coffee Supplies
Slide in a few packets of:
- Salt and pepper
- Instant coffee (from motel kits)
- Creamer and sugar
These should nest along the sides of the pot.

4. Cleaning and Utility Items
Add:
- A piece of scrub pad
- A few napkins (double as toilet paper or firestarter)
Bend a metal tablespoon using heat so that it can hook onto the side of the pot or hang on a branch. Fit it inside the pot.
5. Final Touches
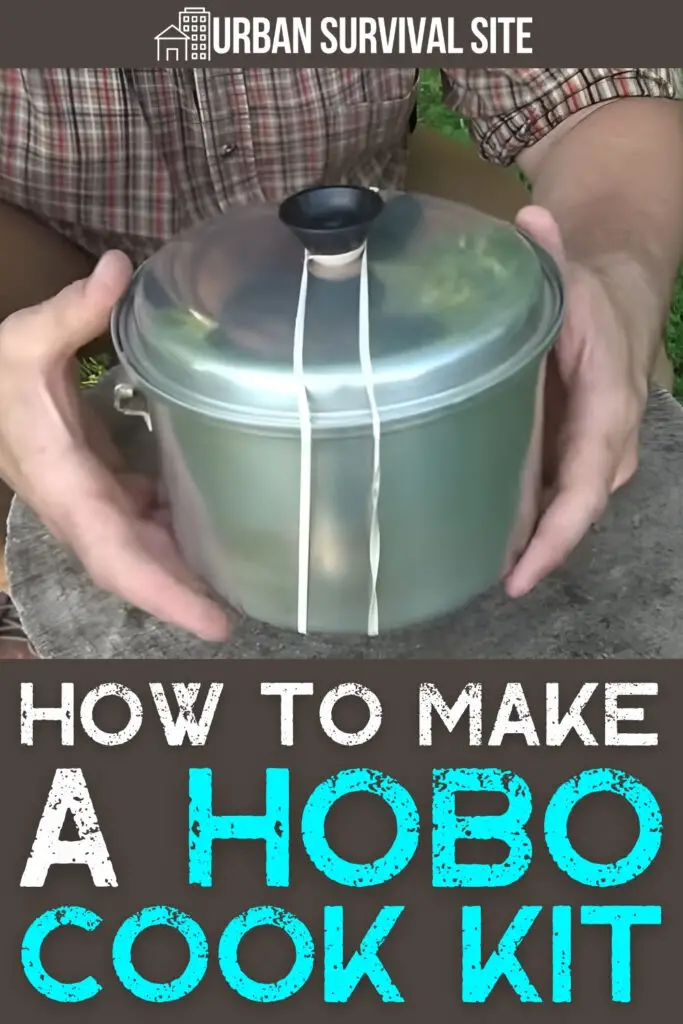
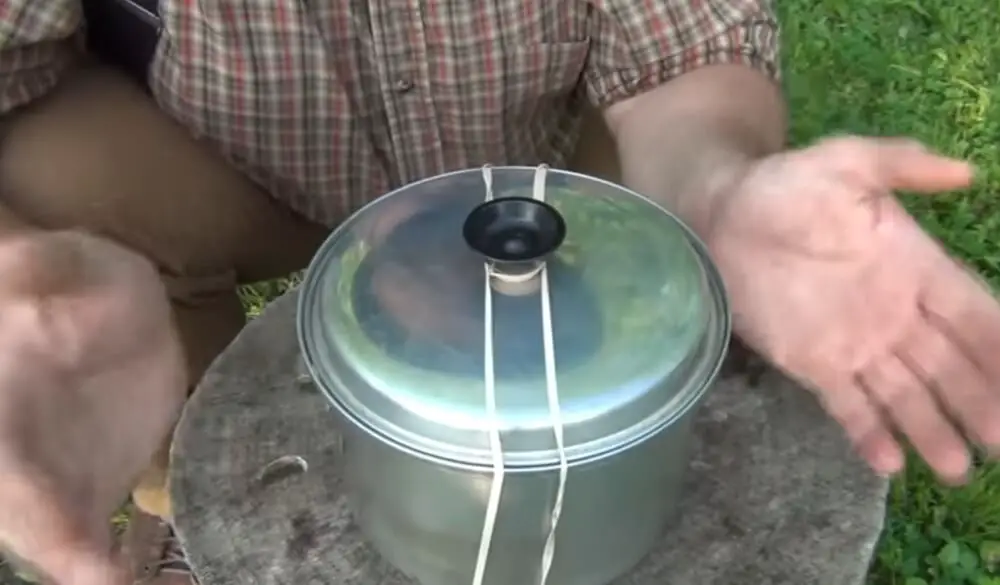
Add a plastic bag on top to compress everything and reduce rattling. Close the lid tightly.
Secure the whole thing with two large rubber bands by looping them over the top, around the base, and back over again.
Total Weight and Cost
The entire kit, fully loaded, weighs less than 1.8 pounds and can be built for under $10 according to the video, although with the inflation since then, it might be closer to $15. But if source items from second-hand stores or reuse what you have at home, it shouldn't cost much.
Final Thoughts
The hobo cook kit is a brilliant blend of practicality and portability. It’s one of those rare setups that checks all the boxes: compact, lightweight, inexpensive, and effective.
Be sure to check out Waypoint Survival on YouTube for more survival tips and bushcraft tutorials.
You May Also Like:
The post How to Make a Hobo Cook Kit appeared first on Urban Survival Site.
from Urban Survival Site
No comments:
Post a Comment