Want to know how to prep your home for allergy season? While I’m always very excited about the arrival of spring along with the beautiful sunshiny weather, there is one thing I’ve never looked forward to every year… the dreaded allergy season. Ugh, it can be the worst! The amount of pollen flying rampant in the air causes irritating side effects that can sometimes be downright awful.
Spring allergies could include an itchy, runny nose, watering eyes, uncontrollable sneezing, and a scratchy throat. This can drive even the strongest of people crazy.
Prep Your Home For Allergy Season
But while these negative symptoms may seem completely unavoidable, I have some good news for you! Besides taking allergy medications every day throughout the season, there are several other things that you could be doing around your house to help keep it allergy-free. That’s right! Here’s how to prepare your home for the upcoming allergy season.
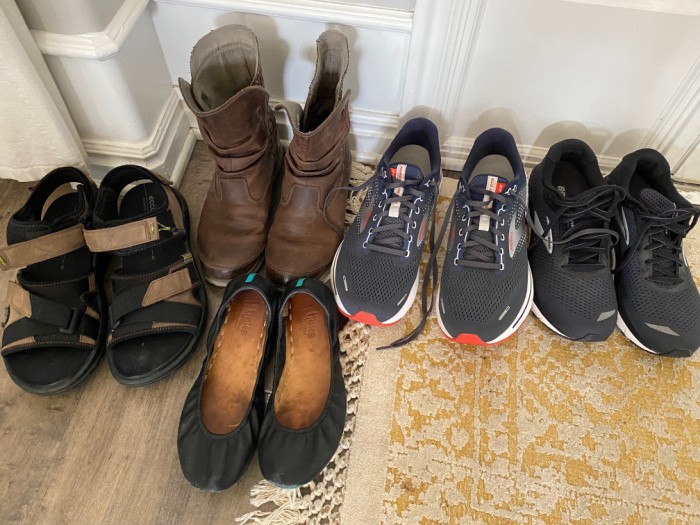
Take Your Shoes Off
Instead of tracking in countless allergens across the floor of your home, make it a point to have your family take off their shoes at the door before heading inside. Or you could even take it a step further and keep everyone’s shoes in their cubbyholes out in the garage so there’s even less risk of allergens making their way inside. Forget Your 72-Hour Bug-Out Bag You Need More.
Over the years, some of our homes had what we called a “mud room” between the garage and the rest of the house. We asked our kids to remove their coats, hats, boots, scarves, gloves, etc. in that room. It stopped the occasional mud marks on the carpet and hardwood floors and kept those allergens at bay. It also kept the house better organized since I didn’t see all those items left on kitchen chairs, couches, or countertops or dropped on the entry floor.
Keep Your Windows Closed
As tempting as it might be for you to keep your windows open on a nice warm day during the spring so you can get a refreshing breeze in the house, I’d strongly encourage you not to. While that nice breeze may feel absolutely incredible and refreshing after being cooped up and stuffy all winter long, you’d also be welcoming in pollens and other allergens to your home. But if you refuse this bit of advice, at the very least, make sure that you place tight screens outside or wedge air filters in each of your windows to help limit the number of allergens that find their way into your home. 12 Ways to Reuse Broken Household Items
Cut the Clutter
Getting rid of clutter that’s lying around in your home has several advantages besides having a neat and orderly home. Not only does decluttering make you feel better both physically and emotionally, but it also cuts back on the number of objects that dust and allergens can cling to. And that’s a pretty big deal! How to Declutter Your Home. I have to confess, I HATE dusting, I wish I loved dusting, but this is why I have very few knick-knacks. There I said it. LOL!
- How to Instantly Declutter Your Home
- How To Declutter Quickly And Stop Buying Stuff
- 10 Cleaning Tips For The Minimalist
Dust and Vacuum Often
Keeping up with the dusting and vacuuming in your home is always a good idea, but during the allergy season, it’s even more important. This helps get rid of any dust and dirt that may have accumulated throughout your home from being inside all winter long. But make sure to use a vacuum cleaner with a HEPA filter if possible so as to capture those tiny particles of dander and pollen that can be found in hard-to-reach places!
Also, use a damp or microfiber cloth for dusting so that you aren’t just spreading dust particles everywhere. Saharan Dust Storm: Everything You Need to Know
Change Your Air Filters Regularly
The air quality in your home is extremely important, regardless of whether it’s allergy season or not. Why’s that? Because your family’s health could be at stake if you don’t keep up with changing out your home’s air filter on a regular basis. A clean air filter has a much better chance of trapping any airborne particles or allergens before they reach you. It’s best to change your home’s air filter monthly if you’re prone to allergies, but at least every 2 to 3 months.
Your heating, ventilation, and air conditioning (HVAC) system runa more efficiently if serviced each year. Use HVAC filters that fit your needs based on how clean you want the air to be. That highest rated filters do a great job, but they can be more costly to replace. The higher rated ones also need to be changed more often since they collect more stuff during the filterin process.
If possible, have your air furnace ducts cleaned out professionally. You would be surprised how much junk gets built up in them while a home is built, let alone when your home is 20 years old. We had our cleaned a few years ago, and while the workers were at it they made sure all the connections we still intact, particularly where the duct meets the air return and the registers on the floor or ceiling. This is to make sure no air is escaping through leaks in the system.
If you have old radiators or electrical radient heat, be sure to dust them off or use the blower feature in you vacuum to be sure areas that collect dust and dirt are cleared.
Change Your Clothes After Being Outside
A lot of people don’t give it much thought, but after spending time outside, it’s best to change out of the clothes you were wearing immediately the moment you come inside. Because God only knows how much pollen has attached to your clothing in the meantime, and if you sit down in a chair or sprawl out on the sofa, it’s game over. If you have the time, take a shower to get any allergens off you and change into something else. 12 Quick & Easy Tips for Washing Clothes
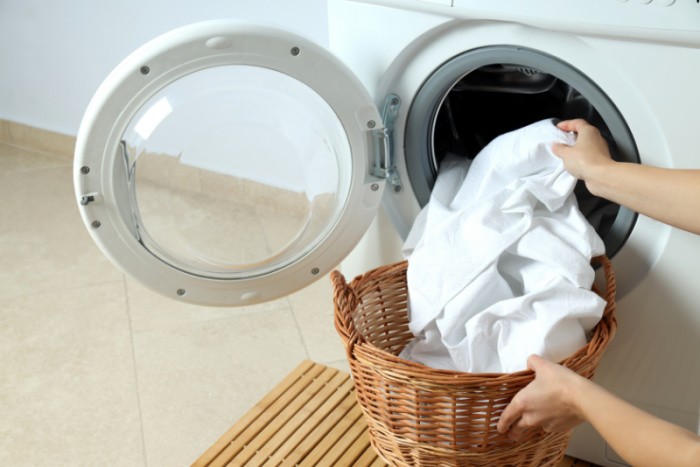
Wash Your Bedding Weekly
Are you someone who suffers from allergies and can’t seem to catch a break? As strange as it may seem, the answer to your problem may be found in your bed. The truth is, we spend a lot of time in our beds and those microscopic allergens that you and I can’t see may be doing the same thing. In fact, they can thrive in places like your bed mattress, box springs, the top quilts, and on your sheets. This is why during the allergy season, you should be washing your bedding in hot water at least once a week. Learn How To Wash Clothes During An Emergency
Do you love clean sheets as much as I do? We change ours every Friday, without fail. If I had more strength, I would wash them twice a week, but once a week is still awesome!
From time to time you should also try to shake the dust and dirt that have settled to the mattress and box springs. Once the sheets and mattress cover are removed, take a bat, tennis raquet, or other stiff item and beat the surface to loosen what may have accumulated there. Then you can take a vacuum to the surface to pull away the unwanted debris.
While you’re busy cleaning, be sure to pay attention to the curtains in all the rooms. Depending on the type of fabric, they can be like a magnet when it comes to allergens and dust. Hopefully, you have some curtains that can be washed at home, but you probably have some that will need special treatment at the local dry cleaners. I’d suggest you do the washing and dry cleaning each year.
Keep Your Bathroom Free From Mold
If not properly cleaned, your bathroom can become a breeding ground for mold and mildew, and even more so if you live in an area with a high humidity level. I’ve even heard alarming stories of mushrooms growing in people’s bathrooms. Disgusting! That’s because when the shower is used, it creates a warm and humid environment that leads to the growth of these types of allergens.
So make sure to wipe away any water from your tub and walls after each shower you take. Also, keep the exhaust fan running or the window open for about 20 minutes to help reduce any additional moisture in the air. How To Love Cleaning Bathrooms
With all the stuff being washed down the drain, sinks can be a catchall for some pretty nasty stuff. Be sure to schedule some time to pull out the drain stopper occasionally and clean out any captured hair and other goodies that cling there.
Wear a Mask While Cleaning
If you love to get dirty when it comes to cleaning around the house or while doing yard work, I highly recommend that you consider wearing a mask when doing any of these tasks. Doing so will help keep your mouth, nose, and even eyes from being exposed to dust or pollen particles in the air.
It’s also best to leave your home for a few hours after cleaning because it will limit your exposure to the dust and allergens that may be in the air. The Pros and Cons of Wearing a Mask Long-Term This is especially true if you are subject to hay fever or asthma. Always have histamine handy if you start to feel the effects of the dust or pollen in the air.
If you feel you are always putting your immune system to the test, you may want to visit an immunology specialist. It could be that you’d really be helped with some allergy shots or other treatments based on various test they can administer.
Get a Dehumidifier
When your home starts to get humid, that’s when allergens are more likely to creep in and make their presence felt. One of the best tips that I have concerning your home and allergies is to purchase a dehumidifier. Trust me, it’s an investment that will make a world of difference in your home. To put it blatantly, mold, allergens, and other air particles simply won’t stand a chance, and that’s kind of the point.
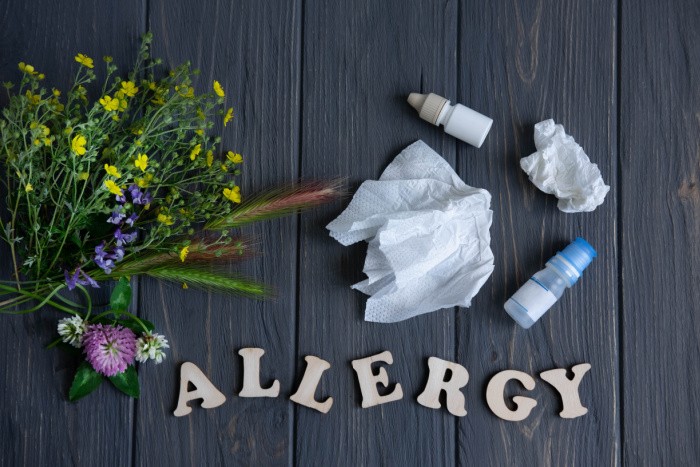
What else can cause allergies?
Pets, dust mites, pollen count, carpet, your mattress, pillows, pet dander, a rug, poor indoor air quality, and so much more. Allergies can make you have a stuffy nose, cough, inflammation, nasal congestion, and watery eyes. Sometimes you need to take antihistamines to ensure the allergies stay at bay! The right medications can help you manage your allergy symptoms.
Final Word
Allergy season may be well on its way, but that doesn’t mean that your family has to suffer through it this year! By implementing some of these preventable measures around your home, you’ll be well on your way to having an allergy-free spring and summer. Can you think of any other helpful tips that would help someone battle allergies in their home? I’d love to hear from you! May God Bless this world, Linda
Copyright Images: Clean Sheets AdobeStock_470074388 by Atlas, Seasonal Allergy AdobeStock_279030542 By Amarievikka
The post How to Prep Your Home for Allergy Season appeared first on Food Storage Moms.
from Food Storage Moms