One of the most rewarding experiences for a gardener is to start their own vegetable and flower plants indoors from seed.
It truly is an incredible feeling of pride to plant a tiny seed and watch it turn into a beautiful mature plant. Especially when it’s loaded with vegetables or blooming flowers!
Growing your own plants from seed is both a rewarding and cost saving venture. It also opens up your world to varieties of plants you won’t be able to find at local stores.
But growing your own seed also helps save big on your gardening budget. And even more, it will open up your garden and flowerbeds to plants you simply can’t find at your local greenhouse or nursery.
The process is actually extremely simple. And contrary to what many think, it doesn’t require a lot of work, space, or a big investment in special lights or equipment.
In fact, with just a simple homemade seed starting rack and a few inexpensive shop lights, we’ve been growing nearly all of the plants from seed for going on 11 years now.
That includes vegetable plants for the garden, in addition to flowers for all of our beds, containers and hanging baskets. See: How To Build A Homemade Seed Starting Stand From 2×4’s. Here is a look at the entire process, along with a extra tips to get your seedlings off to an incredible start.
How To Start Seeds Indoors Like A Pro
Starting Seeds At The Right Time
When to start seeds indoors is always the million dollar question. For most typical vegetable and annual flower plants, we like to use 8 weeks as the standard count back date.
This accounts for one to two weeks for the seeds to germinate, and a full 6+ weeks of growth. A count back date simply means counting back from when you think you will be planting into the ground. So if you will be planting May 15th, you want to start your seeds 8 weeks prior, around March 20th.
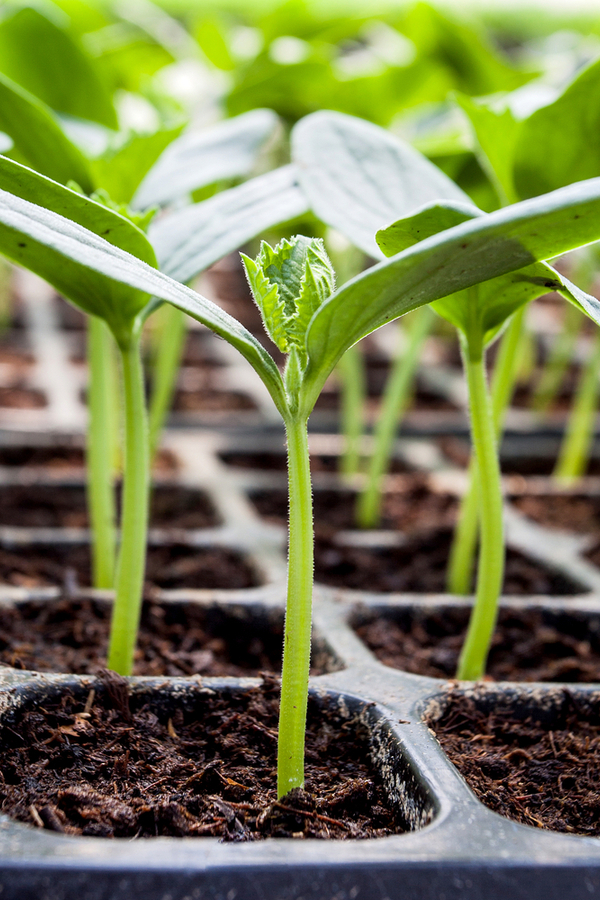
Start your seeds indoors about 8 weeks prior to planting day. This will give enough time for solid strong growth before planting outside permanently.
It gives us plenty of time to grow indoors, and then begin to harden them off on the warmer days on our back porch. It also gives us a little larger plants to get started in the garden. There will be more on the hardening off part later.
Use A High Quality Seed Starting Soil Mix – Starting Seeds Indoors
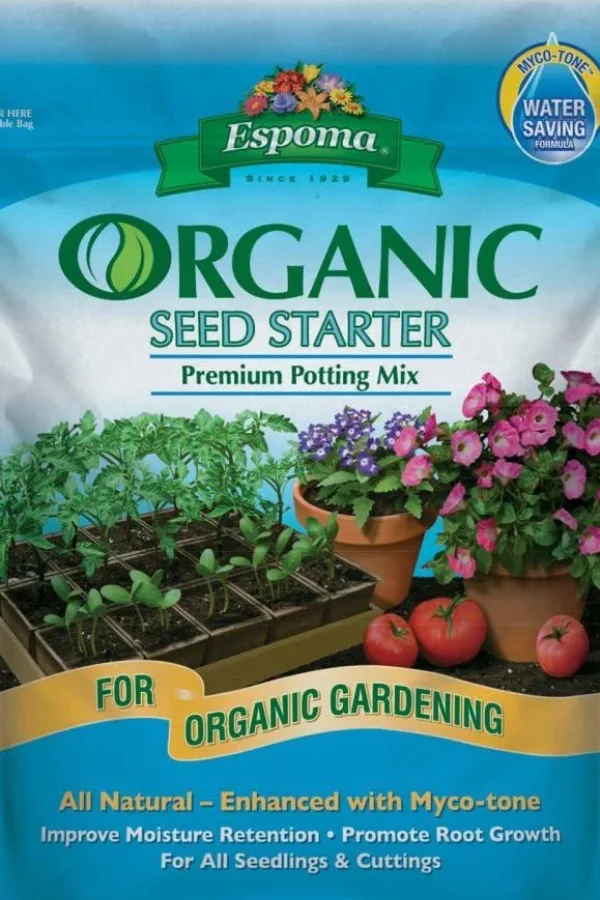
Whether you make your own, or purchase a high quality commercial seed starting mix (Espoma Seed Starting Mix), using a good seed starting mix is vital to success. Seeds need a lightweight soil that is filled with nutrients to boost early growth and develop strong roots.
Don’t make the mistake of using ordinary potting soil. Not only is it too heavy, it doesn’t contain the nutrient balance young seedlings need. We make our own homemade seed starting mix with a blend of potting soil, perlite, compost and worm castings.
It gives us plenty of time to grow indoors, and then begin to harden them off on the warmer days on our back porch. It also gives us a little larger plants to get started in the garden. There will be more on the hardening off part later.
Use A High Quality Seed Starting Soil Mix – Starting Seeds Indoors
Whether you make your own, or purchase a high quality commercial seed starting mix (Espoma Seed Starting Mix), using a good seed starting mix is vital to success. Seeds need a lightweight soil that is filled with nutrients to boost early growth and develop strong roots.
Don’t make the mistake of using ordinary potting soil. Not only is it too heavy, it doesn’t contain the nutrient balance young seedlings need. We make our own homemade seed starting mix with a blend of potting soil, perlite, compost and worm castings.
There are many good options for purchasing high quality seed starting soil. Look for lightweight seed starting mixes that have built in natural fertilizers to promote strong early growth.
Without a doubt, adding worm castings to our mix has made all the difference. It is the perfect slow-release balance of fertilizer that young seedings need.
Even if you purchase a ready made commercial seed mix, adding in a cup of castings for every 4 cups of mix will do wonders for your seeds. Product Link : 100% Worm Castings
Containers & Soil – Starting Seeds Indoors
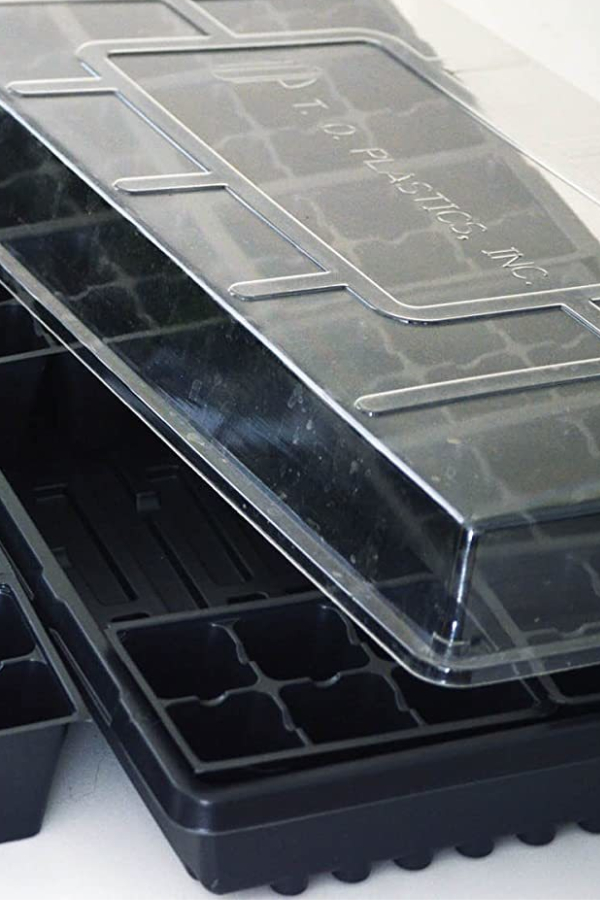
Choose containers or seed starting trays large enough to grow your plants to full transplanting size. We use trays with 24 or 36 cells instead of trays that hold 72 seedlings.
This allows optimum room for growing strong seedlings that can go from the seed tray directly to the garden or flowerbeds. That helps eliminate the time consuming process of transplanting into larger pots before planting day arrive.
Without a doubt, adding worm castings to our mix has made all the difference. It is the perfect slow-release balance of fertilizer that young seedings need.
Even if you purchase a ready made commercial seed mix, adding in a cup of castings for every 4 cups of mix will do wonders for your seeds. Product Link : 100% Worm Castings
Containers & Soil – Starting Seeds Indoors
Choose containers or seed starting trays large enough to grow your plants to full transplanting size. We use trays with 24 or 36 cells instead of trays that hold 72 seedlings.
This allows optimum room for growing strong seedlings that can go from the seed tray directly to the garden or flowerbeds. That helps eliminate the time consuming process of transplanting into larger pots before planting day arrive.
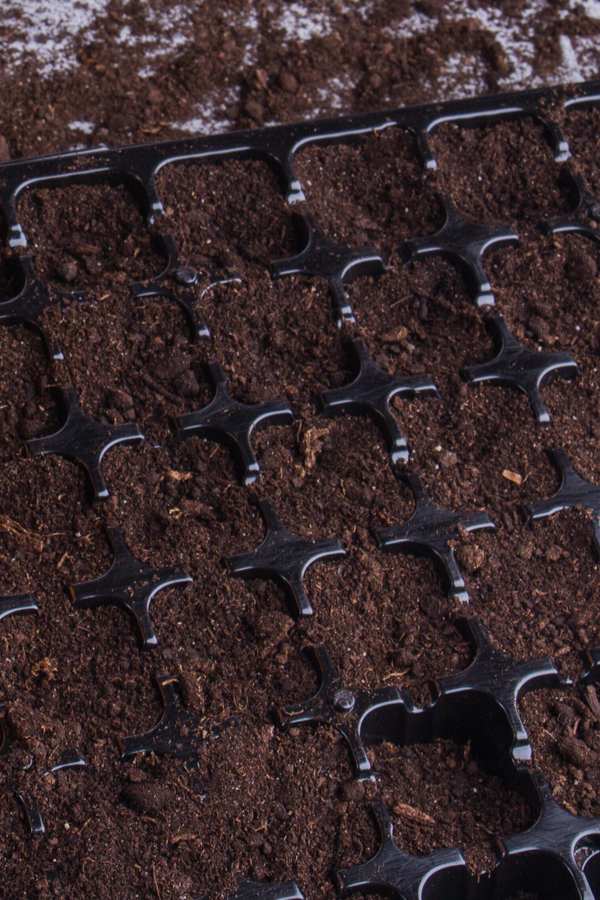
Fill your trays a few days prior to planting. This allows plenty of time for the soil to settle, allowing you to top it off for full cells when planting. Select seed trays that are large enough to grow seedlings to planting size to eliminate double transplanting.
Fill your seed trays with your seed starting mix a few days prior to planting seeds. This allows time for the soil to settle, allowing you to top it off again when you plant seeds.
Moisten the soil prior to planting, but don’t saturate it. You want to have the soil moist to the touch, but not wet. Seeds will easily rot away in soil that is too wet. Likewise, they have issues germinating in soil that is too dry.
Planting & Germination – Starting Seeds Indoors
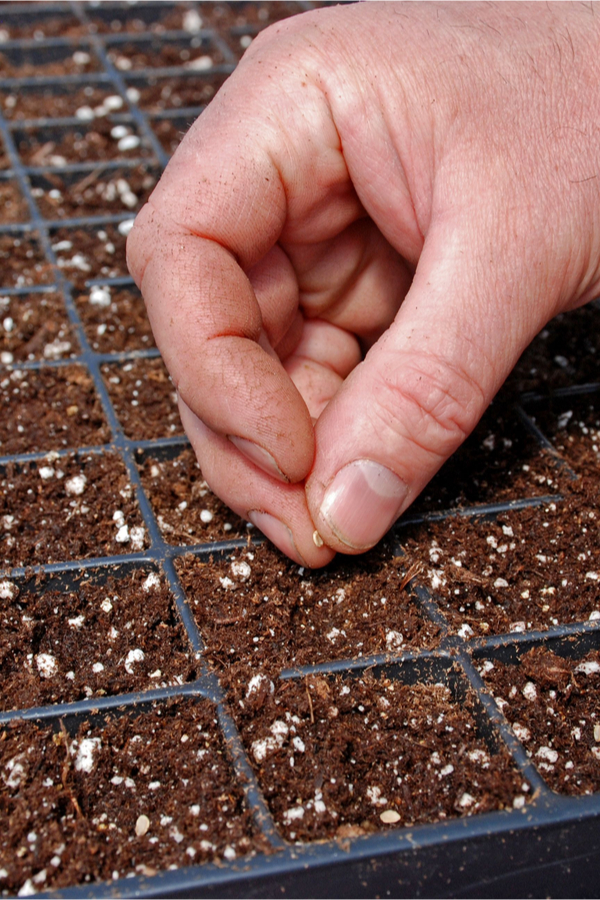
Always use fresh, high quality seeds for planting. To insure good germination, plant at least two seeds in 25% of the cells. This gives you extra seedlings to transplant into open cells in case any seeds don’t germinate.
Once all of of your cells have healthy seedling, simply pull thin the additional plants to keep one plant per cell.
There actually is no need to provide any additional light to plants until they germinate. We keep all our seedlings on our homemade seed starting stand with the lights off until the first seeds begin to sprout.
Fill your seed trays with your seed starting mix a few days prior to planting seeds. This allows time for the soil to settle, allowing you to top it off again when you plant seeds.
Moisten the soil prior to planting, but don’t saturate it. You want to have the soil moist to the touch, but not wet. Seeds will easily rot away in soil that is too wet. Likewise, they have issues germinating in soil that is too dry.
Planting & Germination – Starting Seeds Indoors
Always use fresh, high quality seeds for planting. To insure good germination, plant at least two seeds in 25% of the cells. This gives you extra seedlings to transplant into open cells in case any seeds don’t germinate.
Once all of of your cells have healthy seedling, simply pull thin the additional plants to keep one plant per cell.
There actually is no need to provide any additional light to plants until they germinate. We keep all our seedlings on our homemade seed starting stand with the lights off until the first seeds begin to sprout.
Use domes or plastic wrap to cover seeds until they begin to germinate. This keeps the soil moist for the seeds. We rarely have to moisten the soil after planting until plants begin to emerge.
Not only is it unnecessary until they sprout, having the lights will also dry out the soil quicker and can cause slow germination. Heat mats can be used, but with starting vegetable and flower seeds, they really are not necessary (we have never used them). Simply keep in a warm room in your house, and that is more than enough heat for germination.
Keeping the soil lightly moist after planting is a big key to good germination. The easiest way to do that is to keep seeds covered until they start to pop out of the soil.
Many seed starting kits come with a large plastic dome that makes quick work of covering them up. You can also easily make your own from a bit of plastic wrap loosely fitted over the top of the trays.
Lighting – Starting Seeds Indoors
When it comes to starting vegetable seeds, windows and window sill growing is never a good idea. Unfortunately, plants simply don’t get enough light. Most end up spindly and weak from reaching sideways for the far away light.
But no worries, ordinary and inexpensive T8 or T25 fluorescent or LED shop lights work incredibly well. Last year, we switched to all LED 4′ long shop lights and they worked like a charm. Product Link : LED Shop Lights
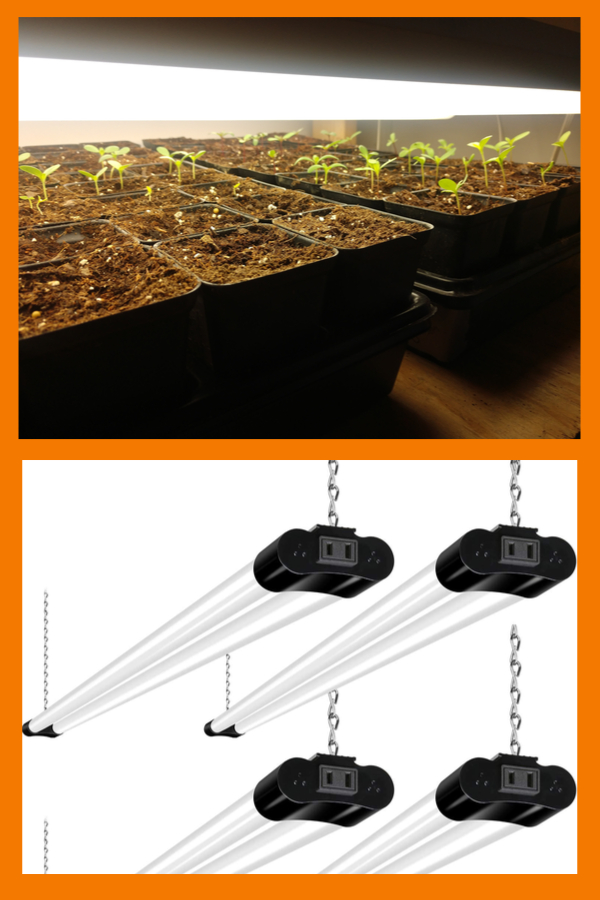
Whether using LED lights or fluorescent lights, the key is to keep the lights close to the top of the plants as they grow. We have found 1.5″ inches above the tops to be perfect for slow, steady growth.
Not only are LED lights extremely inexpensive to operate, the lights themselves will last for 5+ years at minimum. Whether using LED or fluorescent bulbs, the key is to keep the plants close to the light – about 1- 1/2″ above plants as they grow.
This creates strong, steady growth to develop thick transplants that are ready for the great outdoors. Keeping the bulbs too far away makes the plants stretch too quickly for the light.
Watering & Lighting As Seedlings Grow – Starting Seeds Indoors
As young seedlings develop, proper light and watering are the two biggest keys to success. Continue to adjust the lights to keep them 1.5″ above the top off your plants as they grow. Lights should be kept on about 10 to 12 hours each day.
When seedlings are just a few days old, watering with a spray bottle is best. It keeps soil most without injuring plants with a strong stream of water. As they grow, the plants will need more water. Check daily and as soil dries out, water as needed.
Hardening Plants Off Before Planting – Starting Seeds Indoors
One thing to avoid is to take your plants directly from the indoors and plant outside. Before this happens, they need a bit of time to adjust to sunlight and temperature. This process is known as hardening off.
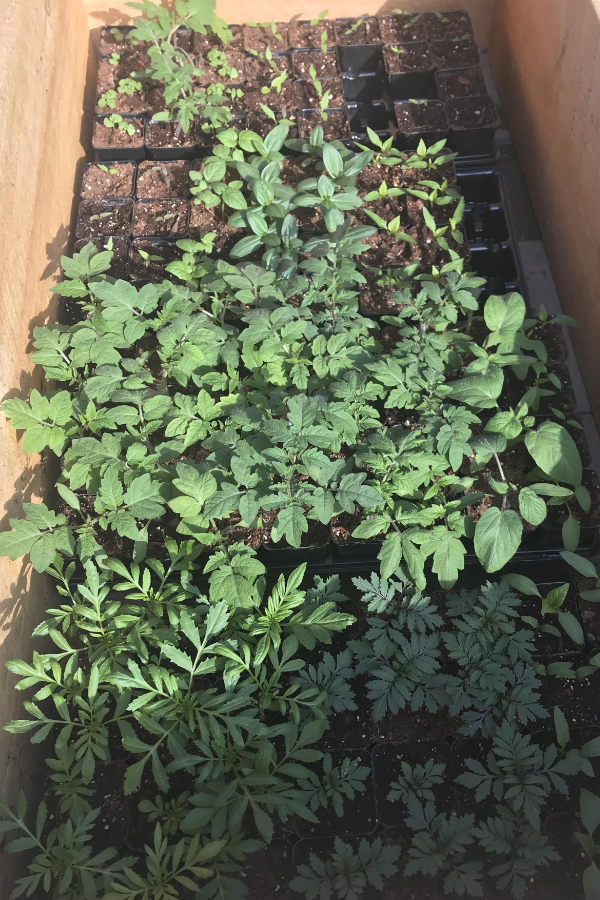
A few weeks before planting day, we begin to take our seedlings outdoors during the day. This helps them adjust and get ready for life outdoors.
As plants grow and daytime temperatures begin to warm up, we take our plants outside during the day to begin getting accustomed to the outdoors. Be sure to keep them protected from strong winds and even rain early on.
Usually by the end of April, we start to keep them on the porch longer and longer, and near the end, only bringing them in or covering them if there is a threat of frost. By planting day (May 15th for us) – they are toughened up and ready to grow!
Here is to starting your seeds indoors this year, and to an incredible garden season! Happy Gardening, Jim and Mary.
No comments:
Post a Comment