Learning how to dry fresh herbs at home is easy, and there's no replacement or substitute for doing it yourself. Learn the best methods for drying herbs at home in this post!
Growing an herb garden is an excellent place for a beginner gardener to start, and making your spice blends at home is a frugal way to save on your grocery bill.
Why I Love Growing and Cooking With Herbs
When drying your own herbs, you know that they haven't been sitting on the shelf at the grocery store for years, and your food will taste much better because you are using ingredients from your garden.
Cooking with fresh herbs is incredible. I love adding fresh basil before serving my homemade tomato soup, and dill to this Ukrainian Borscht recipe, or having rosemary, thyme, and sage on hand to make marinated cheese balls.
The depth of flavor is so much more than the dried version. However, if you live in a climate that has cooler winters, then not all of your garden herbs are available year-round.
So like any true Pioneer, we're preserving our herbs for use during the winter. When cooking with dried herbs, I put the herbs in at the end of the cooking time to maximize the flavor.
If you're looking for more of a fresh herb flavor, try preserving herbs in salt following this homemade celery salt recipe or this recipe for preserving fresh basil.
When to Harvest Herbs
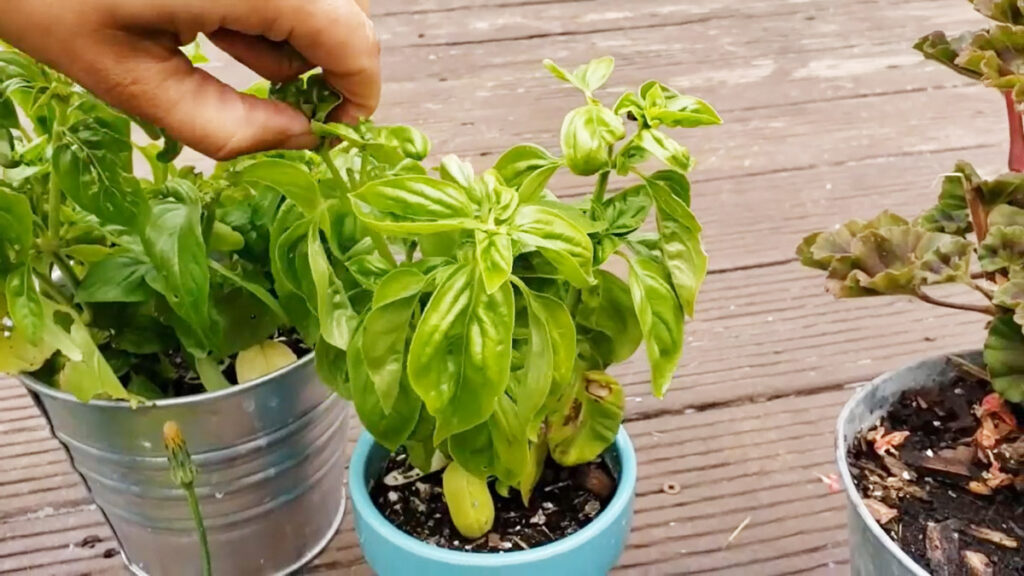
It's crucial to know how to prune and harvest herbs correctly because you want to get the most flavor out of your herbs.
As an herb grows, it has the most intense flavor in the leaves just before it flowers. If you aren't ready to harvest, it's best to clip off the flower buds to keep the plant from putting its energy into the flowers.
The best time of day to harvest herbs is in the early morning. Herbs have the highest concentration of oils in their leaves at this time of day. You want to gather right after the dew has dried but before the sun begins to heat the air and plant.
Basil is the exception to this rule and can be picked later in the morning.
How to Harvest Herbs
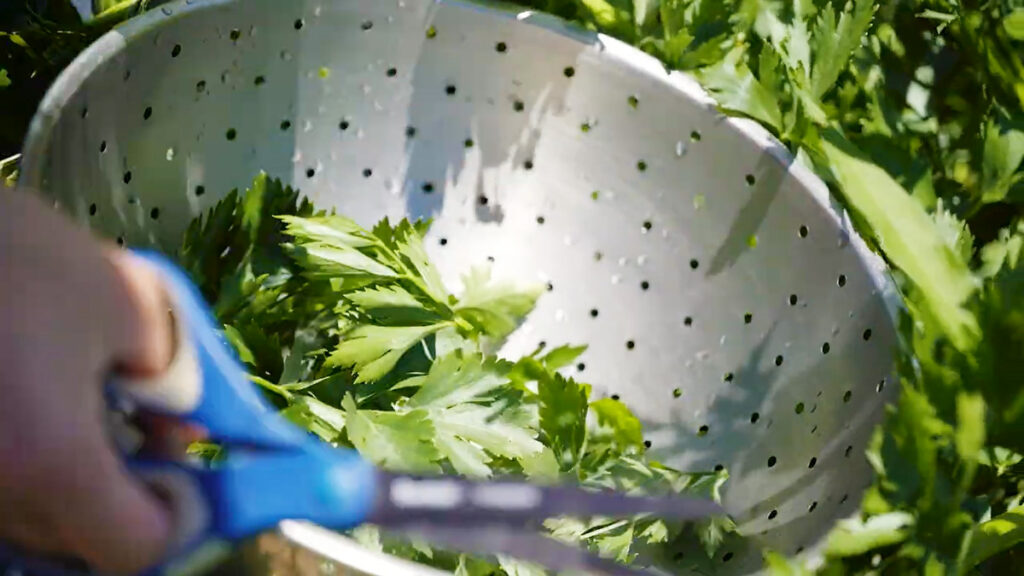
The part of an herb used for cooking is generally the leafy part. I find it best to use scissors and cut off the entire stem to prevent the leaves' oils from rubbing off on your skin. Minimally handling the plant allows oil to retain more in the leaves when needed.
Lightly rinse the herbs to remove any dust or other unseen debris. I'm sure you practice organic gardening at home, so we don't have to worry about any chemicals or pesticides.
Place herbs on paper towels to absorb the excess water and dry completely.
Drying Methods Used to Dry Herbs
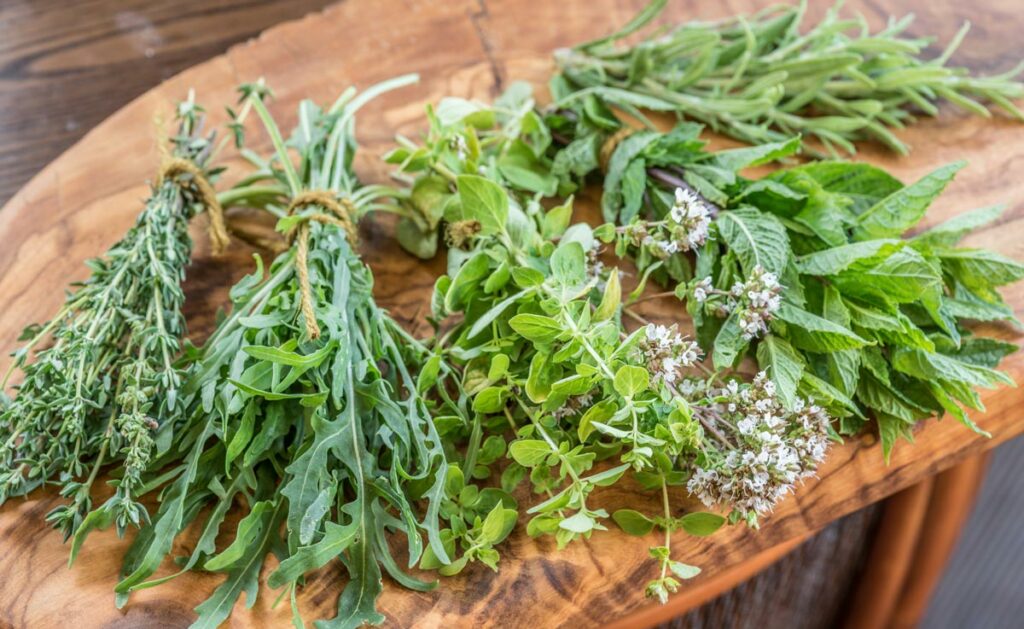
There are several ways to dry herbs. The two ways I prefer are the hanging method and using a dehydrator.
- Dehydrator – This is the method I use most because of our damp weather in the Pacific Northwest. After a ton of research, I purchased my Nesco Square Dehydrator due to its design to hold more food per tray than the circle varieties, and I liked the price point. I've had my Nesco for more than five years and love it. We've dehydrated fruit leather, jerky, candied apples, and herbs. I've run it for two days straight without any problems, and it's extremely quiet. You can also purchase mesh tray liners here.
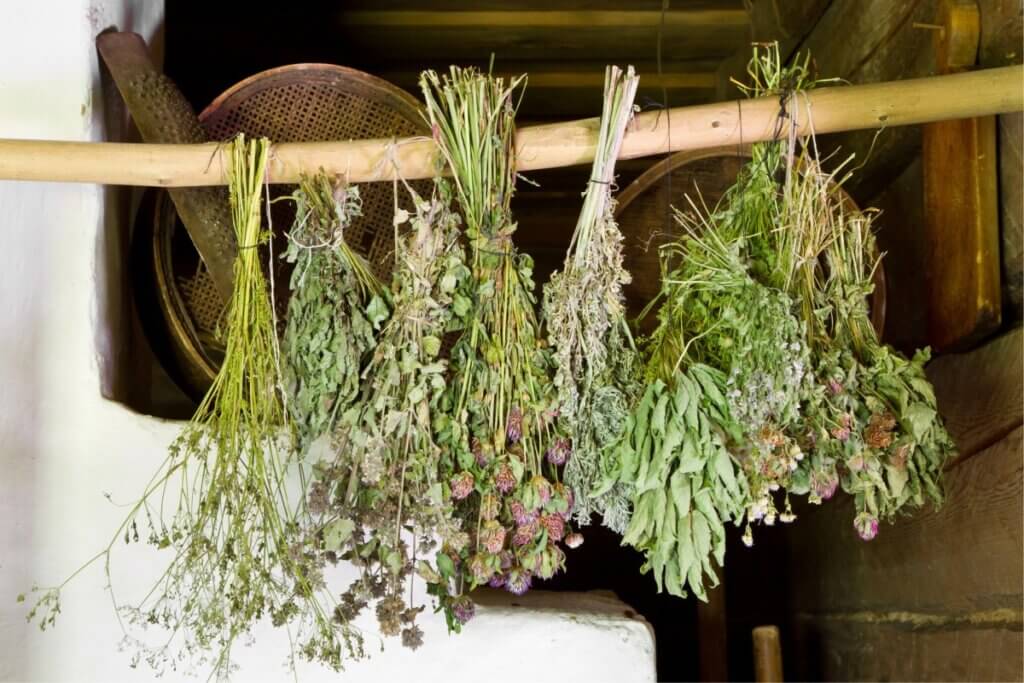
- Hanging Method – This method (also known as air drying) requires no special equipment, and anyone can do it.
- Freezing – Freezing is an option that some people find retains more flavor. You can add frozen herbs directly to your food when cooking, which works best in foods such as meats and vegetables.
- Oven Dry – I don't recommend drying fresh herbs in the oven, as most ovens' lowest setting isn't low enough to allow the herbs to dry without burning to a crisp.
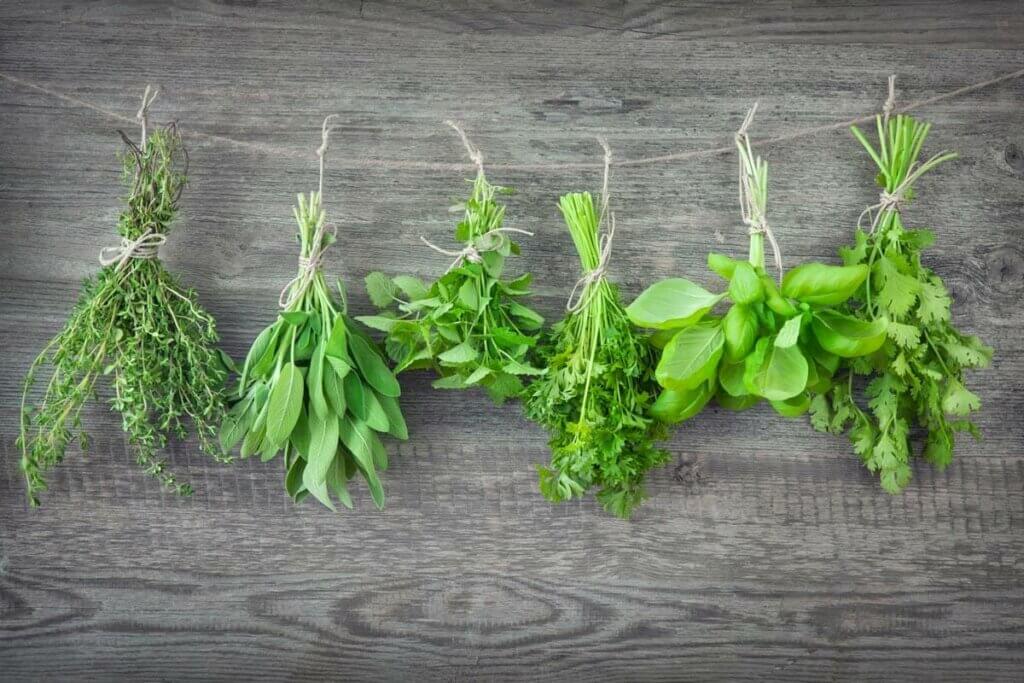
How to Dry Fresh Herbs – Hanging Method
Tying the stems together in this method is critical. Moisture content reduces as the herbs dry, and they shrink together. Another vital part to remember is to hang them upside down. Gravity pulls the essential oil into the leaves, which is the part we want to keep.
Supplies Needed
- Fresh Herbs – Make sure your herbs are freshly cut with no spots or bruising on the leaves.
- Twine, String, or Rubber Band – You'll need something to secure the stalks together.
- Dry Location – A dry location out of direct sunlight with plenty of airflow is necessary for the best drying environment. Pro-Tip: If you don't have a place away from sunlight, use a paper bag to cover the herbs as they dry. Paper bags will also protect the herbs from dust that may settle onto them as they hang to dry. Simply create a hole in the bottom of the bag for the stems to poke through and hang the bag around the herbs.
- Hook or Nail – This is needed to secure the upside-down bunch of herbs.
Instructions
- Tie the ends of four or five stalks together.
- Hang the bunches upside down in a warm, dry area, out of direct sunlight.
- Allow herbs to dry until the leaves crumble at your touch.
- Remove the leaves from the stems, keeping them as whole as possible (this allows for more flavor when it comes time to use them).
- Store the dried leaves in an air-tight container (you know how I love a good Mason jar!).
- Label contents of the container.
Note: Moisture content and climate will be factors, and it could take weeks to months for herbs to dry. Just be patient and use the paper bag trick if you're concerned about dust or debris.
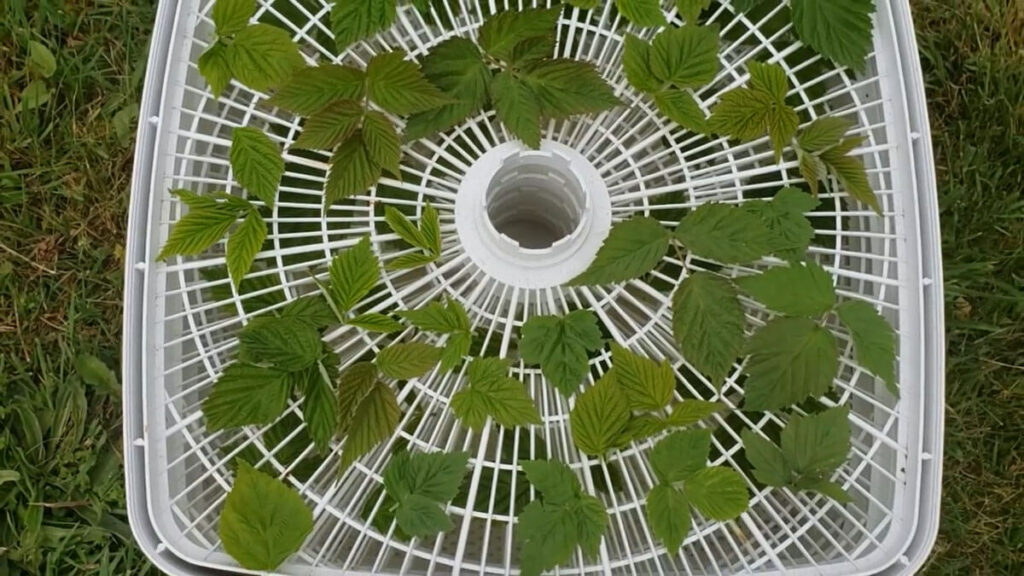
How to Dry Fresh Herbs – Dehydrator Method
Supplies Needed
- Fresh Herbs – Make sure the herbs are fresh with no spots or bruising on the leaves.
- Food Dehydrator – Any dehydrator should work. If you have a Nesco like mine, try these Nesco screens. Herbs shrink as they dry, and these screens keep them from falling through the cracks.
Instructions
- Place herbs in a single layer on the food dehydrator tray or drying rack, ensuring they aren't touching.
- Herbs dry best at 95° F. If you live in an area with high humidity, you may need to increase the temperature slightly, but try to stay as low as possible to maintain as many nutrients as possible.
- Dehydrating times for herbs will vary depending on the size of the leaves and the moisture content. Some herbs will dry in 12 to 24 hours, and others may take several days.
- Herbs are dry when they crumble at your touch.
- Store the dried leaves in an airtight container.
- Label contents of the container.
Pro-Tip: Herbs don't transfer flavors when drying, so you can dry them together. I have dehydrated four trays at once with chocolate mint, spearmint, oregano, basil, and thyme.
How to Tell When Herbs Are Dehydrated
Take a leaf between your thumb and pointer finger to test if the herbs are dry. It should crunch and crumble when pressed.
If you're unsure whether herbs are dry, you can take them out of the dehydrator and place them immediately into a ziptop baggie. Seal the bag and watch for any condensation to form on the inside of the bag. If you see any moisture, they're not dry yet.
The smaller the item, the faster it will degrade and lose its flavor. Leave the leaf in its largest form for storage and grind it up before use.
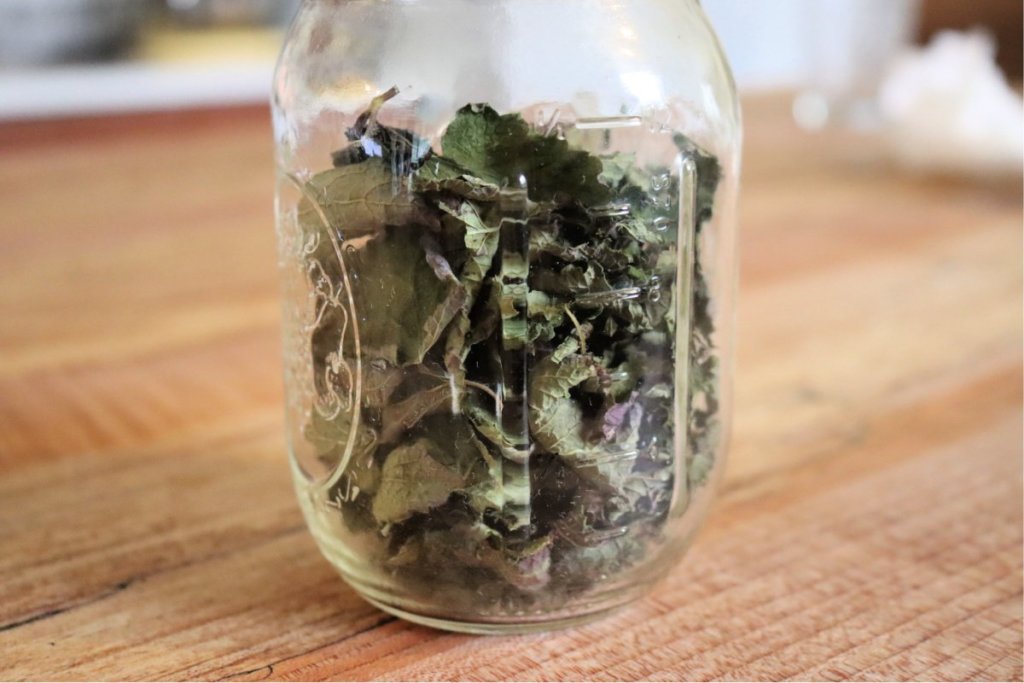
How to Store Dried Herbs
After the drying process, it's time to get them packaged in containers and stored on the shelf. It's best to keep dried herbs in a dark, cool, dry place to retain the most flavor and extend the shelf life.
Store herbs in an air-tight container. I prefer glass jars as plastic containers seem to affect the flavor of the herbs over time.
Mason or Weck jars work well for herbs. Make sure to label the contents of each container.
How to Use Dried Herbs
Here are my favorite herb blends to make (including FREE printable labels for the jars!).
Have you dried herbs at home? Share your experiences below! Especially if you have any favorite herb blends to share.
No comments:
Post a Comment