Estimated reading time: 8 minutes
If you enjoy the look, scent, and feel of natural soap you’ve purchased from a grower’s market or a natural foods store, you may be considering making some yourself.
Homemade soaps do not contain the added chemicals, fragrances, and parabens that store-bought soaps do. They also don't add waste to the environment with plastics, cardboard, and other packaging.
Soap making can be an artistic, satisfying hobby that saves money and could even provide a side income. Unfortunately, though, many people rush into the process without carefully considering what can go wrong.
This article shares the basics for making soap at home and describes some of the common soap making mistakes people make and how to avoid them.
Want to save this post for later? Click Here to Pin It On Pinterest!
Soap Making Basics
The two methods for making soap from scratch are hot process and cold process. In hot process, external heat accelerates saponification. Saponification is the process that converts acid (fats and oils) into soap by combining them with a base (lye, which is sodium hydroxide).
Most soaps made with hot process can be used the next day, but waiting a week often can produce a harder bar. Cold process uses internal heat produced during saponification. Soap made this way will harden in four to six weeks.
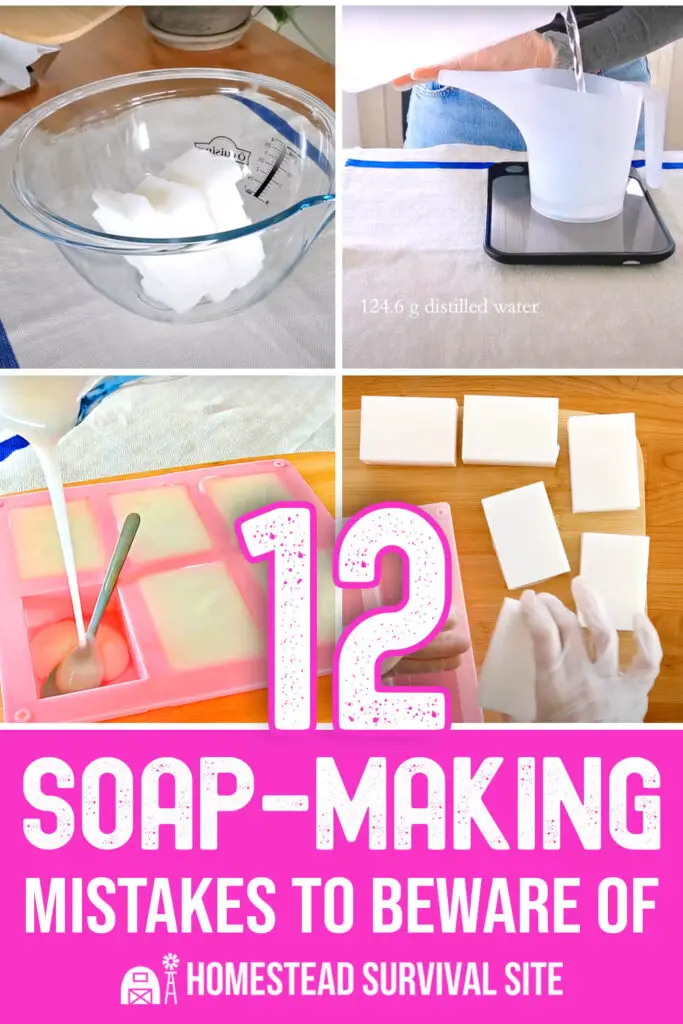
Here are basic beginner-friendly directions for hot process soap. (More details are provided below and in this video.)
- Weigh and measure all soap ingredients.
- Melt the oils. (Many beginners use a crock pot.)
- Mix the lye solution. (Wear safety gear as noted below.)
- Combine the oils with a stick blender.
- Cook the mixture.
- Add color and fragrance as desired.
- Prepare and fill your mold.
- Allow soap to harden.
Common Soap Making Mistakes
Here is a list of the typical mistakes beginning soap makers make.
1. Not gathering the right tools
As with any hobby or creative activity, you need to have the right equipment in place to make soap. Here’s a list of what you need:
- Scale – You’ll need a basic kitchen scale to weigh the liquid ingredients you use. Measuring by volume only with a measuring cup can cause inaccuracies.
- Thermometer – Recipes vary, but one thing doesn’t – you’ll need to know the temperature of your solutions and oil before mixing them together. A thermometer like this one will do the trick.
- Blender – Soap making requires a lot of stirring. An immersion (or stick) blender will save your wrist and time.
- Small containers for lye – You’ll want to have small stainless steel or heavy-duty plastic containers for measuring and mixing lye. Glass containers may shatter.
- Containers for mixing soap – Plastic measuring cups like these are handy for measuring and mixing your soap better. Avoid aluminum or non-stick surfaces that can interact negatively with the soap batter.
- Spoons and spatulas – Heavy-duty, long-handled spoons are necessary for stirring the lye solution and then the soap better. Once again, avoid aluminum and non-stick-coated tools.
2. Not planning for safety
To protect your eyes, hands, and other exposed skin, you’ll need to prioritize safety.
- Safety goggles will protect your eyes from any splashes of liquid or soap batter.
- Disposable gloves like these nitrile dishwashing gloves to safeguard your hands and forearms.
- Face mask to help prevent you from inhaling fumes when mixing the lye.
3. Not having molds on hand
You can use many household objects—even a rinsed milk carton, a loaf pan, or a shoe box —as molds, but you’ll prefer to have some molds designed for soap making. You can choose silicone rectangular molds like these or get creative with decorative molds like these. The sky’s the limit.
4. Using metal with lye
It can be dangerous to use metal with lye. Also, lye can eat away at wood. Only use heavy-duty plastic or stainless steel tools and containers.
5. Starting out too fancy
It can be tempting to begin your soap making with a complicated design. However, beginners should start out with a basic design and recipe first. That way, you’ll gain experience in the process and learn the basic techniques.
Here’s a good soap recipe for beginners. And this video shows another simple recipe for making cold process soap.
6. Not considering the temperature of your room
A thermometer will help you test the temperature of your liquids, but the temperature in the room you’re in matters too. A too-warm room can harm the soap making process, while a too-cool room can interfere with the gel phase. Other temperature extremes can impact how your soap looks.
7. Not using a tested fragrance
Purchase fragrance oils from a supplier that has tested them for the rigors of soap making. Otherwise, the fragrance could discolor your soap or cause it to separate or become grainy. Here are some tested fragrance options.
8. Blending too much or not enough
Just like in baking, there is an art to mixing soap batter. Pay close attention to the thickness of the batter as you use your stick blender. It can be hard to add designs with a thick batter. Use the blender sparingly in short bursts to achieve the best results.
9. Using inactive lye
Over time, lye will absorb moisture from the air and become clumpy. Check the date on the package; you may need to buy a new container. Using too much lye can also make the soap hard and crumbly.
10. Not buying in bulk
After you get the hang of soap making, you can save money by purchasing your consumable supplies in bulk quantities. This resealable container of lye is an example.
11. Not learning from the experts
You can get inspiration and tips on ingredients, fragrances, and natural ingredients by turning to people who’ve been making soap successfully for a long time. Here are a few resources.
- The Natural Soap Making Book for Beginners by Kelly Cable
- Ultimate Guide to Building a Soap Making Business Empire by Ally Russell
- Cold Process Soap Making 101 by Agnes Toros
- Pure Soapmaking by Anne-Marie Faiola
- Soapmaking the Natural Way by Rebecca Ittner
12. Not thinking about the extras that make things easier and more fun
Here is a list of soap making tools to consider after you’ve had a few successful trial runs.
- A stainless steel strainer with a funnel for use with herbs and infused oils when making soap
- A mesh teaspoon for making find designs in your soap
- An inexpensive coffee grinder for grinding herbs, flowers, oats, and other additives to your soap.
- Soap stamps – You can personalize your soaps with various stamps like this letter one or this handmade one.
- Soap cutter – A wire soap cutter can help you create the same size bars.
FAQs About Homemade Soap
Where can I get lye for soap making?
Look for the words 100% lye (or 100% sodium hydroxide) on the packaging. In other words, do not use drain cleaners that contain lye and other ingredients when you make soap.
Our pioneer ancestors made soap with something called potash lye, which they made with wood ash and water. Making potash lye is a long, arduous process that usually produces a chemical of varying strength.
Can I make my soap without lye?
The short answer is no. Chemically-speaking, if you do not use lye, it is not soap. However, if using lye concerns you, you can use the melt and pour method. Another option is to buy regular cold process soap and re-batch it yourself.
When handled with care, lye should not be a concern. For example, if you use bleach, you can use lye with no problem.
Can homemade soaps go bad?
Like most any product, a homemade soap’s freshness depends on its ingredients and how and where it is stored. If you store your soap in a cool, dry, dim environment, it is likely to stay fresh or even improve with age.
However, while commercial soaps have additives to preserve them for several years, homemade soaps contain oils that may become rancid under poor conditions. Typically, homemade natural soaps last well for up to a year.
How can you tell a homemade soap has gone bad?
Trist your senses. Here are some signs the soap should be discarded.
- Changes in color
- Change in texture
- Unpleasant odor
- Appearance of mold
- Orange spots or orange hue
- Dry, cracked appearance
What can I do to help my soap last longer after use?
Soap will dissolve in water – that’s the plan. For longer lasting soap, your best bet is to allow it to dry between each use.
Don’t leave it in a spot in the shower or bath area where it continues to get wet or stay wet. Place it in a spot away from the water flow where the water can drain, and the soap can dry out.
Like this post? Don't Forget to Pin It On Pinterest!
You May Also Like:
The post 12 Soap-Making Mistakes to Beware Of appeared first on Homestead Survival Site.
from Homestead Survival Site https://ift.tt/hATmisQ
No comments:
Post a Comment