
By Steve Nubie
Flatbread Was the First Bread and in Many Ways, It’s the Survival Food of Civilization.
The first excavated record of a flatbread was found in the desert in Jordan. Carbon dating revealed that it was made 14,000 years ago. That’s quite a long tradition.
At its basic level, a flatbread is made with flour, water, and salt. That’s it. And many flatbreads consumed today are made with the same three ingredients from Na’an bread to flour tortillas to Matzo.
Cooking Styles Varied
Flatbreads were cooked with the heat available from cooking on a flat, hot rock to clay ovens and even tossed on open coals. Early flatbreads were improvised affairs made simply and quickly.
In some cultures, the flat piece of bread was used as a utensil to grab and grip food. Others dipped it into soups or stews and more than a few made sandwiches long before the Earl of Sandwich laid claim to the idea.
The Recipes Evolved
Over time, many cultures started to add ingredients to enhance this basic bread. Yeast was a big step up that led to bread loaves due to the rising qualities of yeast. Animal and vegetable fats were added to enhance the texture and flavor.
Before long, all manner of ingredients were added as primitive chefs got creative and tried experiments either due to curiosity or desperation.
We Eat Flatbreads More Than We Know
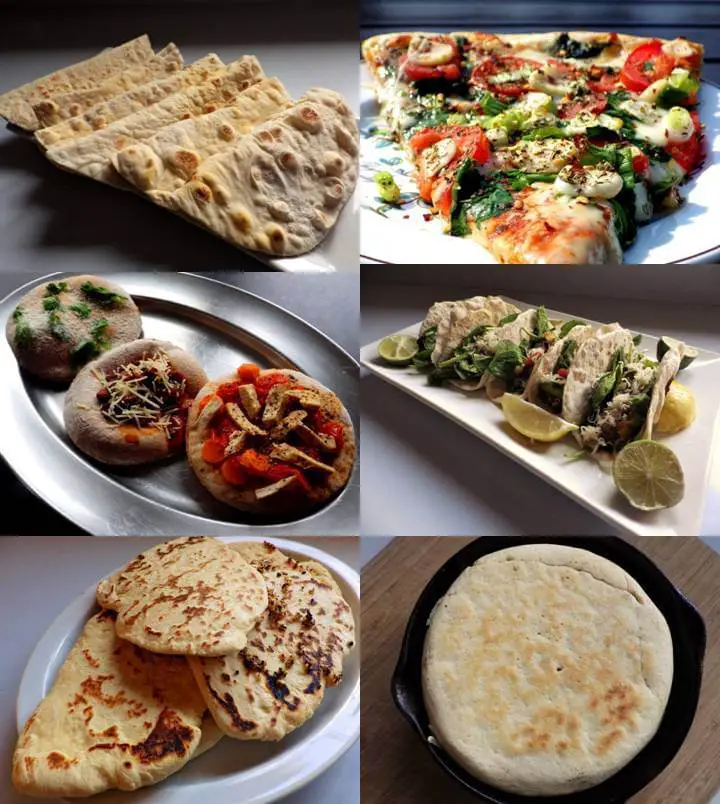
Tacos, tortillas, gyro’s, pizzas, pancakes, and more are all variations on flatbread. Some have exotic names like pissaladière and lavash but they’re all essentially flatbreads.
We’re going to explore 6 basic flatbreads from around the world. Once you discover how easy they are to make they may become a regular part of your baking.
Quick Navigation
There are hundreds of other variations from Russian Blini to English Oatcakes to Ancient Egyptian Bataw and they could fill a book.
But the recipes we’ve included capture a good representation of ingredient variations and cooking styles that pretty much cover the hundreds of flatbread types made throughout history.
Tortillas (Mexico)
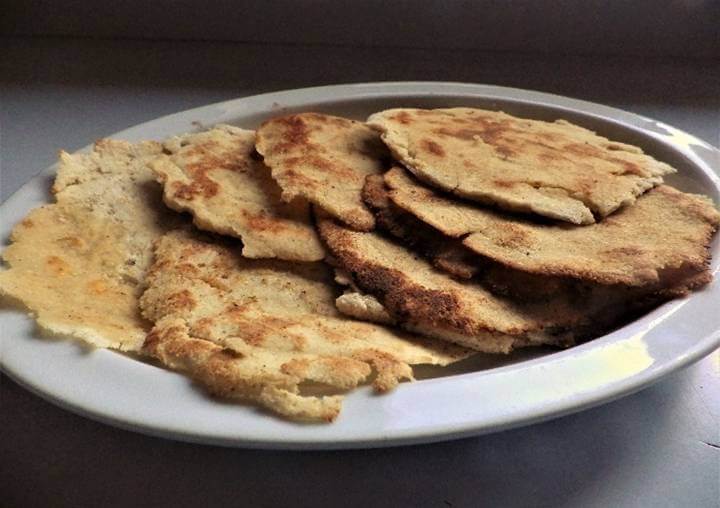
It should be no surprise that tortillas originated in Mexico, but what may surprise you is that it is a very ancient recipe documented at 12,000 years old from the Sierra Madre mountain range of northern Mexico.
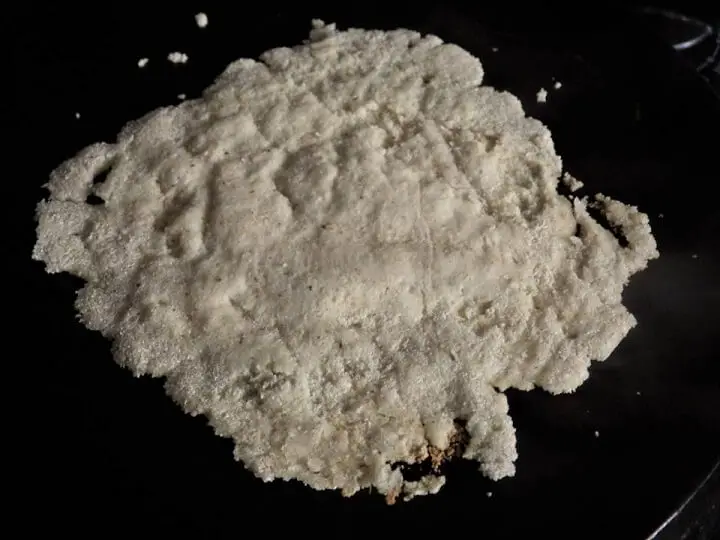
Tortillas were originally made from corn or maize and it was ground into a meal and mixed with water and salt, flattened and cooked either on a flat, heated stone, clay tablet, and later–cast iron.
A variation that we’ll cover is a tortilla made from flour which showed up in the 1500s with the arrival of the Spanish Conquistadors.
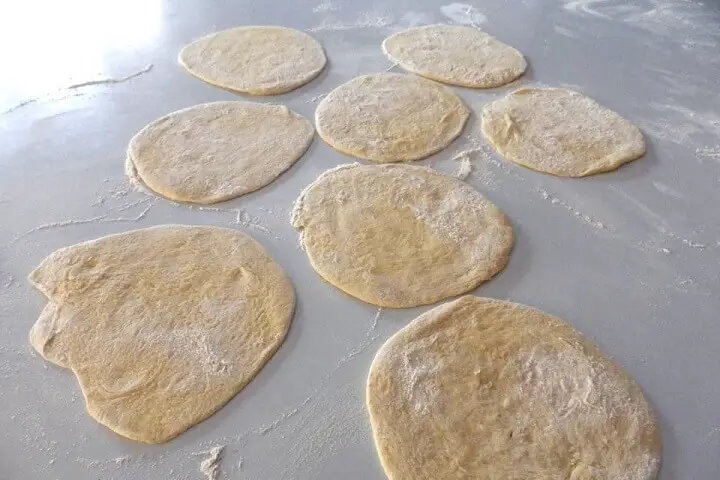
The tortilla dough is pressed flat either with a tortilla press or rolled out with a rolling pin.
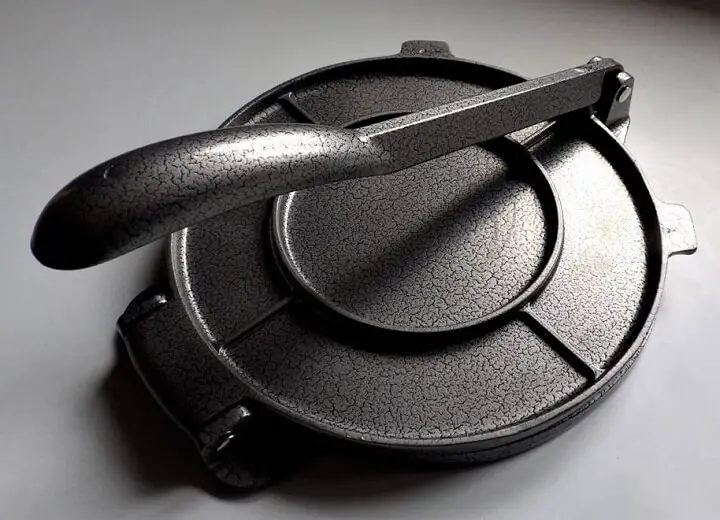
You can also flatten them with your hands. The size of the tortilla is up to you. Ideally, they’re cooked over a stove on a cast-iron skillet. They’re usually cooked one at a time and the cooking time is a minute to a couple of minutes per side.
Corn Tortilla Recipe
(Makes 10 to 12 tortillas depending on size)

Ingredients:
- 2 cups of cornflour (Masa Harina)
- 1 cup of hot (not boiling) water
- 1 teaspoon salt
Directions:
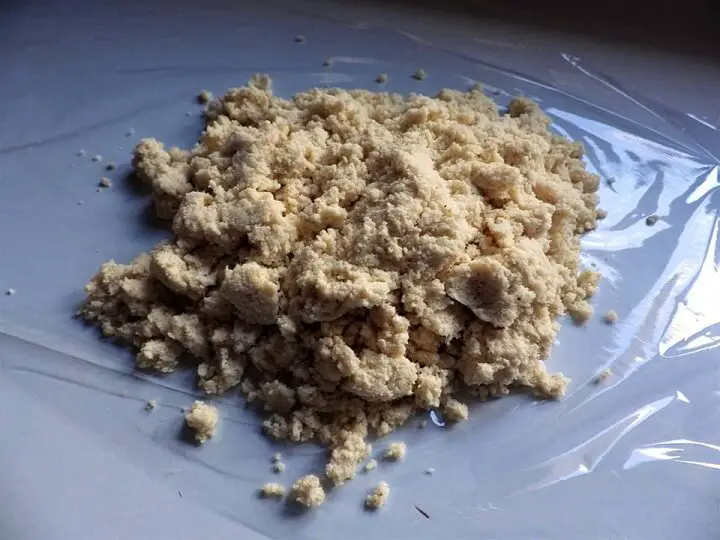
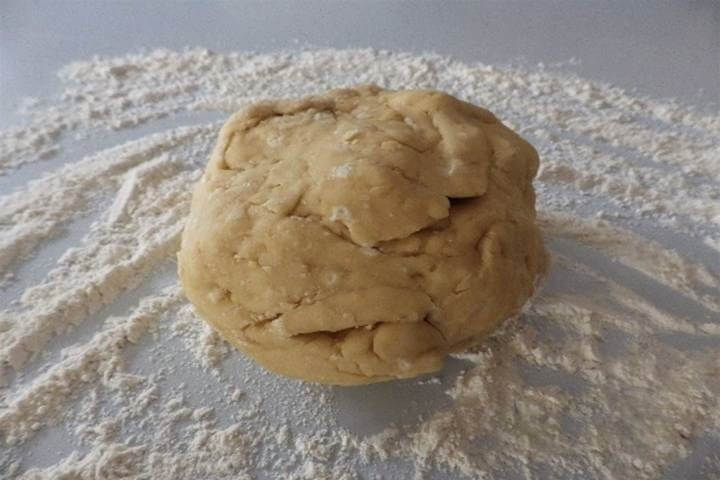
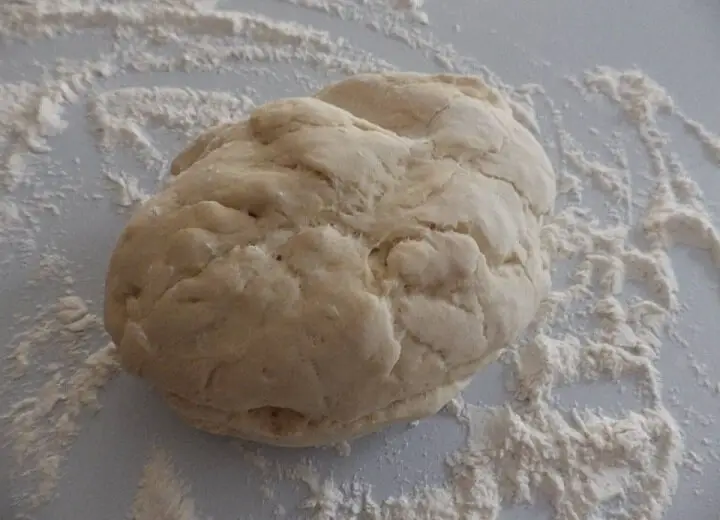
1. Add the cornflour, salt, and water to a bowl and mix with your hands. You will probably need to adjust the ratio of cornflour to water as the dough mixes, so keep checking. You want a dough ball that is not sticky but doesn’t crumble when you form it into a ball.
2. Pour the dough out onto a sheet of plastic wrap.
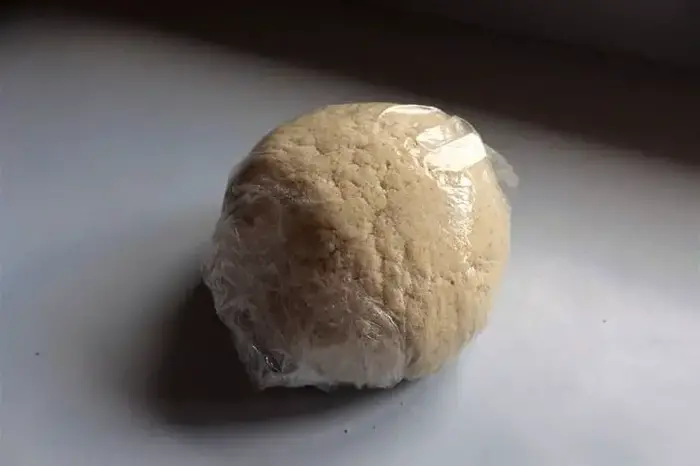
3. Roll it into a ball and wrap it tightly with the plastic wrap. Let the dough ball sit on the counter for 30 minutes.
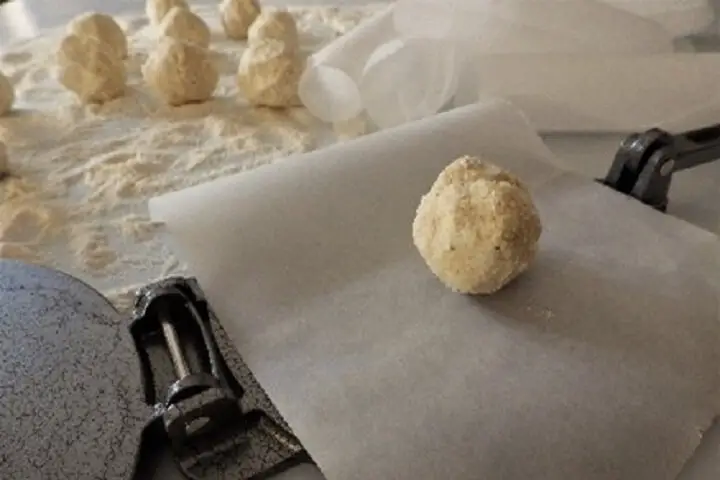
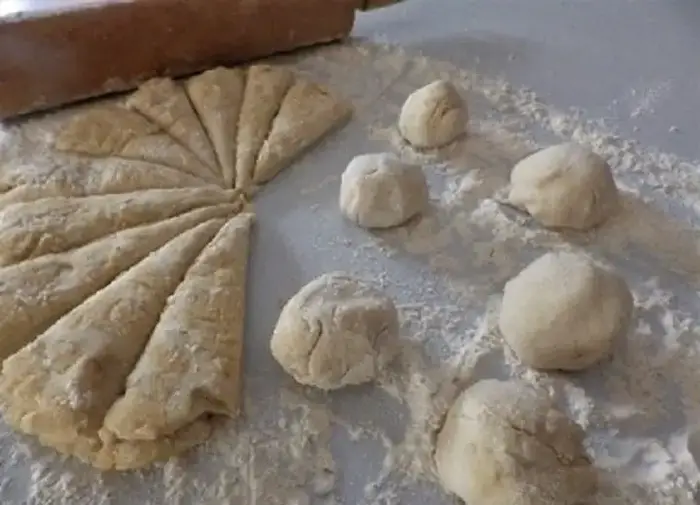
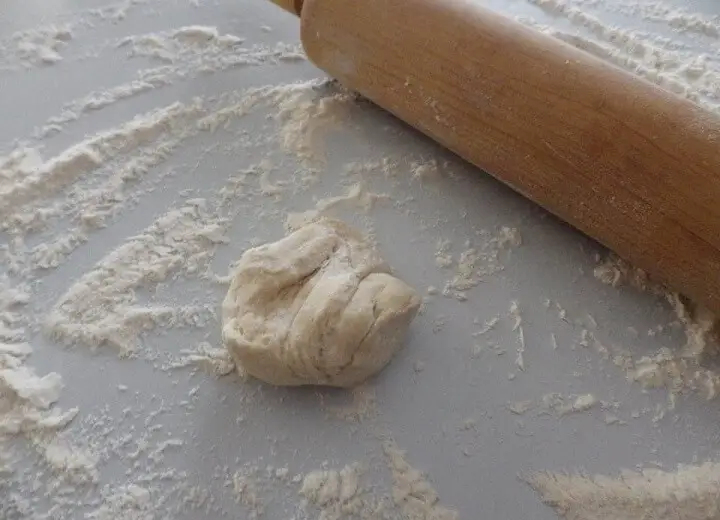
4. Divide the dough ball into chunks and form into balls about the size of a golf ball.

5. Place a sheet of wax paper or parchment paper on the tortilla press and press flat. Repeat with the other dough balls.
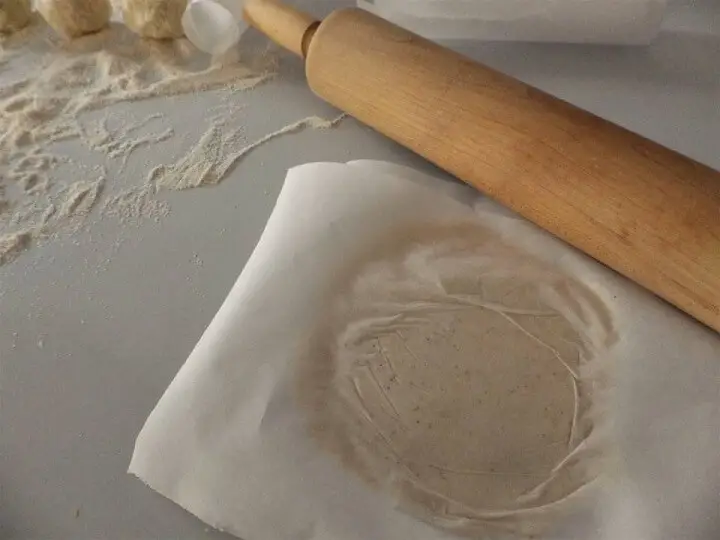
6. If you don’t have a tortilla press, use a rolling pin to roll the dough ball into a circle between sheets of parchment paper.
7. Heat a cast-iron skillet over medium-high heat until hot.
8. Toss a tortilla on the skillet and check the underside after a minute or less. Flip when one side is browned.
9. You can repeatedly flip until it has the color and texture you want.
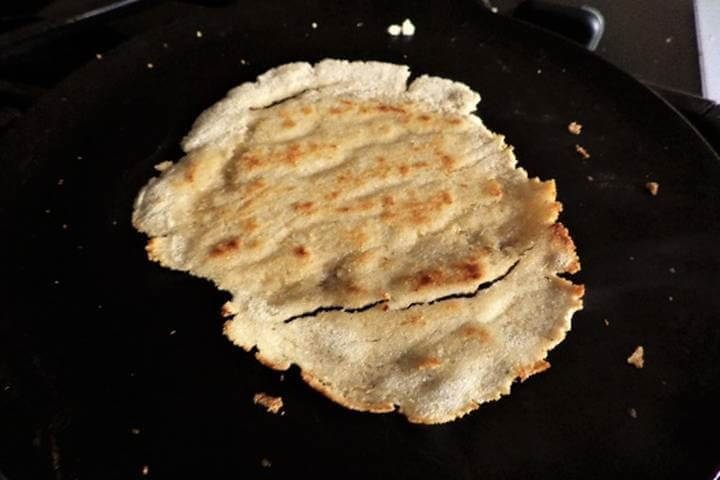
10. Remove to a plate and cover with a cloth to keep moist until ready to serve.
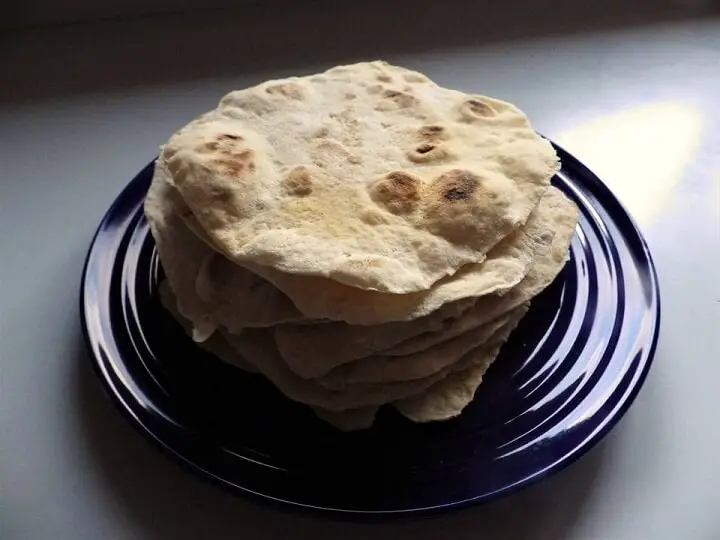
Flour Tortilla Recipe
(Makes 12 to 24 flour tortillas depending on size)
Ingredients:
- 4 cups of all-purpose flour
- 1 teaspoon of salt
- 2 teaspoons of baking powder
- 2 tablespoons of lard (you can substitute shortening or bacon fat)
- 1 1/2 cups of hot water
Directions:
1. Add the flour, salt, and baking powder to a bowl and mix to combine.
2. Slowly drop small chunks of the lard (or shortening/bacon fat) into the bowl and smash with a fork.
3. Slowly drizzle the water into the bread and mix until the dough comes together.
You want a dough ball that’s not sticky but doesn’t crumble.
4. Place the dough in a bowl covered with a cloth for one hour.
5. Place the dough ball on a lightly floured countertop and roll out.
6. Divide the dough into 24 pieces and roll into balls. You can form them into larger pieces if you want a bigger tortilla.
7. Heat a cast-iron skillet over medium heat until hot.
8. Open the tortilla press and place a dough ball on top.
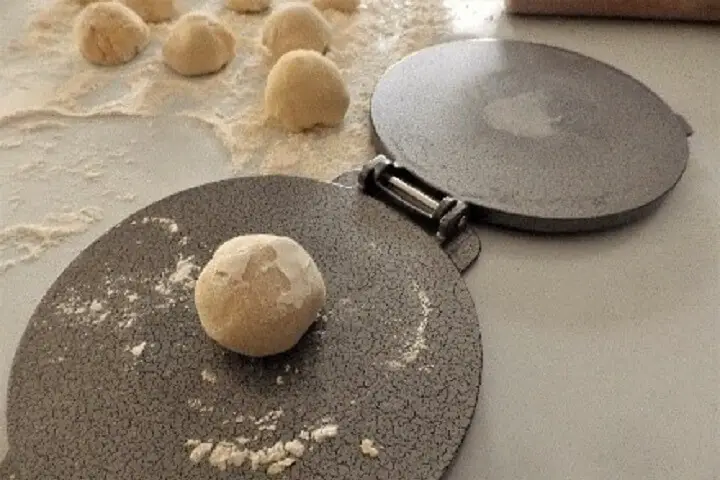
9. Press the dough ball flat. You could also use a rolling pin to roll out the dough balls on a lightly floured surface if you don’t have a tortilla press.
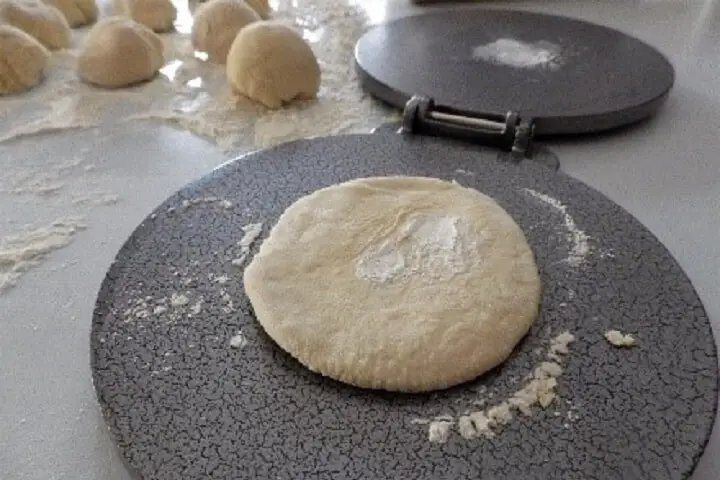
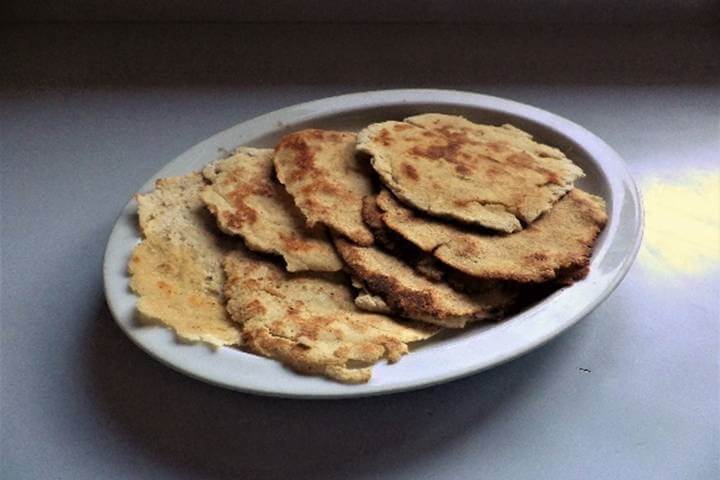
10. Drop the tortilla onto the skillet. It will slightly bubble.
11. Flip after the bubbles first form (about a minute) and continue to cook until both sides have hints of golden brown.
12. Place into a tortilla warmer or on a plate covered with a cloth until ready to serve.
Pitas (Greece)
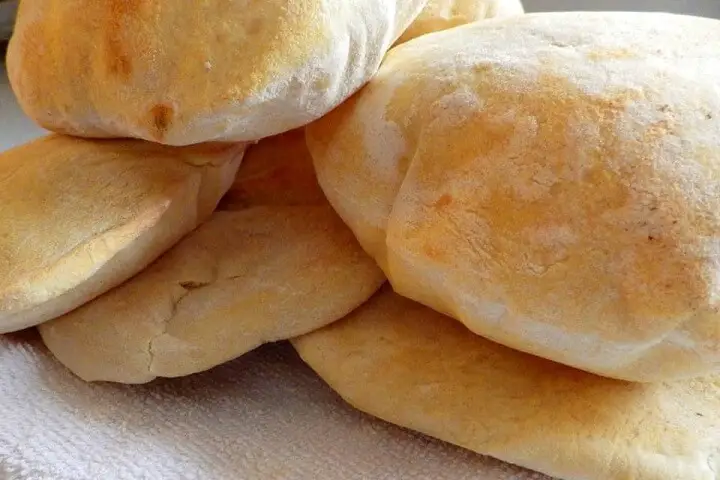
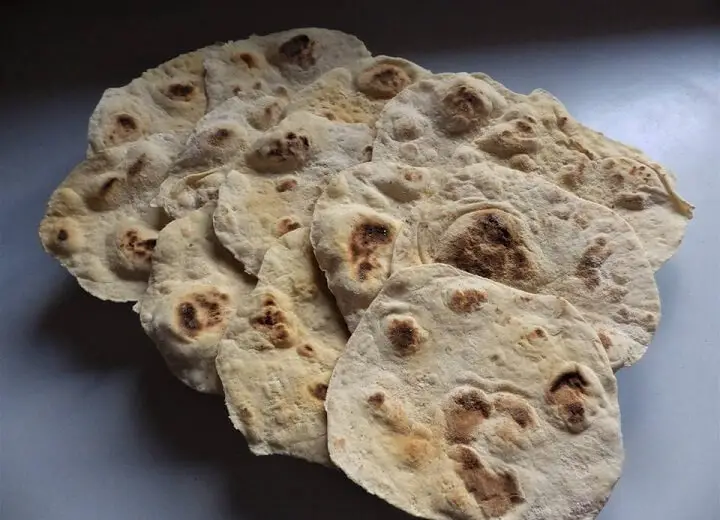
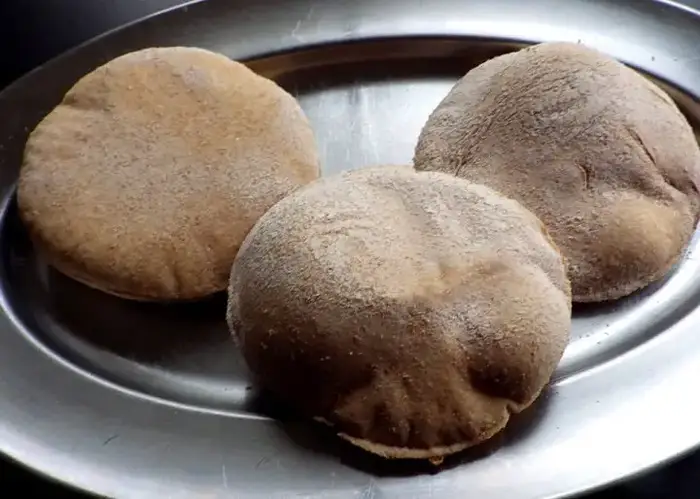
Pita bread is largely attributed to Greece, but is actually a type of flatbread popular throughout the Middle-East. Also known as “pocket-bread,” it has been a popular way to eat a variety of foods held in the pocket that occurs when the bread is baked. The secret to getting a puffed pocket shape is the addition of yeast and a very high oven temperature (500 degrees F).
The pitas should be baked on a pizza stone or cast-iron skillet. Place in the oven before preheating. You usually bake two at a time for a short period ranging from 2 to 4 minutes per side. Tongs are a good idea for turning the bread, but turn carefully at the edges because they will puff up and be somewhat delicate in the oven.
Ingredients:
- 1 1⁄2 cups warm water (110° F)
- 4 teaspoons olive oil
- 3 1⁄2cups bread flour, plus more for dusting
- 2 teaspoons sugar
- 1 teaspoon salt
- 2 1⁄4 teaspoons active dry yeast
Directions:
1. Combine the ingredients in a bowl and mix together.
2. Reach into the bowl and mix and combine with your hands and knead for 5 minutes.
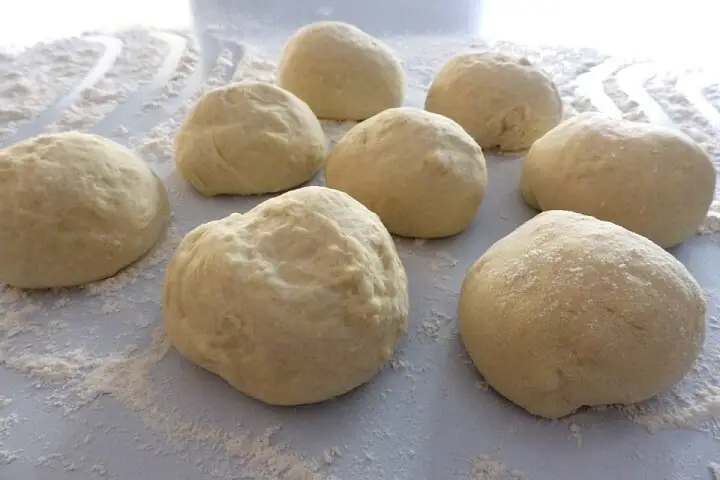
3. Form into 8 balls with your hands and place in a bowl.
4. Cover the bowl with a dish towel and let rise for 30 minutes.
5. Place a pizza stone or cast-iron skillet into the oven and preheat to 500 degrees F.
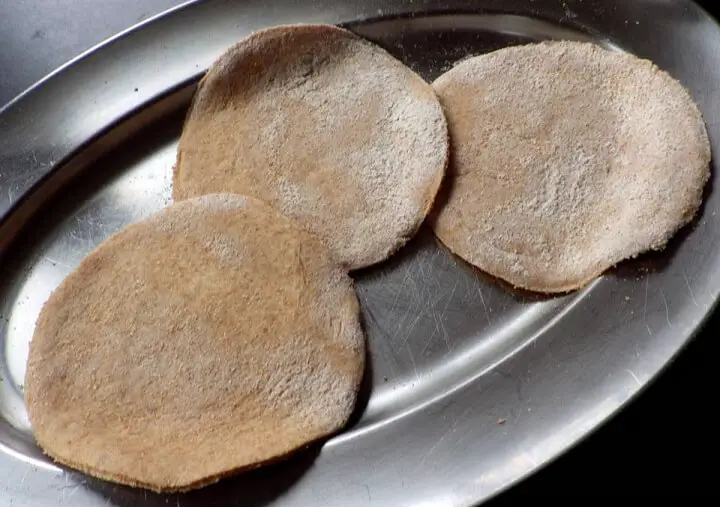
6. Roll out each ball into a flat, round about 6 inches in diameter.
7. Place them on a plate as you make them and keep them covered with a dry dishtowel.
8. Toss the pita dough onto the hot stone or skillet.
9. Check the bottom of the pita after a couple of minutes and if lightly browned, gently flip to the other side.
10. The pitas should puff up as they bake. After a few more minutes remove to a tray.
11. The pitas might deflate after sitting but they will easily open into a pocket when sliced.
12. Serve or store in a sealed plastic bag.
Pizza (Italy)
There’s little agreement on the origin of pizza, but it’s a fact that Ancient Romans ate a bread known as foccacia topped with a variety of ingredients. After the fall of the Roman Empire, pizza devolved to be seen as a bread for the poor.
One popular story reports that it all changed when a Neapolitan chef named Raffaelle Esposito created a special variation on a pizza to honor Queen Margherita of Italy in 1889.
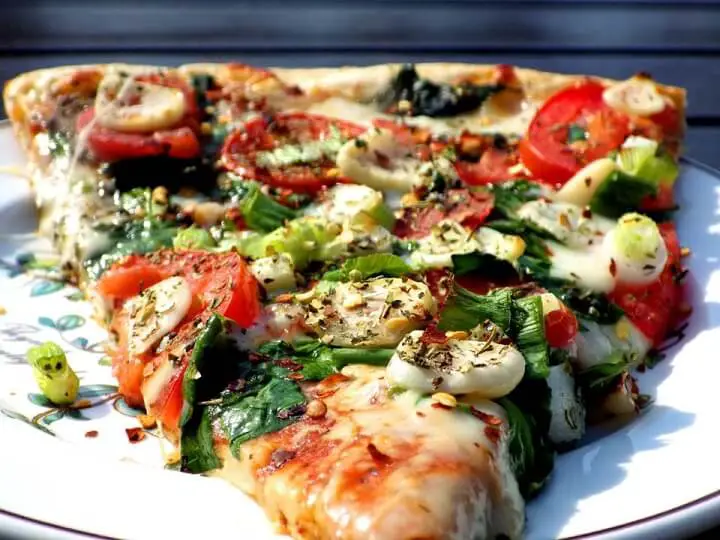
He wanted to present a dish with the colors of the Italian flag–red, white, and green and chose toppings rarely used on a pizza flatbread at the time: red tomato sauce, white mozzarella cheese, and green basil leaves. The result was a pizza known to this day as Pizza Margherita and pizza was famous in Italy ever since.
Pizza’s popularity soared after World War II when American soldiers returned from Italy with a craving for their newly discovered pizza.
You can top your pizza with anything you like but here’s the basic crust recipe and a general idea of time and temperature.
Pizza crust
(Makes two crusts)
Ingredients:
- 1 teaspoon salt
- 2 tablespoons sugar
- 1 cup water, plus 2 tablespoons water
- 2 tablespoons olive oil
- 3 cups bread flour
- 2 teaspoons of active dry yeast
Directions:
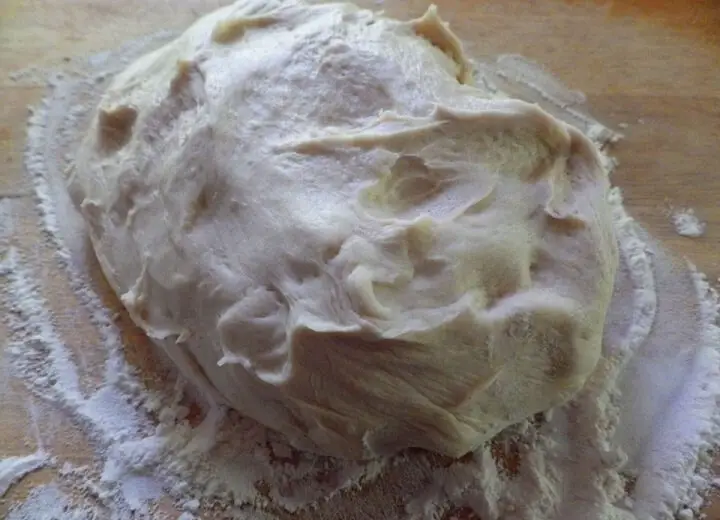
1. Put all the ingredients in a Mixmaster and use the dough hook to knead for 5 minutes. You can also knead by hand for 5 minutes.
2. When the dough is done, place it into a bowl greased with olive oil. Roll the dough around to coat it, then cover it and let it rise on the counter for about half an hour.
3. Place the dough on a floured countertop and toss it around in the flour.
4. Cut the risen dough ball in half and knead lightly.
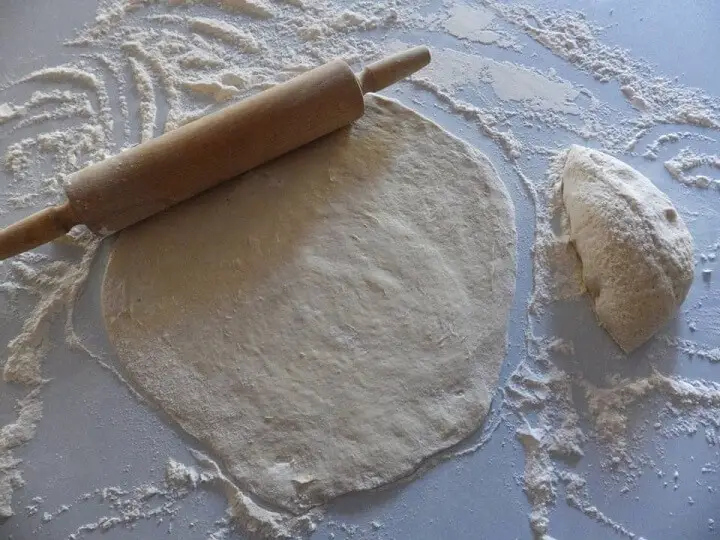
5. Roll the dough and pull into a circle.
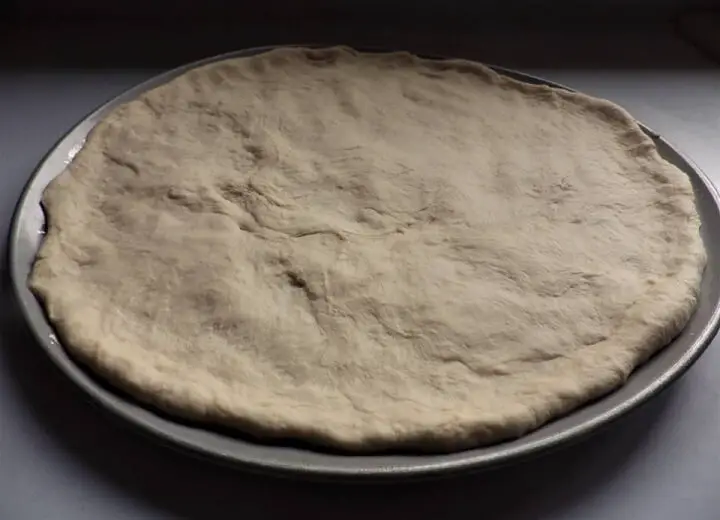
6. Place on a well-greased baking tray or pizza pan. If baking on a pizza stone, put the stone in the oven before pre-heating and dust with cornmeal before placing the pizza on top.
General Directions
Thin crust or thick crust
- You can make your crust thickeor thin depending on how you roll it out. Up to you.
Toppings and Order
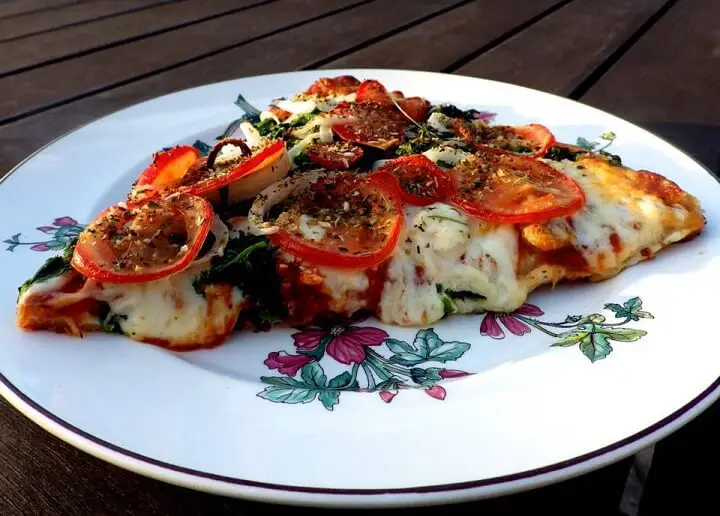
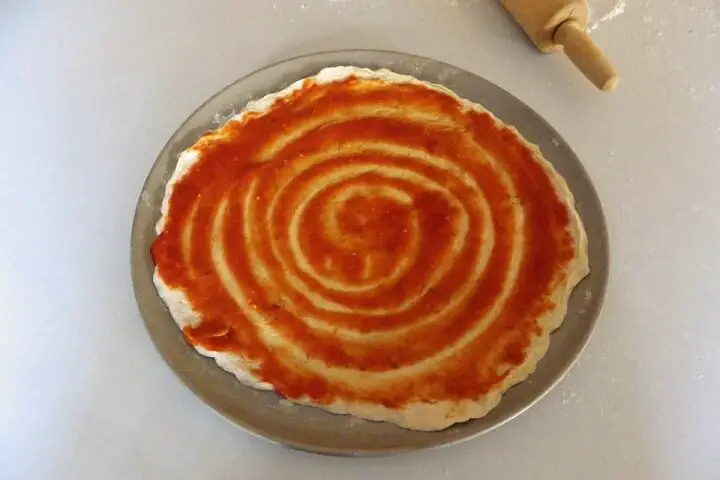
- You can top your pizza any way you like but as a general rule, it’s best to start by spreading tomato sauce over the crust first. Don’t lay it on too thick.
- Follow with delicate ingredients like basil or other fresh herbs.
- Add any vegetables like green peppers, onions, mushrooms, etc.
- Layer on your cheese.
- Top with any meats, especially if they’re raw and need direct heat from the oven to cook.
Oven Temps
- 350 degrees to 400 F. Bake thin crusts at 350 and thick crusts at 400.
Time and Position in the Oven
- Position in the middle of the oven.
- Time varies from 15 to 20 minutes depending on the size and thickness of the crust.
Tests for Doneness
- After about 15 minutes, use a spatula to lift an edge of the crust on the pan in the oven. When the bottom crust shows browning, you’re done.
Lavash Baked (Armenia)
 Lavash is sometimes referred to as an Armenian thin bread, but it was popular in countries around the Caspian Sea. In some ways, it’s similar to Greek Pita Bread and Indian Na’an bread except it’s usually made with a blend of flours.
The classic cooking method was on the sides of a hot, clay oven also known as a tandoor oven. The individual rounds of the Lavash dough were stuck to the sides of the clay oven for minutes until they were lightly browned and puffed up like a Pita.
A variation is cooked on a cast-iron skillet to make a thin version that resembles a flour tortilla. We’ve covered that variation in tortillas so we’re going to do a baked lavash version.

Common toppings for Lavash ranged from cheese to shredded and tender meat or a simple spread of butter or a jam. Sometimes fresh fruit was piled on top and the Lavash served as a plate you could eat.
It’s highly unlikely that you have a clay, tandoor oven in your home, but you can use a hot baking sheet, pizza stone, or cast skillet and get the same result. Do not oil or butter the sheet.
Ingredients:
- 1 cup of warm water
- 2 ½ teaspoons of yeast
- 1 teaspoon of salt
- 1 ¼ cup of whole wheat flour
- 2 cups of all-purpose flour
1. Add the ingredients to a Mixmaster bowl and knead with the dough hook or knead by hand. You want a very elastic dough.
2. Cover and let rise in a warm place for about 1 hour.
3. Divide the dough into pieces about the size of a golf ball, and cover for 30 minutes to rest.
4. Preheat the oven with the baking sheet, pizza stone, or skillet inside to 500 degrees F.
5. Roll each ball into a circle about 5 inches across and about a quarter-inch thick. You can also top before baking with sesame seeds, mustard seeds, or poppyseeds.
6. Pull out the oven shelf and place as many Lavash on your baking sheet as you can fit. Close the oven and bake for about 3 minutes. Turn the Lavash and bake the other side for 2 to 3 minutes.
7. Remove with a spatula and let cool. You may have to adjust your thickness for the next batch.
Bannock (Scotland)
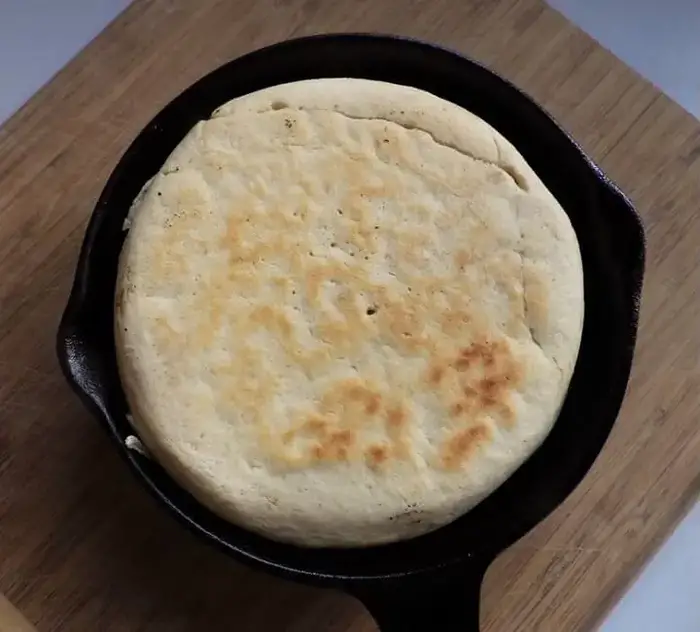
Bannock Bread
Bannock bread was a classic pioneer bread and was sometimes called “frying pan bread” because it was made over open coals in a cast-iron frying pan.
Ingredients:
- 2 cups of flour
- 2 teaspoons of baking powder
- ½ teaspoon of salt
- ½ cup of dry milk powder (optional or substitute milk for the water)
- 2 tablespoons of shortening (or butter or lard)
- Water until you achieve a dough-like batter
Directions:
1. Pour the flour, salt, baking powder, and milk powder into a large bowl.
2. Before you add the water, you need to cut-in the shortening with the flour using a couple of knives, a fork, or a pastry cutter.
3. After the texture appears crumbly, slowly add water until you get a putty-like consistency.
4. Oil a cast-iron frying pan. Pioneers used bacon, salt pork, or even bear fat. You can use any cooking oil, shortening, or butter.
5. Pour the mixture into the pan.
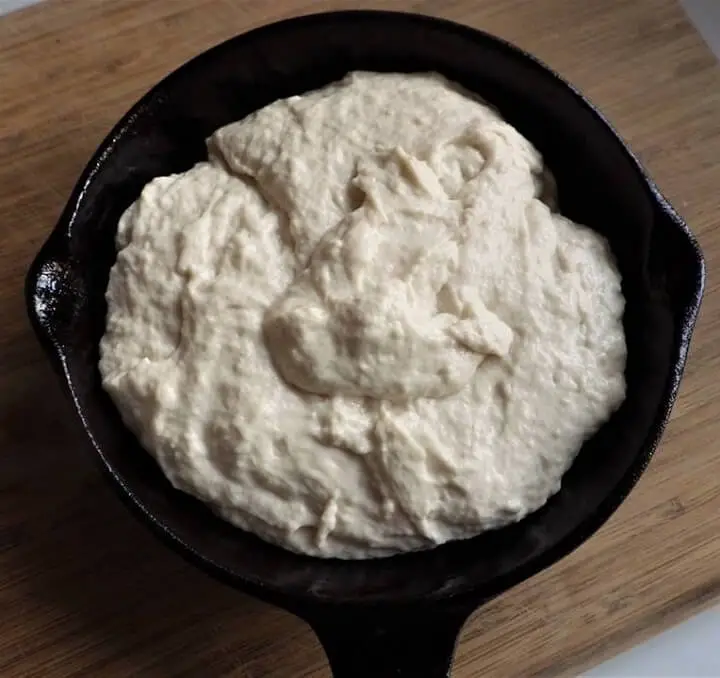
6. Place the pan over open coals or on the stove top and brown for about 3 to 5 minutes.
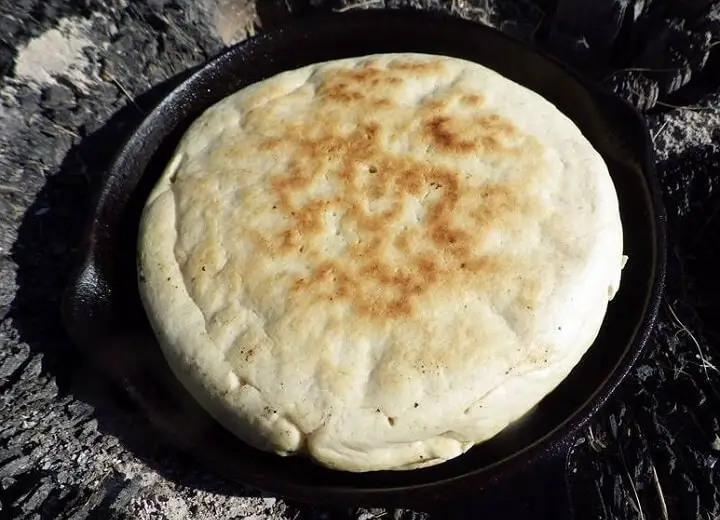
7. Flip the bread over in the pan and finish the other side.
8. You might want to flip a few times to cook the bread through and to prevent burning. When you think it’s done, poke a stick into the center of the bread. If it comes out clean and dry, the bread is done. If not, you can let it rest in the pan off the heat until it finishes.
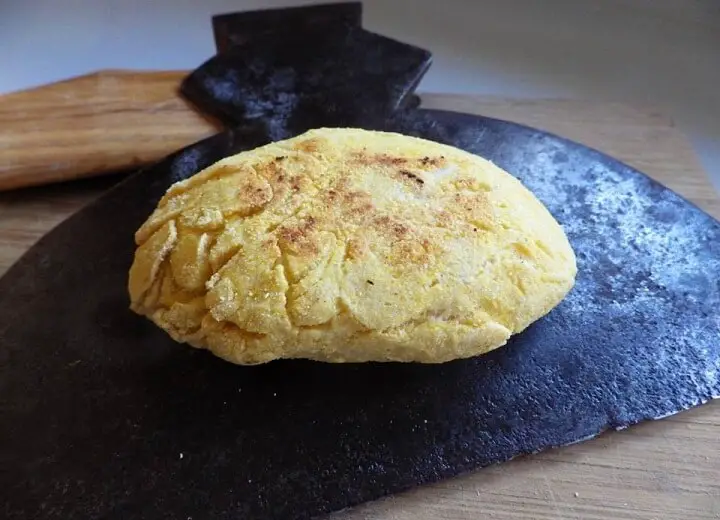
A variation was called hoe cake, and the bannock was cooked over open coals on a broad axe or Farmer’s hoe.
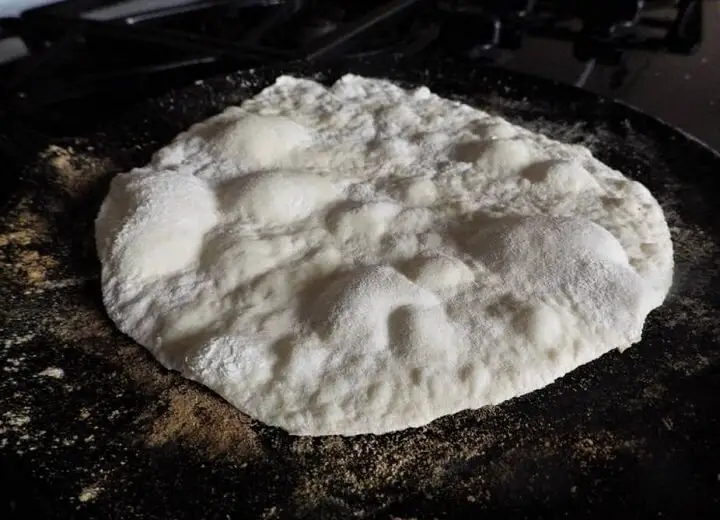
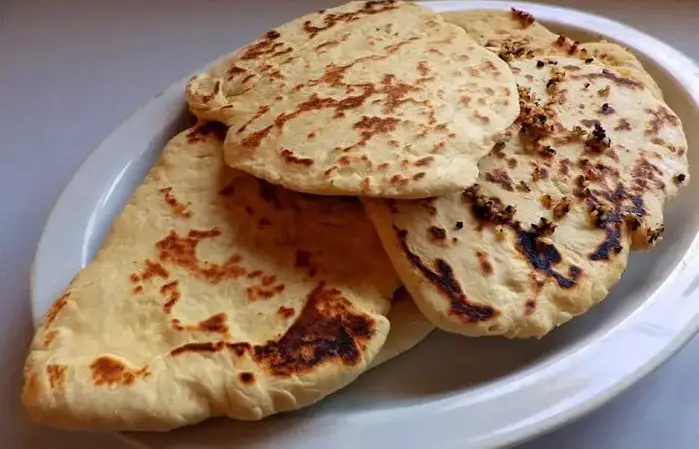
Naan (India)
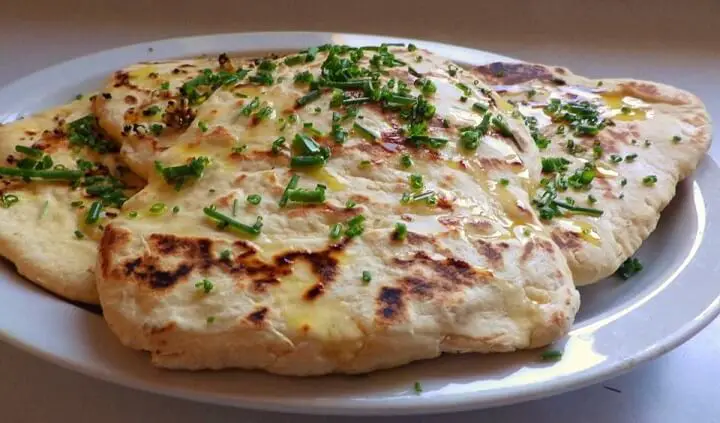
Na’an bread is a flatbread traditionally made in India and across Eurasia. It’s a very simple recipe and easy to make. The dough is shaped into flats and quickly cooked and seared on a very hot cast-iron skillet.
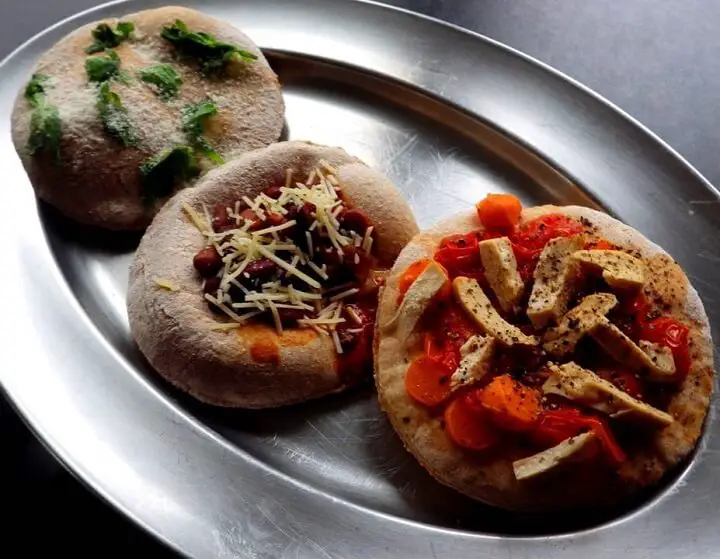
Na’an bread is used in a variety of ways. Sometimes various toppings are put on top and the bread is folded to make a sandwich. A piece of the bread can be gripped between two fingers to pinch some rice and beans from a plate, or the bread can be simply dipped in a sauce.
More often than not, it’s simple used as a handheld platter for any variety of toppings and the finger-food aspect makes it a favorite with kids.
Na’an Bread recipe:
(Makes 6 flatbreads)
Ingredients:
- ¾ cup of water
- 2 tablespoons of plain yogurt
- 1 egg
- 2 teaspoons of salt
- 1 tablespoon of olive oil
- 3 cups of flour
- 1 ½ tablespoons of active dry yeast
Directions:
1. Put all of the ingredients into a Mixmaster bowl and knead using the dough hook or knead by hand for 5 minutes.
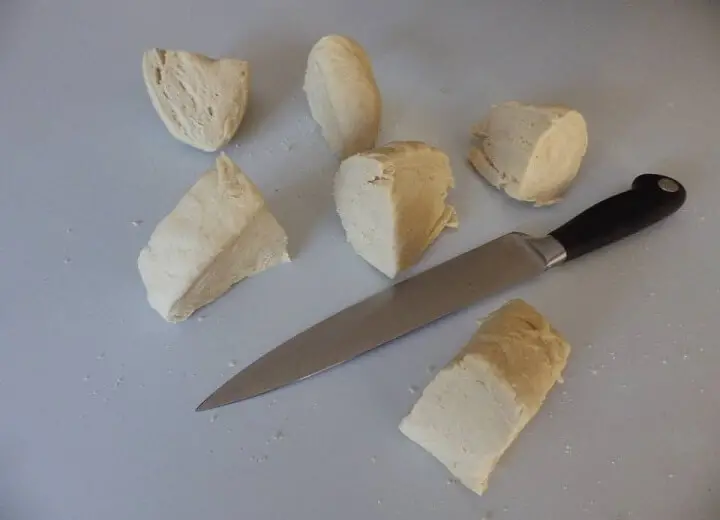
2. When the dough is kneaded, turn the dough out onto a floured surface and cut into 6 equal size pieces. Let the dough pieces rise for 30 minutes.
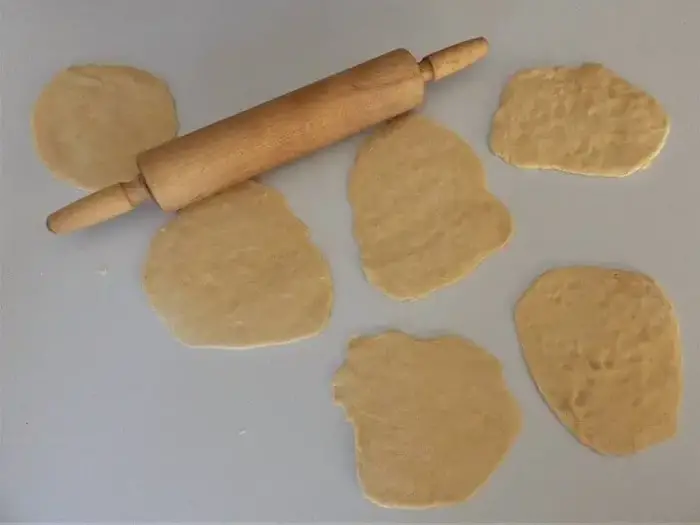
3. Using your hands and fingers, press the dough out into a flatbread about 6 to 8 inches in diameter.
4. Let the dough pieces rise again for about 15 minutes. In the meantime, heat an ungreased cast-iron skillet over high heat until it’s very hot.
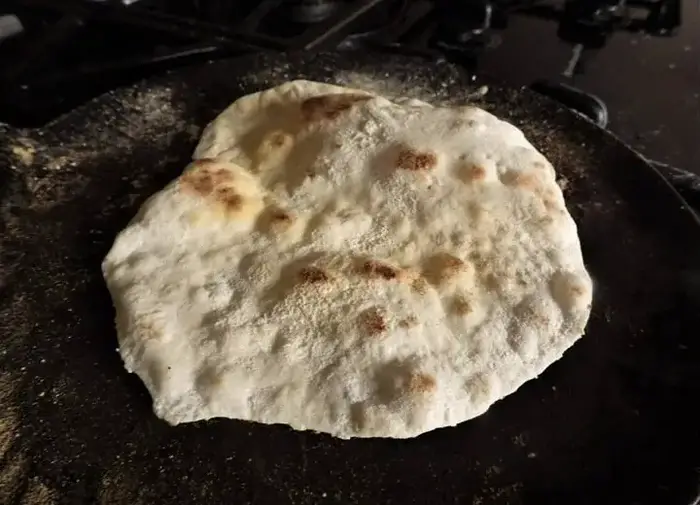
5. Toss the Na’an flatbread onto the skillet one at a time for about 2 to 3 minutes a side or until you have some browning.
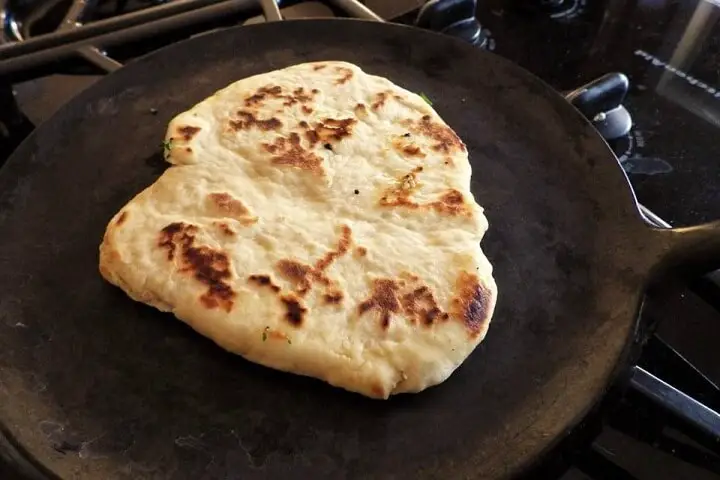
6. Stack the flatbreads as you go and when done, serve.
Easy as… Flatbread
Give one or more of these recipes a try. You may have to experiment a bit and go through some trial and error, but once you’ve got it down, you may find flatbreads replace sliced bread more and more at every meal.
As rustic as it may seem, it’s a very civilized way to enjoy bread. Our civilization was built on it.
No comments:
Post a Comment