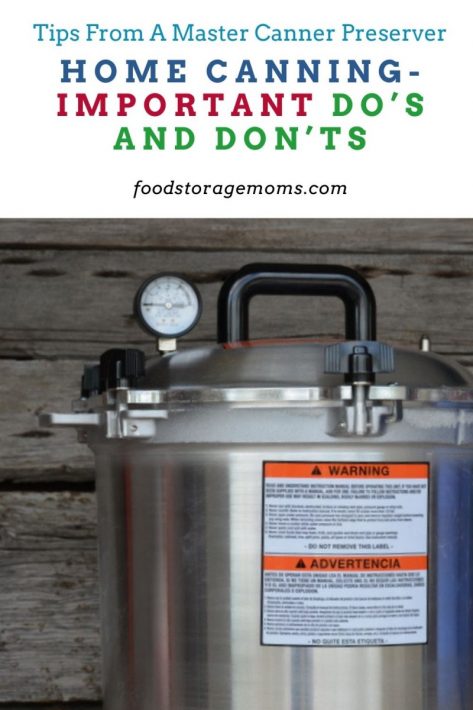
It’s all about home canning today, and some important do’s and don’ts. If you’re like me, you love seeing all those jars lined up on your food storage shelves. I have to be a little more creative now that my home is so much smaller since Mark and I downsized. We no longer have a basement with shelves, but it’s all good.
My daughters and I still talk about all the food we canned as a family for so many years. We raised enough vegetables in our large garden to support our meal planning for a year. We were organic gardeners before organic became popular. There is something so gratifying about knowing you can produce enough food for your family for a year. Every year, we planted, weeded, and harvested every vegetable we loved to eat. Then we started the process again, year after year.
Our Mother Taught Us How To Can
My sisters and I were blessed to have been taught how to can food by our mother. I took it to the next level because I had great soil in Logan, Utah, a half-acre lot, and the desire to grow my own food.
Years ago, I took classes from Utah State University’s extension service on how to safely can my harvest. Mark and I bought a water bath canner and a pressure canner.
USU taught me the skills I needed! Then I invested in a dehydrator. Life is incredible when you know how to preserve food for your family safely.
Rebel Canners
I decided to update this post today because I’m seeing things on social media that are not safe to do when preserving your food. I know there are groups called “rebel canners,” they are doing YouTube videos and posts that teach some unsafe canning tips.
This scares me, and it should scare every canner out there. Please don’t jeopardize the health of your family. Just because the pioneers canned food a certain way or grandma canned bacon, it’s not safe, my friends. There is way too much fat to be safely canned.
Dry canning in the oven is also not safe; the Ball or Kerr jars are not designed for use in a dry environment. I rely on respected and trusted sources for information when I’m putting my daily posts together.
I want my suggestions to be tested and proven approaches to food storage, emergency preparedness, and safe ways for families to prepare for disasters.
I want my readers to feel comfortable with what we discuss and know that no special “family traditional” approaches they hear from other sources are safe in all circumstances.
Master Canning & Preserving Certificate
I have canned food for at least 56 years now. I talked Mark into taking classes with me to get our Master Canning and Preserving Certificate a few years ago.
Yes, I know how to can, but I had never canned meat, and I wanted to learn the new canning techniques. The class was excellent; we broke out into groups and canned a variety of vegetables, fruits, meats, jams, and more.
I highly recommend you look into getting your certificate. Our food has changed over the years, so our canning techniques must change as well.
For instance, our tomatoes are not as acidic as they used to be. Therefore, we have to add some things we never used to add to our bottles when we can tomatoes to adjust for those changes in tomatoes’ chemical makeup properly.
Canning Do’s
- Always follow a reputable canning book. I recommend the following ones: USDA Canning and Ball Canning.
- Assemble all of your equipment before you get started.
- Inspect all your jars, and discard all that have chips or cracks.
- Plan for more time than you may think; canning can’t be rushed.
- Remove the rings after 24 hours of cooling before storing.
- Please wash the jars before storing them after your canning is complete.
- When canning meats, keep the meat chilled and be ready to can/process them as quickly as possible.
- For the best quality after harvesting fruits and veggies, can them within 12 hours (apricots, nectarines, peaches, pears, and plums should be ripened for one or more days before canning them.
- Do check with your local state extension service to verify your correct altitude before starting, and adjust as needed to safely can your food.
- Can only what your family can eat in a year.
- Fill your jam or jelly jars, leaving only 1/4 inch from the top of the jar.
- Fruits and vegetables should be canned, leaving 1/2 inch space from the top of the jar for water bath canning.
- Low-acid food canning requires you to leave 1-1/4 inches from the top of the jar when pressure canning.
- Yes, I use a plastic wand to remove the air in my jars by moving it around the inside of the jar. Then, I wipe the top of the jar with a clean rag before placing the lid and ring on it. Next, I tighten the jar, but avoid overtightening the ring.
- Do boil your lids submerged for ten minutes and keep them in hot water until ready to use. Correction by another Master Canner, Laura: Lids manufactured these days require only that they be wet, and dipping in cool water is sufficient. The sealing compound used today is different than what was used in the past, and boiling the lids for 10 minutes risks breaking down the sealing compound, leading to seal failure. The instruction is printed on the back of the box. Ball Website
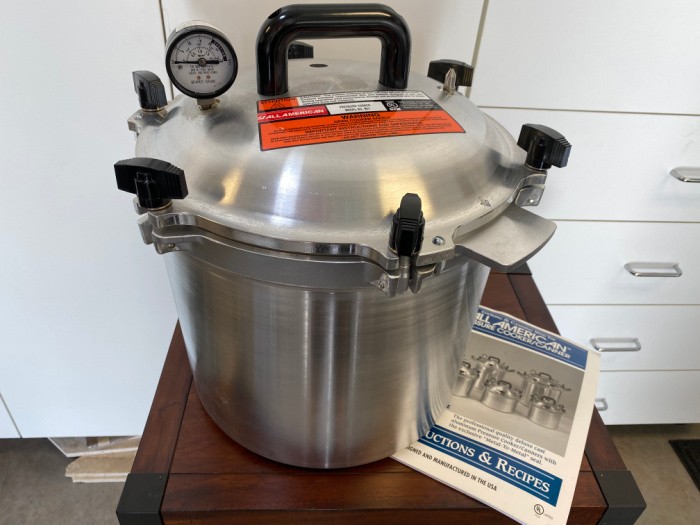
- Please take your pressure canner and have the pressure gauge checked at your local state extension service at least once a year, preferably before you start canning.
- Replace the gasket in the lid of your pressure canner yearly, or as needed. Some pressure canners don’t have a gasket, such as my All-American Pressure Canner.
- Fill your water bath canner halfway before adding jars. Make sure the water is 1-2 inches above the jars when the canner is filled with jars. (I prefer 2 inches).
- Put 2-3 inches of water in your pressure canner before adding any jars.
Canning Don’ts
- Don’t leave the rings on when you store your jars; they may not have been sealed, and leaving the ring on could prove to be fatal if bacteria get into the contents.
- Don’t use grandma’s canning techniques because our food has changed in the last 35-50 years.
- Don’t retighten the rings after removing the jars from the canner.
- Do not tip jars as you bring them out of the canner; keep them straight up before and after processing.
- Obviously, you will not preserve diseased or sick animals.
- Steam canners are no longer recommended for safety reasons because of a lack of consistency in temperatures.
- Do not process your food in bottles in the oven; it is not safe.
- Do not can food in your pressure cooker, it is not a canner.
- Place processed jars on racks with dry towels underneath.
- Please ensure safe acidity in tomatoes, whole, crushed, or juiced. Add two tablespoons of bottled lemon juice or 1/2 teaspoon of citric acid per quart of tomatoes. For pints, use one tablespoon of bottled lemon juice or 1/4 teaspoon of citric acid. You can also use four tablespoons of 5 percent acidity vinegar (I don’t like the flavor mixed in with my tomatoes) in each quart instead of using lemon juice or citric acid. Ball Citric Acid
- Please do not can milk, butter, bacon, eggs, or pumpkin puree. (pumpkin chunks are okay)
Oven Canning Is Not Safe
I quote from Penn State Extension: “Oven Canning is highly hazardous. The oven canning method involves placing jars in an oven and heating them to a specific temperature. In oven canning, product temperatures never exceed the boiling point because the jars are not covered. It is, therefore, not safe to use for low-acid products (e.g., meats, most vegetables) which require temperatures higher than 212°F.
Oven canning is not a recommended process. The glass jars are not designed to withstand the intense dry heat and may shatter in the oven. There is also the danger of breakage and burns while removing them from the oven.
Also, and most importantly, the transfer of heat into the jars is much slower through the air in an oven than in a water bath or a pressurized steam canner. The recipes that we recommend have been scientifically tested using a water bath or pressure canner and should be followed precisely as written.
Otherwise, there is a heightened risk of spoilage, or worse, survival of Clostridium botulinum spores, the source of deadly botulism poisoning.”
National Center For Safe Canning
Four Things You Should Never Can
Final Word
I hope today’s post excites you to do some canning of your own. Life is good if we learn the skill of gardening and preserving our bounty. You can do this, I promise! Thanks for being prepared for the unexpected. May God bless this world, Linda
The post Home Canning-Important Do’s and Don’ts appeared first on Food Storage Moms.
from Food Storage Moms
No comments:
Post a Comment