Estimated reading time: 9 minutes
There is one item that every prepper in the world is guaranteed to have: canned food. Even if they mostly have dehydrated or freeze-dried food, every prepper has at least one can or corn or beans somewhere.
And of course, canned food usually comes in tin cans. Most people throw them away without a second thought, but in a survival scenario, they can be put to good use. As you'll soon see, there are lots of different applications for tin cans.
1. Storage / Organization
We'll start with the most obvious one. Tin cans are used for storing food, right? Well who says they can’t be used for storing and organizing other things as well? Screws, nails, sand, herbs, matches, utensils… the list goes on and on. Bonus tip: Punch two holes in opposite sides of the can near the top and use a wire to turn the can into a pail.
2. Makeshift Knife
As you probably already know, the edge of a tin can's lid can be very sharp. So if you need to cut something and you don't have a knife, just use a tin can lid instead. But be careful not to cut yourself. Either wear thick gloves or use some pliers to fold over one side of the lid so you can grab onto it without gashing your hand.
3. Arrowheads / Hooks
Tin is great for making arrowheads and fishing hooks. The easiest way to do this is with some heavy-duty scissors, but if you don't have anything to cut the tin with, there's another way: Take the lid you removed with the can opener and fold it in half. Be careful not to cut yourself (you should probably be wearing work gloves).
Then fold it in half again in the opposite direction along the same crease. Keep doing this until the lid breaks in half. Now use the same method a few more times to form the shape you need. When you're done, lash the arrowhead to the arrow or tie the hook to the fishing line and you'll be good to go.
4. Trap
Hopefully, you won't get so hungry that you need this trick. But just in case, here's how to use a tin can as a trap: Simply bury it in the ground with the top open to use as a pitfall for very small animals like insects, frogs, and even mice. If you bury a whole bunch of cans in the right area, you could collect enough food for a decent meal or possibly more.
5. Fire Transportation
When your supply of matches or lighters is running low, you’ll need to come up with more creative ways to get a fire going. One idea is to carry your fire with you in a tin can. Simply punch four or five holes in the bottom and sides, then place coals from your most recent fire into the bottom of the can.
These coals will burn for hours, and to keep them going, you can add tinder and kindling as you go. Don’t let your skin come into direct contact with the tin can for obvious reasons.
6. Water Filter
You'll still have to at least boil your water after using this method, but it can make the water a lot tastier. Punch a few holes in the bottom of the can, then fill the inside with several layers of gravel and sand. When you pour water into the top, the makeshift filter will remove larger pieces of matter.
7. Cooking Pot
It’s very easy to convert a tin can into a cooking pot. All you have to do is hang it over a fire (adding a wire handle to it will make that easier). You can boil water, cook food, make soup or coffee, and sterilize medical instruments. Just be careful not to burn yourself when you remove it from the fire.
8. Mini Stove
This is a little different than the cooking pot method. Instead of putting the can over a fire, you put a fire inside the can. To do this, fill the can with sand, then wet the sand with a flammable liquid like alcohol. Then add some tinder on top and light it. With this method, you'll have a flame burning for five to ten minutes which is long enough to cook food on a small skillet above the pan.
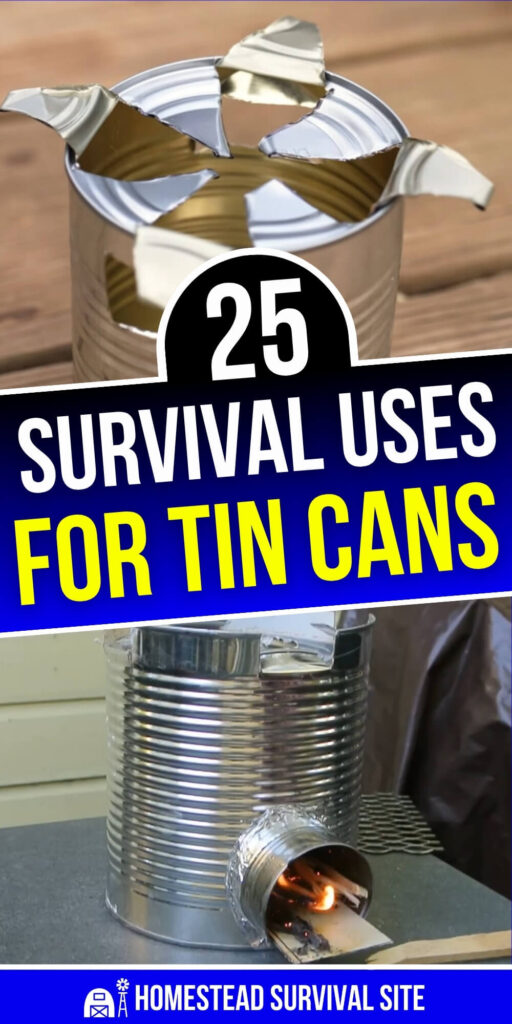
9. Rocket Stove
In addition to a couple of regular-sized tin cans, you'll also need a #10 can and some other materials for this one. Unlike most of the other things on this list, this is something you'll want to make ahead of time rather than after the shit hits the fan. But I wanted to include it for people who enjoy DIY projects. Here are the instructions.
10. Candle Lamp
If the only source of light you have is a candle, but the wind keeps blowing it out, use a tin can. You can either make a large hole in the side of the can facing away from the wind, or you can punch several small holes in the can. If you do it the latter way, you could hang up a bunch of them for plenty of ambient lighting.
11. Showerhead
Personal hygiene is very important in a survival situation, especially a long-term one. Simply punching enough holes in the bottom of a tin can is enough to make an effective makeshift shower. Obviously you’ll need a system to ensure that water keeps pouring into the top of the can, but it’s still a survival use that you shouldn’t overlook.
12. Hobo Alarm
I already mentioned this in my article about floss. Set up a perimeter of wire, cordage, or string around your campsite and attach tin cans and lids to it. If someone tries sneaking onto your campsite, they'll accidentally walk into your alarm, causing the cans to rattle and alerting whoever is on watch.
13. Scoop / Shovel
This one is pretty self-explanatory. If you need help scooping or digging but only have one shovel, just tell everyone else to grab a tin can out of the trash and pitch in.
14. Seed Starter
Just poke some small holes around the bottom edge of the can for drainage, add your soil, and plant your seeds. When they're ready, transplant them to your garden. Or…
15. Garden Pot
You can use tin cans as garden pots for smaller plants. But before you do this, be sure to wash out the can first. If it had oil in it, then wipe out the oil before you wash it.
16. Signaling Device
For many people who have made it out of the wilderness, signaling for help was what ultimately made the difference between life and death. If used properly, a tin can is an excellent signaling device. Punch a hole in the center of the can’s lid, then polish one side of the lid with chocolate or charcoal until it becomes smooth and bright.
If the sun is also bright enough, you can signal aircraft, search parties, and vehicles by reflecting the sunlight at them. To aim it, look through the hole toward whoever you're trying to signal.
17. Target Practice
Everybody knows about this one. Line up tin cans on a fence and use them to improve your shooting skills. Compete with others by seeing who can knock down all the cans in the fewest shots. (Assuming you have plenty of ammo to spare.)
18. Intercom
I know I'm really scraping the bottom of the can with this one, but I'm gonna mention it anyway. Hopefully you remember this from your childhood, but in case you don't… Poke a hole in the bottom of a tin can, put a string through the hole, and tie a knot (the knot should be inside the can).
Now take the other end of the string and do the same thing with another can. Put your ear in the can, and you'll be able to hear someone talking into the other can. Or you could just shout at each other. This is normally just for fun, but it could be good for people in adjacent tents or something.
19. Portable Lantern
Create a portable lantern by placing a candle inside a tin can. You can punch holes in the sides in a pattern to allow light to escape, creating not only a light source but also an interesting pattern of shadows. This can be useful for lighting a path or a small area at night.
20. Mini Oven
By creating a larger opening on one side of a tin can, you can fashion a mini oven. Place small items like potatoes or wrapped food inside, and then place the can near a heat source. The metal will conduct heat, baking or warming the contents inside.
21. Fishing Line Holder
Wrap fishing line around a tin can to keep it organized and prevent tangling. You can cut notches in the can to secure the end of the line, making it a handy tool for fishing enthusiasts in a survival scenario.
22. Improvised Grill
Flatten out several large tin cans and lay them side by side over a pit of coals to create a makeshift grill. This can be used for cooking fish, meat, or even for toasting bread.
23. Wind Chime
By stringing together several tin cans of various sizes, you can create a wind chime. This can serve as a pleasant audio alert system for changing weather conditions or potential intruders in a survival situation.
24. Heat Reflector
Use a large, opened tin can as a heat reflector for your fire. Place it behind the fire to reflect heat towards a specific direction, making your fire more efficient for heating a shelter or cooking area.
25. Mouse Trap
Create a simple mouse trap by placing bait inside a tin can and propping it up at an angle with a stick attached to a string. When a mouse enters, pull the string to trap it inside. This method requires patience but can be effective for catching small rodents.
Originally published on Urban Survival Site.
You May Also Like:
The post 25 Survival Uses for Tin Cans appeared first on Homestead Survival Site.
from Homestead Survival Site https://ift.tt/lHtxVfr
 How to build a layered water preparedness system that doesn’t rely on the grid
 The best ways to store drinking water safely for short- and long-term emergencies
 Practical methods to filter and purify water when your normal supply isn’t available
 Water solutions for home, travel, camping, bug-out bags, and off-grid living
 Common mistakes that leave families without safe water when they need it most