Estimated reading time: 6 minutes
Vinegar is one of those humble staples that has countless uses. You can use it for cleaning, cooking, deodorizing, laundry and stain removal, and even for jobs around the yard like weed control. A lot of people also keep it on hand for old-school home uses like soaking produce or making home remedies.
The problem is: if you use vinegar all the time, the cost can add up fast. A gallon of quality raw apple cider vinegar can be pricey, and buying multiple gallons over time really starts to sting.
Fortunately, there’s a simple way to make a whole lot of vinegar for very little money, using something you normally throw away: apple peels and cores. This method turns fruit scraps into a fermented vinegar in two stages, and it’s exactly what this video teaches.
I found this tutorial on the YouTube channel Jill Winger – Old Fashioned on Purpose. You can watch the video and view the instructions below.
Ingredients:
- Apple scraps: peels + cores (from applesauce, pie filling, dehydrating, etc.)
- Glass jars (quart jars, half-gallon jars, whatever fits your scraps)
- Water
- Sugar (white cane sugar works great)
- Paper towel (or breathable cloth) + rubber band
- Fermentation weights (or another clean way to keep scraps submerged)
- Strainer and bowl/jug for draining the liquid
Before You Start: Here's What You're Making
This is often called “apple scrap vinegar.” It’s not technically apple cider vinegar because you’re not starting with pressed cider, but the finished result is close enough that most people won’t notice a big difference in everyday use.
It’s a two-step fermentation:
- First fermentation (about 2 weeks): scraps sit in sugar water and begin turning into alcohol.
- Second fermentation (about 3–8 weeks): that alcohol converts into acetic acid (vinegar).
Step-by-step: Apple scrap vinegar
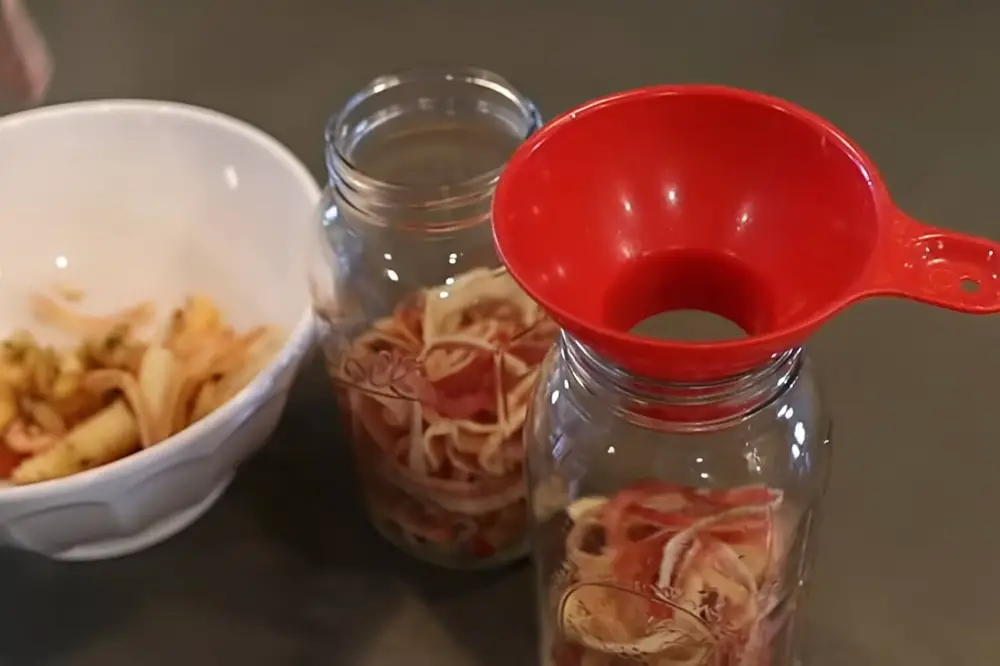
1. Fill your jars halfway with apple scraps
Put your peels and cores into clean glass jars until they’re about half full. This is intentionally not a fussy recipe. Just use what you have.
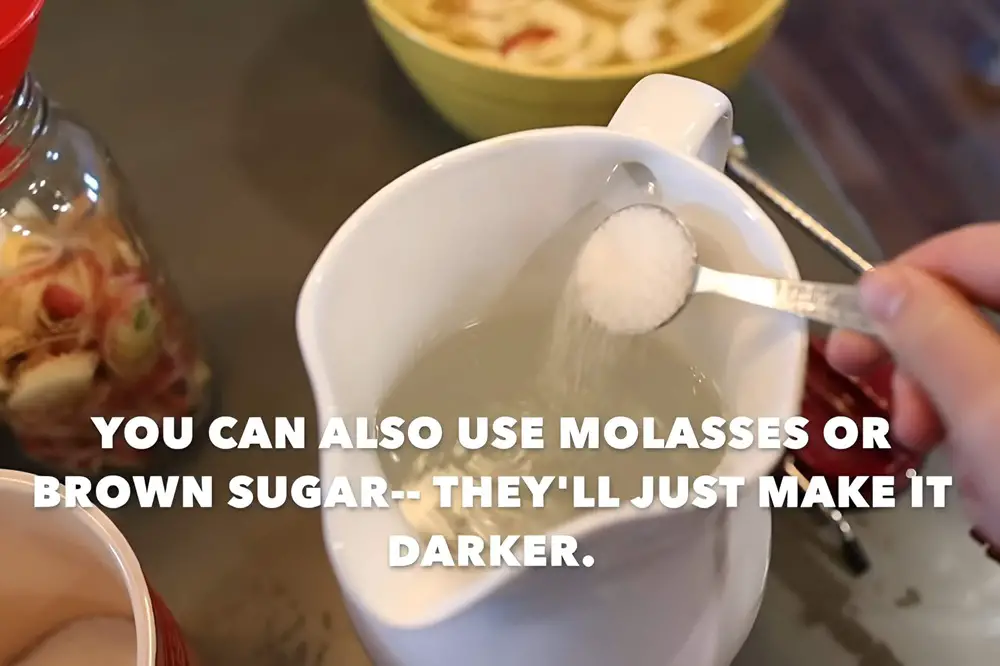
2. Mix sugar water
The sugar isn’t to sweeten the vinegar. It’s simply food for the yeast and bacteria so fermentation can happen. Use about 1 tablespoon per quart of water. Don’t stress if it’s not exact. You can also use molasses or brown sugar.
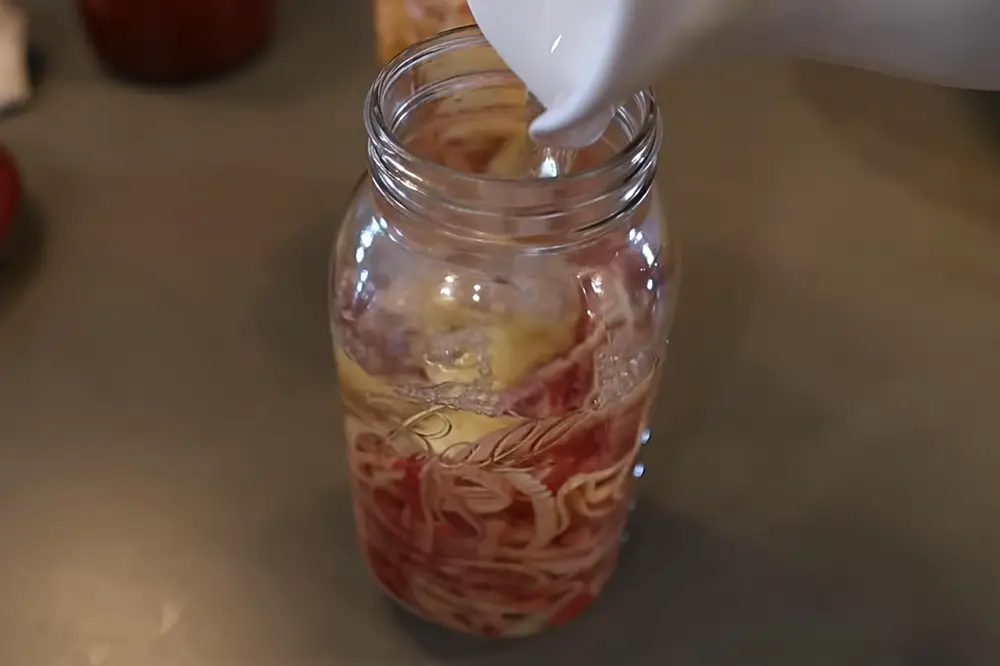
3. Add sugar water until the scraps are fully covered
Make sure you add enough sugar water to cover everything in the jar.
Be sure to keep the scraps below the liquid line. This matters. If bits float above the surface, they can brown and may get moldy. Use fermentation weights if you have them, or any clean, food-safe method to gently hold scraps under the surface.
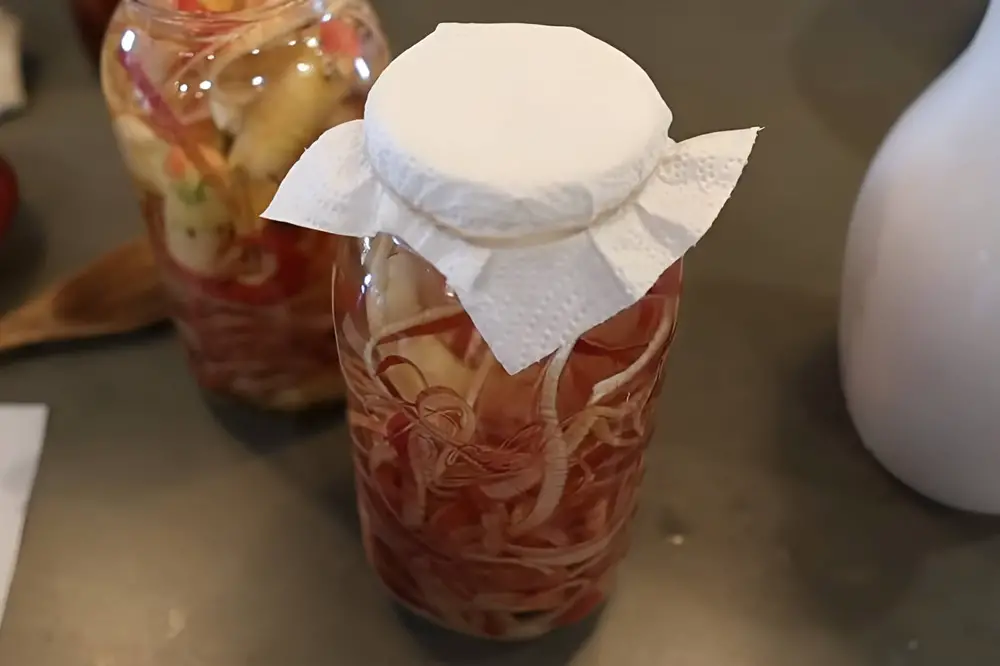
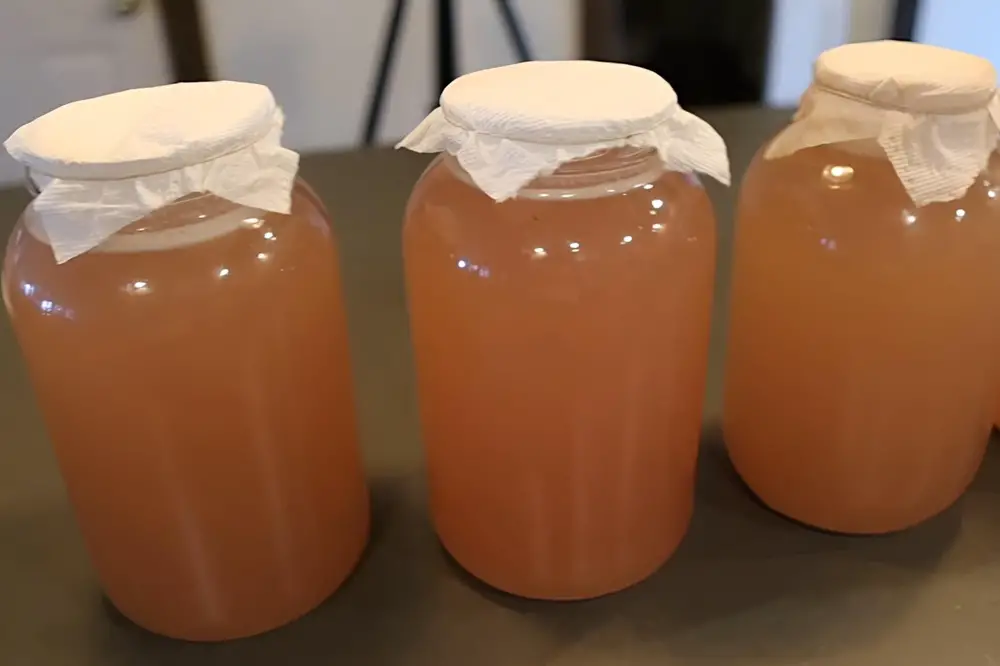
4. Cover with a breathable lid
Use a paper towel (or cloth) secured with a rubber band. You want airflow. Don’t seal it with a tight lid during fermentation.
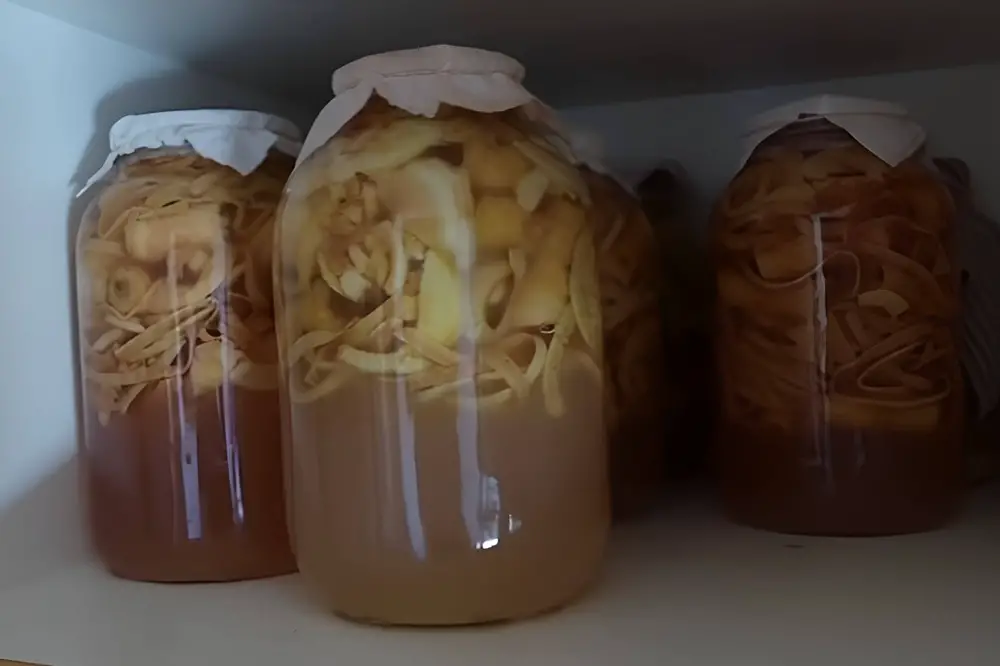
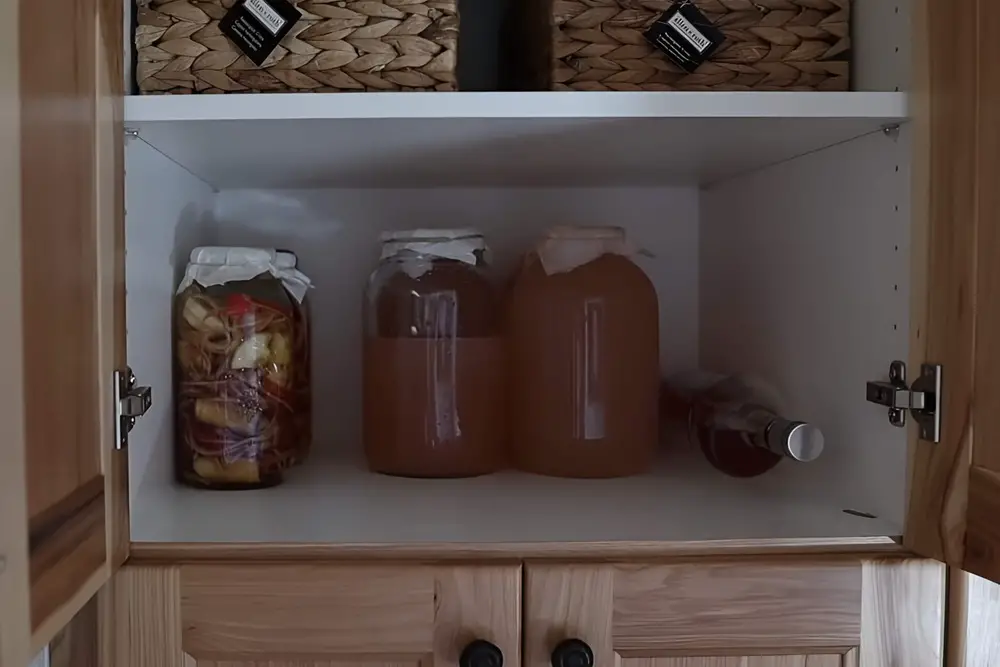
5. Ferment in a cool, dark spot for about 2 weeks
A pantry or dark cabinet works well. Leave it alone and let it do its thing.
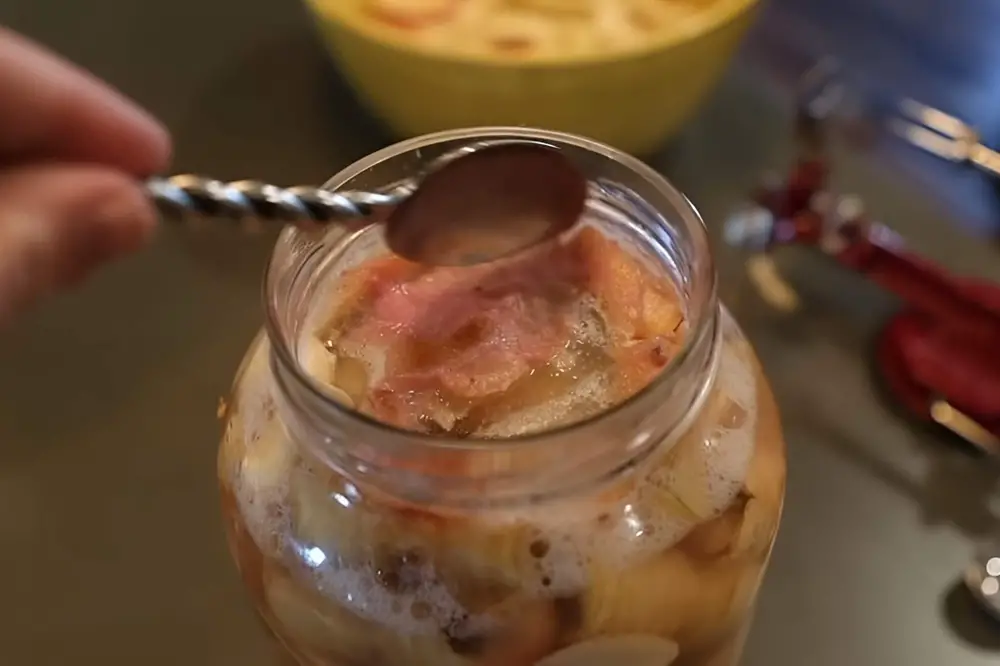
After 2 weeks, check the top. You may see a weird layer on top that looks white-ish or even a little pink. This is usually fine and you can skim it off as long as you don’t see obvious mold throughout the jar.
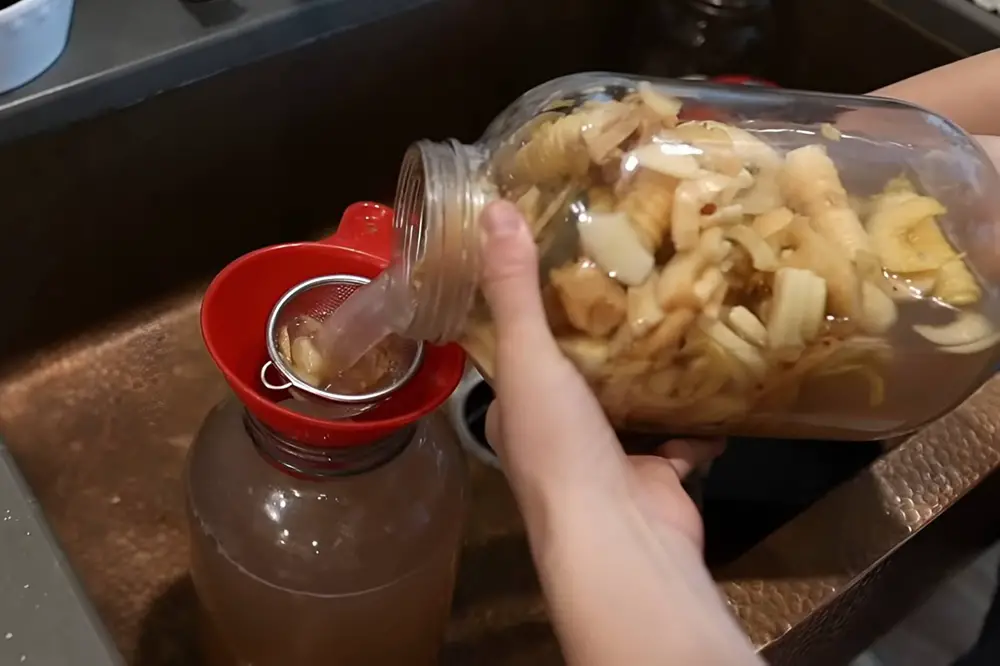
6. Strain out the apple scraps
Pour the liquid through a strainer into a clean container (or back into clean jars). Discard the solids.
Return the strained liquid to a jar and cover it again with something breathable, like a paper towel held in place by a rubber band.
7. Ferment again in a dark cabinet for at least 2-3 weeks
This is the stage where it develops that vinegar tang. It can take 3–8 weeks total for the second stage, depending on conditions.
8. Taste test and decide when it’s “done”
After a few weeks, start tasting. It should smell pleasant and taste sour/tangy. If it’s not as sharp as you want yet, let it sit longer and taste again weekly until it reaches your preferred sourness.
Once it tastes right, cap it and store it cool. When you’re happy with the tang, put a lid on it and store it in a cool place (root cellar, fridge, or the coolest area you’ve got).
How to use it (and one important warning)
Use your homemade vinegar for everything you normally use vinegar for in the kitchen and around the house.
Avoid using it for canning recipes (pickles, relishes, etc.). For canning, vinegar needs to be guaranteed 5% acidity, and homemade vinegar is difficult to verify for acidity without proper testing. For safety, use store-bought vinegar for canning.
You May Also Like:
The post How to Make Gallons of Vinegar for Pennies appeared first on Homestead Survival Site.
from Homestead Survival Site https://ift.tt/vCJUtwA
No comments:
Post a Comment