Estimated reading time: 9 minutes
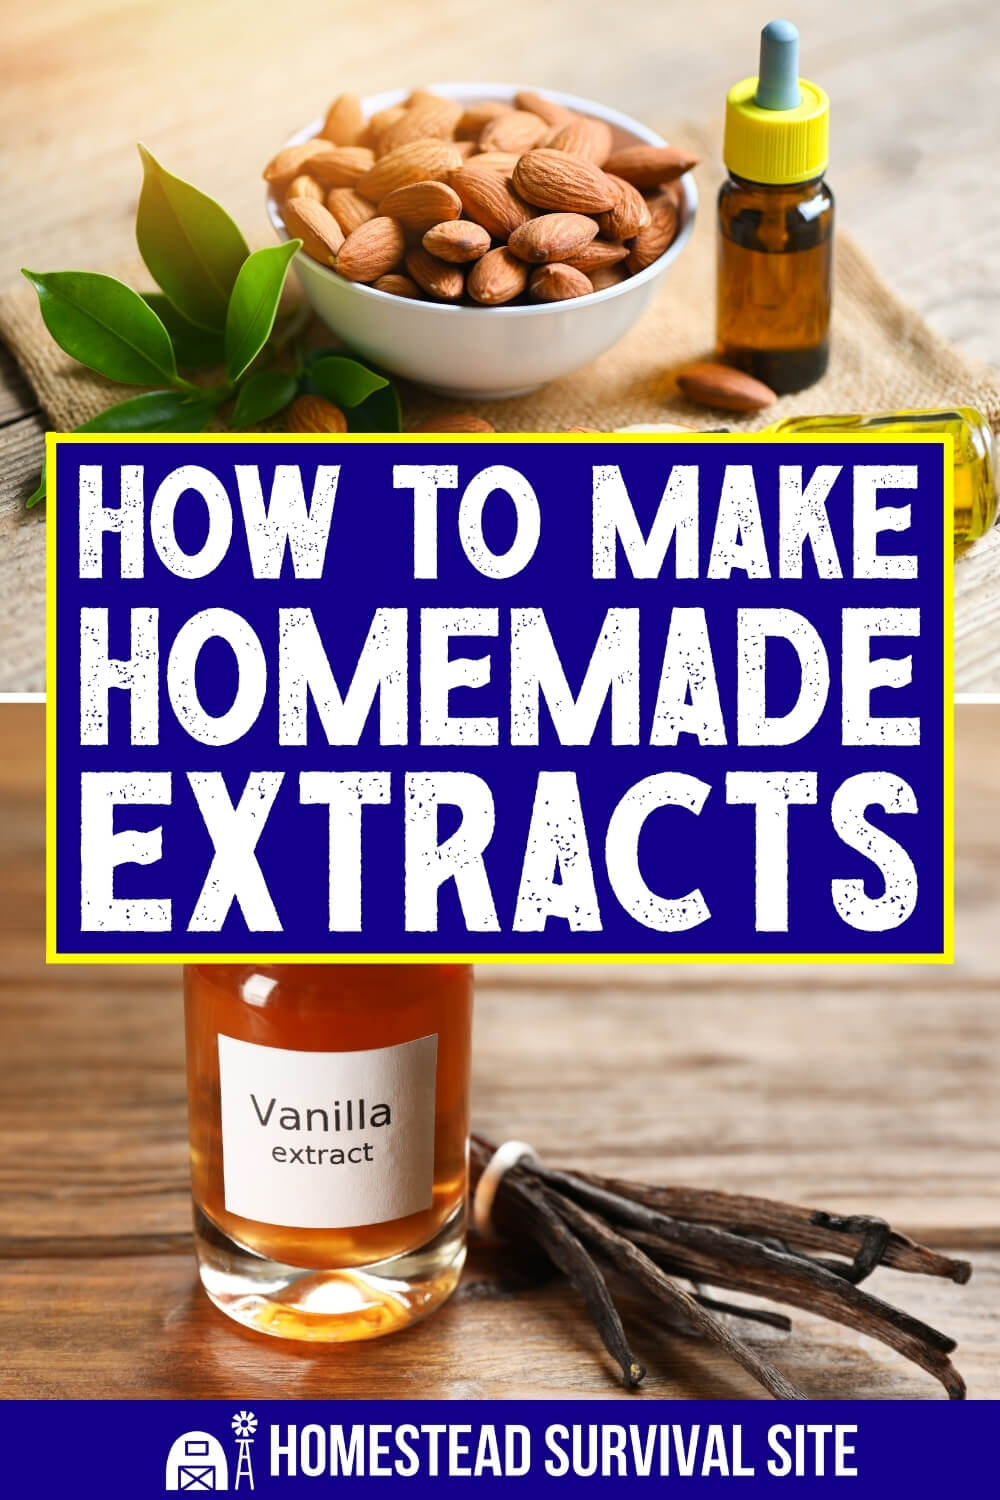
If you’re an avid baker or cook, chances are you’ve either used extracts or come across recipes calling for extracts. High-quality commercially available products are expensive, hard to come by, and often come with additives, preservatives, and ingredients whose origin is impossible to be certain of.
If you’ve never considered making your own or think that it must be too complicated or require special equipment, then you’re in for a sweet surprise. Making your own extracts is easy as can be. Once you see how simple it is, you’ll never go back to store-bought.
A Few Tips Before You Start
Before you dive in, here are a few things to know that will make your extracts turn out great every time.
Use at least 80-proof vodka. Anything weaker won’t pull as much flavor out of your ingredients, and it won’t preserve your extract as well. There’s no need to buy the top-shelf stuff, though. A cheap, plain vodka works just as well, since the whole point is a neutral base that lets the flavor shine.
Start with clean jars and bottles. Wash them in hot, soapy water (or run them through the dishwasher) and make sure they’re completely dry before you begin. Dark amber or cobalt glass bottles are ideal for storing your finished extracts because they protect them from light.
Label everything. Write the type of extract and the date you started it on a piece of masking tape or a label. Trust me, after a few weeks in the back of the pantry, every jar of brown liquid starts to look the same.
Know how long they’ll last. Alcohol-based extracts will keep for years when stored in a cool, dark place, and many even get better with age. Glycerin-based extracts have a shorter shelf life, generally around a year, so make them in smaller batches.
Expect glycerin extracts to taste a little different. Vegetable glycerin is naturally sweet and doesn’t pull out flavor quite as well as alcohol does, so your non-alcoholic extracts will be sweeter and a bit milder. You may need to use a little extra in your recipes. On the plus side, they’re a great choice for anyone avoiding alcohol entirely.
Okay, let's dive in. Here are 4 homemade extracts you can make with or without alcohol.
1. Vanilla Bourbon Extract
This is your basic vanilla extract, with the addition of some rich bourbon flavor that adds a little depth to your cookie or cake recipes. You will need a mason jar, bourbon, vodka, and three whole vanilla beans. The rule of thumb is 3 beans per cup of alcohol. You can also use smaller bottles if you like, just make sure you have one vanilla bean per bottle.
Instructions:
- Cut the vanilla beans in half with a sharp knife to expose the seeds inside.
- Place the cut-open beans into the jar or bottles– for a mason jar use all the beans.
- Combine vodka and bourbon in equal amounts in a container that is easy to pour from.
- Pour the alcohol into the jar or bottles so that the container is completely full.
- Place in a dark, cool place for four to six weeks, shaking from time to time.
- Once the color of the liquid is dark brown, you’re done. Enjoy!
As you use up the extract, you can top it off with more vodka, and it will continue to extract– the gift that keeps on giving.
Vanilla beans are the priciest part of this recipe, but there’s a way to save money. Look for “Grade B” or “extract grade” vanilla beans. They’re drier and less pretty than Grade A beans, but they’re cheaper and work just as well for extracts. And if you like a bold, rich vanilla flavor, don’t be afraid to add a few extra beans. The more beans you use, the stronger your extract will be.
Non-Alcoholic Vanilla Extract
For the non-alcoholic version of this recipe, use food-grade vegetable glycerin in place of alcohol (3 parts glycerin to 1 part water) and let the extract work it’s magic for a minimum of 8 weeks instead of 4-6.

2. Homemade Cherry Extract
If you are lucky enough to have a cherry tree, then you do not want to pass up the opportunity to make a cherry extract. Wonderful for use in baked desserts or drizzled over pancakes or ice cream, the store bought version is too expensive to use willy-nilly, but when you make it yourself you can use it liberally or even give it away as a very special handmade gift. You will need cherries, vodka, and a mason jar.
Instructions:
- Measure out 12 ounces (a pint) of vodka.
- Pit 2 cups of fresh cherries, tossing them into a jar as you go.
- Cover the cherries with vodka, seal the jar, and shake vigorously.
- Place the jar in a cool, dark place for 2 weeks, shaking every few days.
- After 2 weeks, strain cherries out and pour extract into a glass bottle and store it in a cool, dark place. Voila!
Don’t throw those cherries away! After two weeks soaking in vodka, they’ve turned into boozy little treats. Spoon them over ice cream, stir them into a cocktail, or chop them up and fold them into a cake batter. Just keep in mind they’re still packing a punch, so they’re for the grown-ups only.
Non-Alcoholic Cherry Extract
For the non-alcoholic version of this recipe, use food grade vegetable glycerin in place of alcohol (3 parts glycerin to 1 part water), and let the concoction brew for a minimum of 3-4 weeks instead of 2.

3. DIY Almond Extract
This traditional extract tastes so much better when you make it yourself that you won’t believe you’ve ever paid for the prepackaged stuff. If you happen to have an almond tree, then you really have no excuse. You will need a glass pint jar, almonds, and vodka.
Instructions:
- Take 15 raw almonds and drop them into boiling water for exactly 1 minute. Remove them and rinse them in cold water.
- Squeeze almonds from skins, discard the skins and allow the almonds to dry completely.
- Once dry, chop the almonds coarsely and place into your pint jar.
- Pour 2 cups of vodka over the almonds, seal the jar, and give a good shake.
- Let the jar sit in a cool, dry place for 6-8 weeks, shaking every couple of days.
- Strain your extract through a coffee filter and store it in a dark glass jar or bottle (if possible) in a cool, dark spot.
Keep in mind that homemade almond extract won’t taste exactly like the stuff from the store. Most store-bought almond extract gets its strong, marzipan-like flavor from bitter almond oil, which isn’t something you can make from regular almonds in your kitchen.
Your homemade version will have a softer, nuttier, more natural flavor. Many people actually prefer it, but don’t be surprised if it’s milder than you expected. Also, don’t swap in apricot or peach pits to boost the flavor. They can be toxic.
Non-Alcoholic Almond Extract

For the non-alcoholic version of this recipe, use food grade vegetable glycerin in place of alcohol (3 parts glycerin to 1 part water), and let the almonds marinate for a minimum of 8 weeks instead of 6-8.
4. No-Fuss Orange Extract
For anyone who has ever loved orange-infused confections, you will not believe how easy it is to turn a waste product into a delicious extract. For this recipe, you will definitely want to make sure you use only organic citrus. If you prefer lemon, lime, mandarin, or even grapefruit, you can substitute them in the recipe. Any citrus will do. You will need vodka, citrus fruits, and a mason jar.
Instructions:
- Begin with 4 organic oranges, or a number of citrus fruits with a similar amount of surface.
- Using a peeler, carefully peel the outermost layer of the skin from the fruits, without getting any of the white pith.
- Place the peels in the bottom of a mason jar.
- Pour one cup of vodka over the peels, put the lid on tightly, and give the jar a hearty shake.
- Place the jar in a cool, dark place for 8-12 weeks and shake it from time to time.
- Once the peels have lost much of their color, strain them out and bottle the extract in a glass container and store away from direct sunlight. Bon Appetit!
Even with organic citrus, give your fruit a good scrub under warm water before peeling to remove any dirt or residue. If you can only find conventional citrus, scrub it extra well to get rid of the wax coating. And don’t let those peeled oranges go to waste! Peeled fruit dries out quickly, so juice them or eat them within a day or two.
Non-Alcoholic Citrus Extract
For the non-alcoholic version of this recipe, use food grade vegetable glycerin in place of alcohol (3 parts glycerin to 1 part water), and let the citrus skins soak for a minimum of 12 weeks instead of 8-12.

In case you haven’t picked up on the gist of these recipes– it is extremely easy to make extracts at home. Almost any aromatic spice or herb can be made into a potent extract using these same techniques.
Just use your imagination and your harvest of lavender, mint, cinnamon, basil, even rose petals. Similar techniques are used to make medicinal tinctures as well, so bear in mind that extracts can be used for more than just baking and cocktails.
If you want to try herbs, here are a few tips. Use fresh leaves if you can and gently bruise or crush them before adding them to the jar to help release their oils. Loosely fill your jar about halfway with herbs, then cover them completely with vodka. Mint and basil usually only need four to six weeks, while woody spices like cinnamon sticks can take a little longer.
If you’re making lavender extract, be sure to use culinary lavender, and use it sparingly. A little lavender goes a long way, and too much can make your baked goods taste like soap.
If you have an aromatic herb, pungent fruit, or interesting spice around, feel free to experiment. Extracts are a delicious way to extend the season of your garden or just increase your level of self-reliance.
You May Also Like:
The post How to Make Homemade Extracts appeared first on Homestead Survival Site.
from Homestead Survival Site https://ift.tt/gjeDILw
No comments:
Post a Comment