[…]
The post Survival Romance Movies Worth Watching Together (35+ Picks) appeared first on The Survival Mom.
from The Survival Mom https://ift.tt/zwoa71j
[…]
The post Survival Romance Movies Worth Watching Together (35+ Picks) appeared first on The Survival Mom.
Estimated reading time: 4 minutes
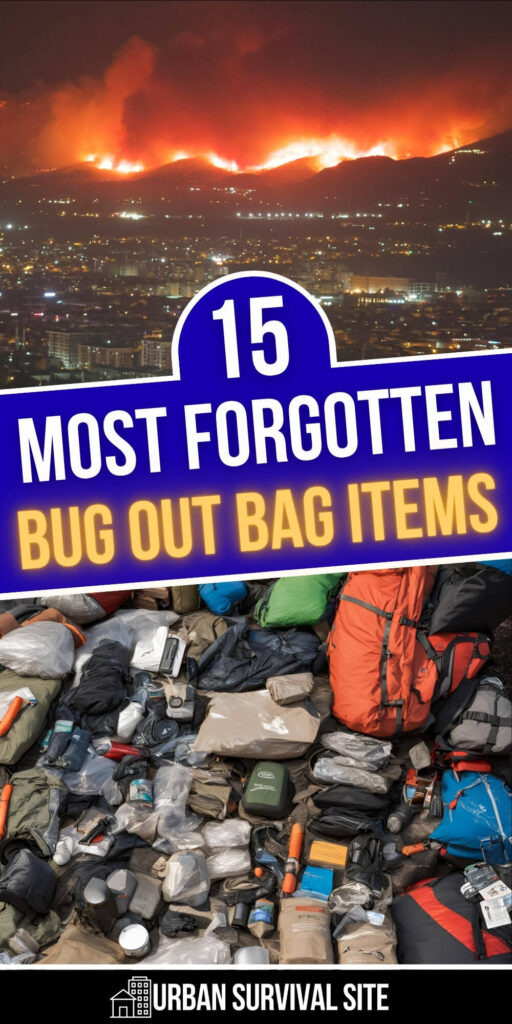
Let me tell you something about bug out bags: No one gets it exactly right the first time. If you think you can assemble a bug out bag once and then forget about it forever, you are gravely mistaken. There are bound to be a few crucial items missing. That's why it's important to regularly look over and update your bug out bag.
Most preppers focus on the obvious stuff: a knife, fire starter, first aid kit. But it's the overlooked items that tend to bite you when things go sideways. The difference between a good bug out bag and a great one often comes down to a handful of small, cheap items that never made the list.
If you haven't updated your bug out bag in a while, or haven't even built one yet, check out this list of 15 items you might have forgotten. These items are commonly overlooked, but they're the kind of thing you'll desperately wish you had when you need them.
Want to save this post for later? Click Here to Pin It On Pinterest!
This list comes from the YouTube channel Survival Know How, and it's spread across two videos. Here's the list:
Dehydration is already a serious threat in a survival situation, and diarrhea can turn that threat deadly fast. A small pack of Imodium takes up almost no space and could save your life.
Gear fails. Clothes tear. A basic sewing kit lets you repair a busted pack strap, patch a jacket, or fix anything else that takes damage when you can't afford to replace it.
You can survive weeks without food, but only days without water, and most natural water sources are contaminated. A compact filter like a Sawyer Squeeze gives you access to safe drinking water almost anywhere.
Don't underestimate this one. A bandana can work as a pre-filter for water, a dust mask, a tourniquet, a signal cloth, or a way to keep sweat out of your eyes on a long hike.
Your phone dies. The grid goes down. A paper road map of your area never needs a battery and never loses signal, and knowing your routes in advance could mean the difference between getting out and getting stuck.
Mosquitoes and ticks carry diseases that can put you down hard in a grid-down situation where medical care isn't available. A small bottle of DEET-based repellent is cheap insurance.
When the internet and cell towers are gone, a hand-crank or battery-powered emergency radio is how you stay informed about what's happening and where it's safe to go.
A fresh set of clothes has obvious practical value, but going with camo specifically helps you blend into a natural environment if you need to move without being seen.
Dental problems can be debilitating even under normal circumstances. In a survival situation, a severe toothache or infection can be mission-ending. At minimum, pack a travel toothbrush and some floss.
Even experienced preppers can blank under stress. A compact survival reference like the SAS guide covers shelter, navigation, fire, first aid, and more, and takes up almost no space in your bag.
In the early stages of a crisis, cash still works when cards don't. Keep small bills on hand. People are less likely to make change during a disaster, and smaller denominations are more universally useful.
Think ID, insurance cards, emergency contacts, and any critical medical information. Store physical copies in a waterproof bag so you have them if your phone is dead or lost.
Most people underestimate how much food they actually need when they're moving under stress. Aim for calorie-dense options like energy bars or freeze-dried meals that don't take up much room.
A small fishing kit weighs almost nothing but opens up a reliable long-term food source if you're near any body of water.
It sounds obvious until you realize you forgot it. A compressed travel roll or a few feet of TP wrapped around a small cardboard tube takes up minimal space and makes a rough situation a lot more bearable.
Watch the videos below to learn more about these items. You can also check out the description below the video on YouTube for links to his recommended products.
Like this post? Don't Forget to Pin It On Pinterest!
You May Also Like:
The post 15 Most Forgotten Bug Out Bag Items appeared first on Urban Survival Site.
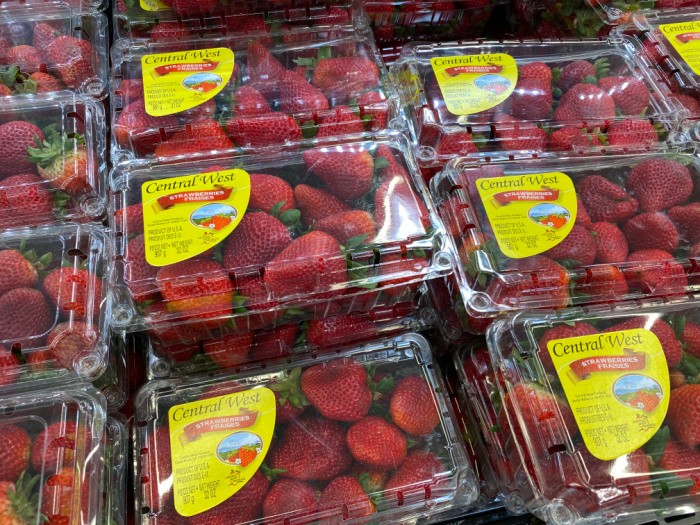
It’s all about what to stock up on in July today. This post is part of my ongoing monthly savings plan. We can save money on those items we need, or want if we are aware of the month they are at the lowest price possible. I realize prices on everything are going sky-high right now, but we may still be able to watch for markdowns on these items.
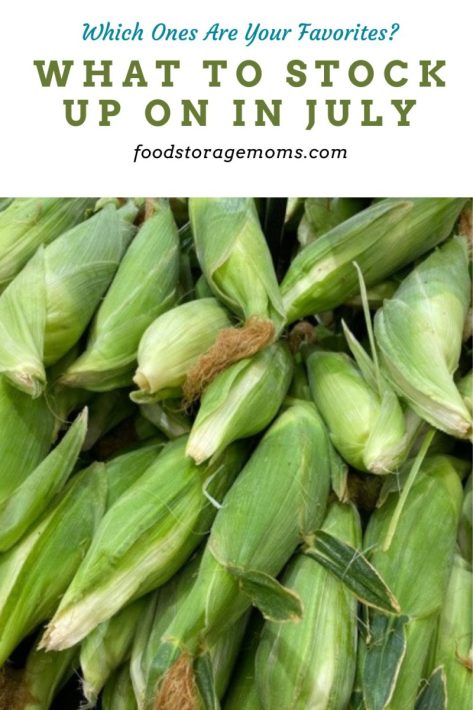
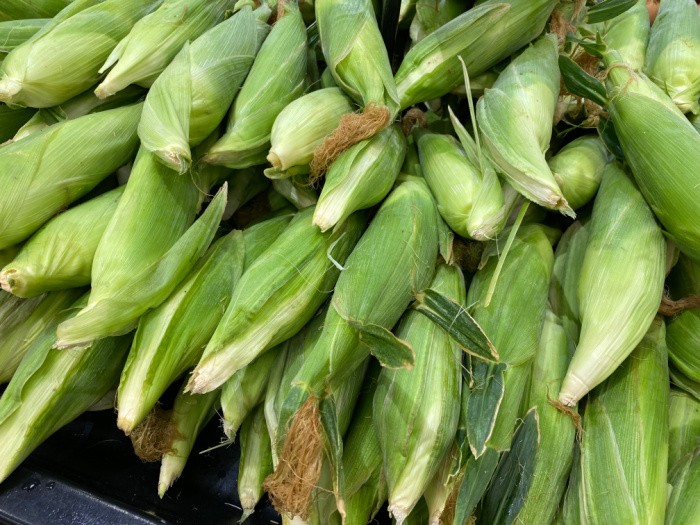
The summer is hot and fruits and vegetables are plentiful this month. Corn, cantaloupe, blueberries, strawberries, plums, peaches, and watermelon are all in season right now.
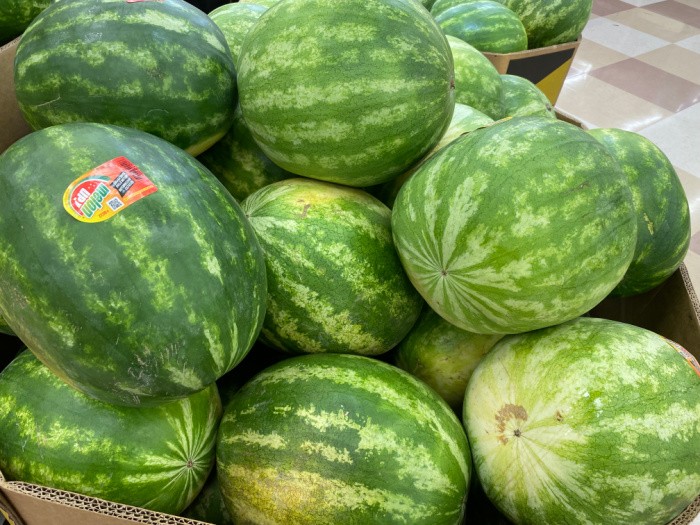
Watch for coupons and really good buys, even at stores like Target. I bet you can almost taste those fresh strawberries, right? Be sure and grab some whipping cream, and plan to make some shortcake! Watermelon slices are the best!
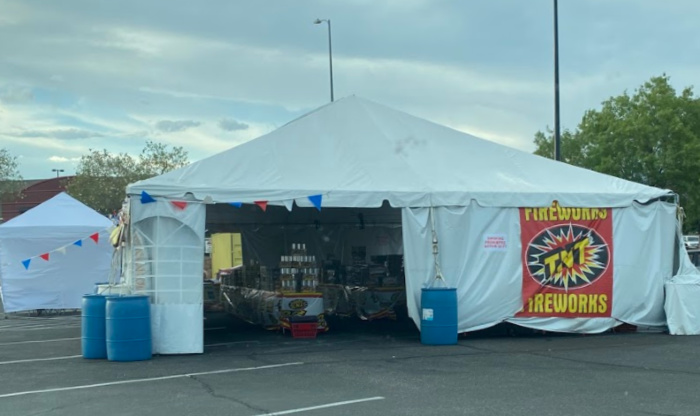
If your community allows fireworks, you already know July is the month to buy the leftover fireworks after the holiday to use for New Year’s celebrations, or to hold over until next year’s July 4th fun. If you live in Utah, you can use any leftovers to help celebrate the July 24th holiday, if fireworks aren’t restricted in your area. You can store fireworks in a safe, secure, and dry place and pull them out to welcome in the New Year or other holidays.
I love, love, love the colors, red, white, and blue. These colors bring out the best in everyone in the USA! I usually use plastic plates on July 4th, but this display at a local store caught my eye, so I took a picture of it. Life is so good!

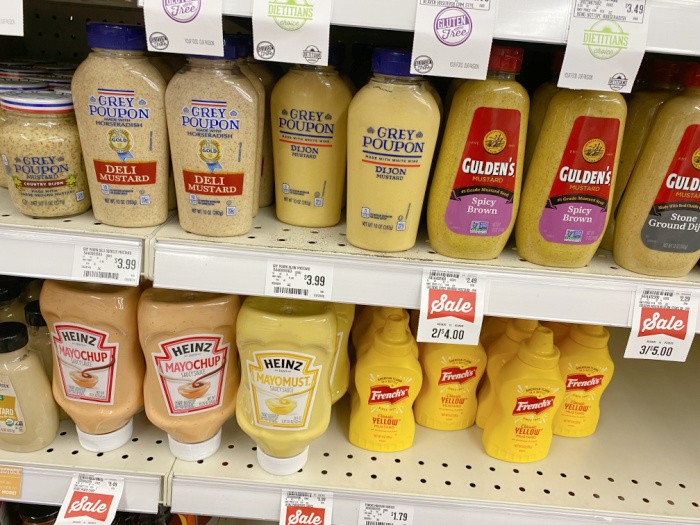
It’s a great month for stocking on up mustard, mayonnaise, and ketchup. Watch for your favorite barbecue sauce to be on sale as well. There may also be some savings on relish and pickles too.
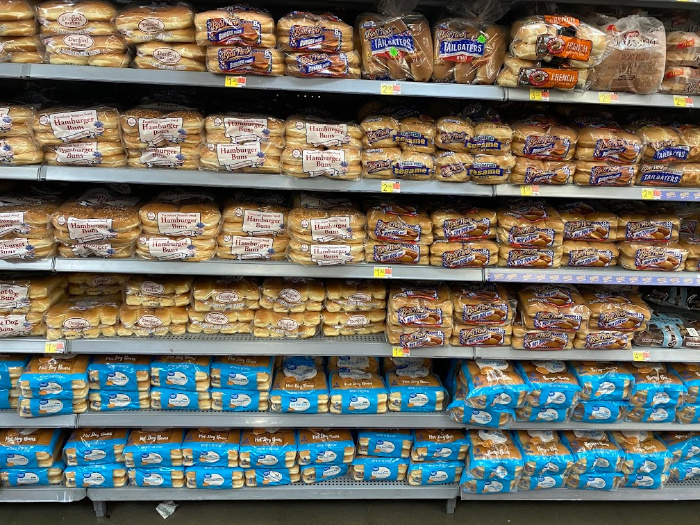
Most grocery stores stock up for that 4th of July barbecue and they don’t want to run out of the hot dog or hamburger buns. It’s a perfect time to stock your freezer with all kinds of buns for the fall and winter months. Condiments will be drastically reduced too. As mentioned above, it’s a great time to stock up on mayo, mustard, and other goodies to go along with the hot dogs and burgers. This is the month to stock up on paper plates, cups, and napkins for picnics and possible emergencies.
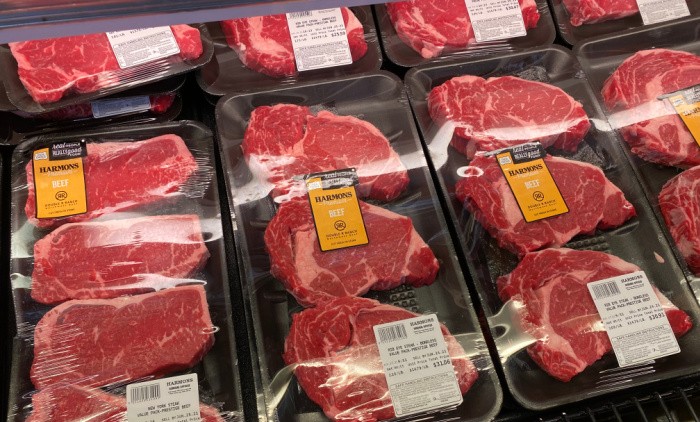
It’s a great month for having a barbecue! Watch for sales on hamburger meat, hot dogs, and steaks. Meat products as a group are pretty expensive right now. Consider trying other options like ground turkey or beef substitutes. Also, consider pork options, pork seems to be on the cheaper side.
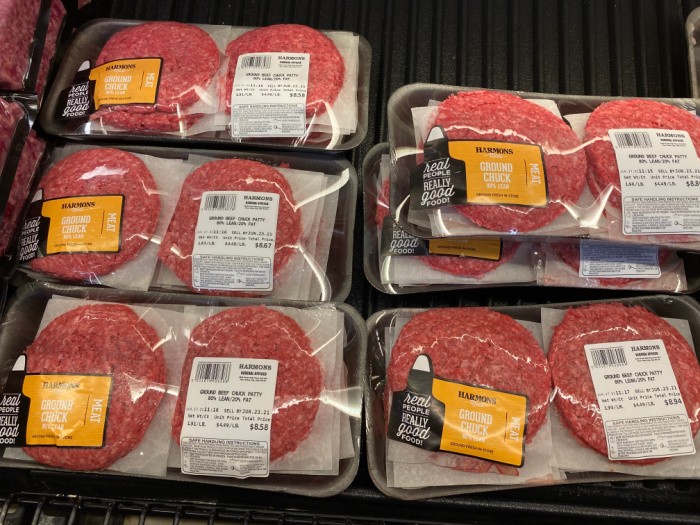
Can’t you just smell the barbecue right now?
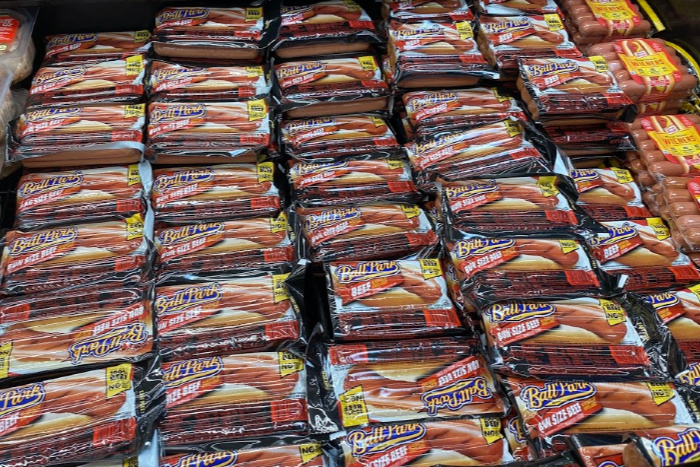
Here’s the deal with meat in the summertime, grocery stores stock up big time hoping to sell a lot of meat for those barbecues! You will see some discounting, but don’t expect to see pricing as we’ve had in the past. If you do find some good buys, it could be the time to stock your freezer with hot dogs, hamburger meat, and steaks. As we’ve all seen, meat prices have been going up the past few months, so I’d suggest looking for deals during the holiday period now before you see them go up even more.
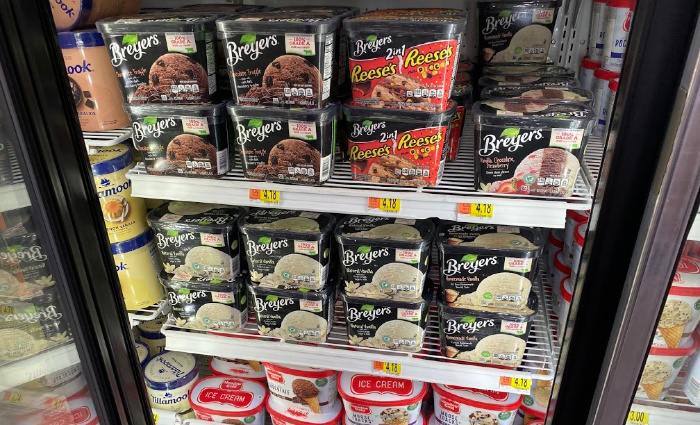
Ice cream in every form will be on sale this month. I have seen some significant discounts in July, and I stock up on all the ones we love the most. Don’t forget to watch for coupons at your local stores, and even the pharmacies. Our local Smith’s store often has great deals on various brands of ice cream, particularly their house brand. What a fun way to help deal with those hot days, and enjoy a treat at the same time!
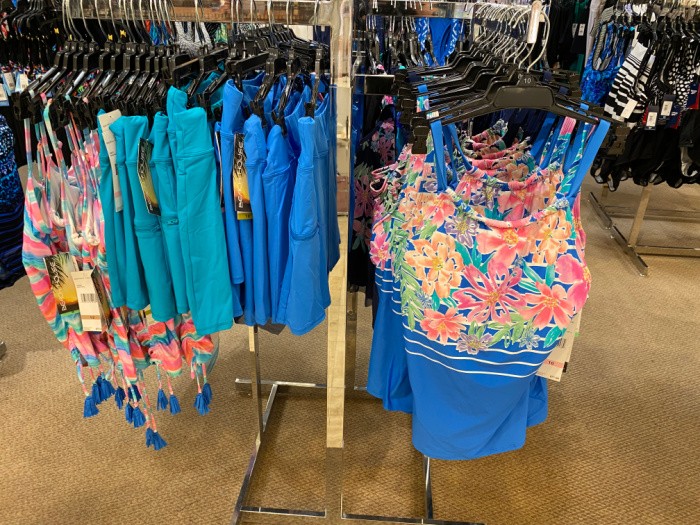
July is a great month to find that swimsuit you have been looking at that was maybe too pricey. I bet it is on sale, if it’s still available. You will see 40%-60% off swimsuits, beachwear, beach towels, floating devices, goggles, and pool toys.
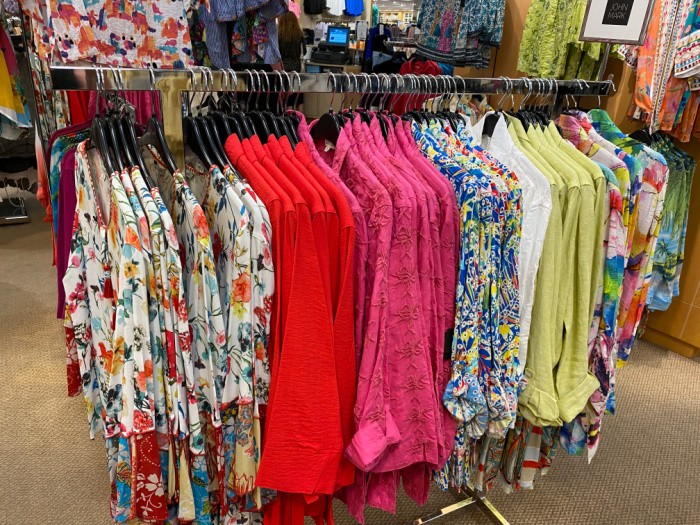
If you like to buy designer clothing, July is a great month because Nordstrom’s and Dillards typically have their half-year clearance sales going on with drastically reduced prices. Just be prepared to possibly stand in line, just giving you the heads up.
The stores are gearing up for the fall clothing lines and back-to-school stuff coming in and they need to unload their summer items. Don’t forget to look for great buys on sandals, summer shoes, and designer flip-flops.
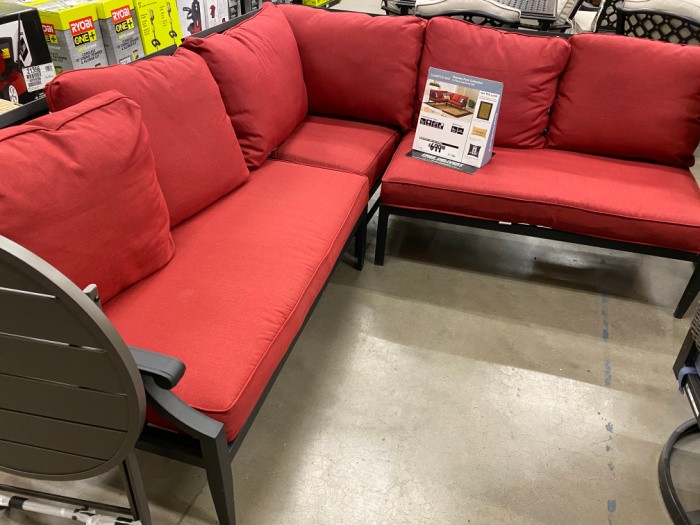
This is a great month to pick up an outside table and chairs set or those outside rocking chairs you have been wanting. These could be about 40%-50% off the original price. The stores are looking to clear out the summer fun items and getting ready to stock space heaters and fireplace inserts.
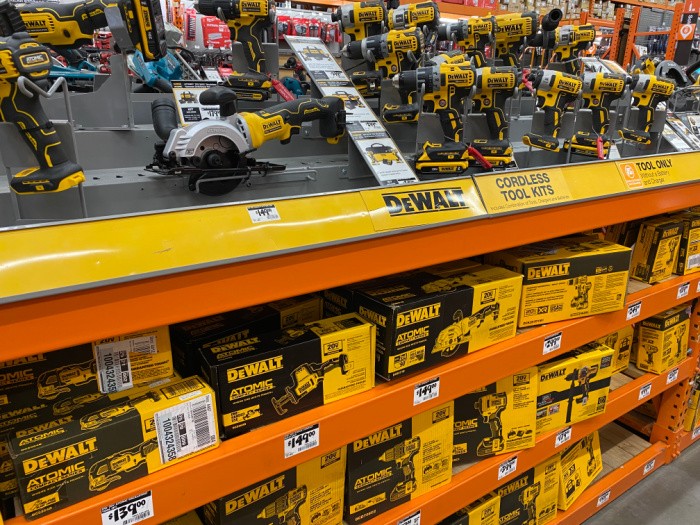
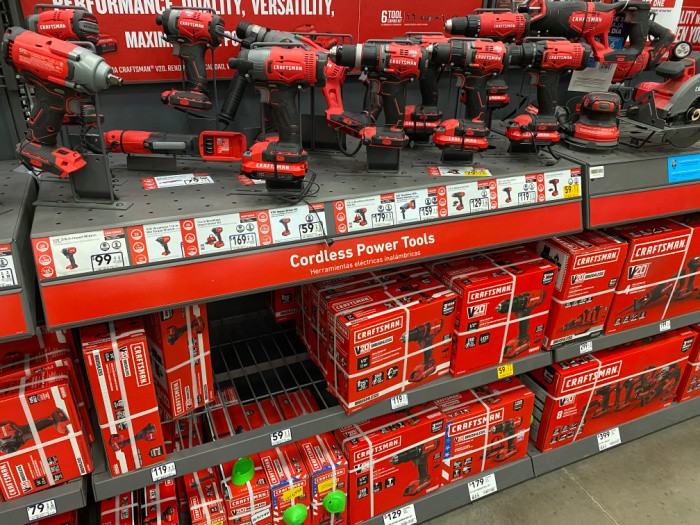
Because Father’s Day was in June, you will now see specials on the tools the stores have stocked up on and didn’t sell as expected. Grab those tools you need to start that project you have been needing to do. Mark and I saw the Craftsman tool display, boy did that bring back some good memories. We helped build out many basements for family and friends with Craftsman and DeWalt tools over the years.
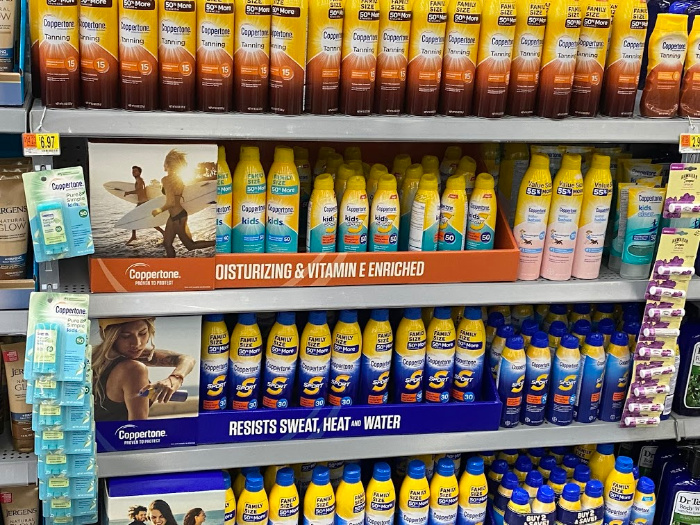
You probably know how expensive sunscreen can be. I stock my hall closet big time for family and guests. Every once in a while I see it for 30%-50% off the retail price. Because we used to live in Southern Utah (the desert), I had plenty of sunscreen in my pantry since I didn’t want anyone getting sunburned. I’ve always felt it’s critical to have several containers on hand. Check your mailbox for coupons to Target and other local stores. My favorite brand is Aveeno 50 SPF. I go right to the section where it’s marked down every July.
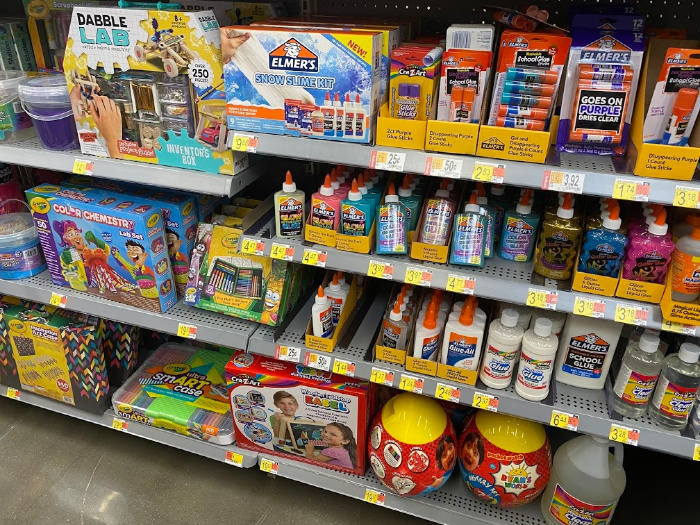
If you have kids going back to school, July is the first month to stock up for school while the best supplies are fully stocked on the store shelves. You will see rock-bottom prices on items you need to fill those backpacks. The prices will go back up the closer it gets to the first day of school because the supplies will be depleted. It’s all about supply and demand.
You will see binders, calculators, pencils, pens, paper, pencil boxes, etc. They will also have glue, glue sticks, and other necessary items on sale!
I hope today’s post helps you with what to stock up on in July. It’s a great time to buy those items we need at the very lowest price available this time of the year. May God bless this world, Linda
Copyright Images: Shopping Basket Deposit photos_51821091_xl-2015, Hands with pink piggy bank Deposit photos_32884157_s-2019
The post What To Stock Up On In July appeared first on Food Storage Moms.
Yes, in most cases premium gasoline contains ethanol, just like regular and mid grade gasoline. The vast majority of gas sold in the United States, regardless of octane rating, is blended as E10, meaning it contains up to 10 percent ethanol. Buying a higher octane fuel does not automatically mean you are getting a pure gasoline product. If ethanol content matters to you, especially for long term fuel storage or small engine use, you need to check the pump label and look for ethanol free options specifically rather than assuming premium solves the problem.
This matters more than most people realize when you are preparing for emergencies. The U.S. Energy Information Administration confirms that nearly all gasoline sold in the country is blended with ethanol, primarily to meet renewable fuel standards and reduce emissions. Octane rating and ethanol content are two completely separate properties of fuel, and one does not determine the other.
The confusion is understandable. Premium gas is marketed as a cleaner, higher performance product, and many people associate higher price with higher purity. In reality, the premium label only refers to the octane rating, which is a measure of the fuel’s resistance to knocking or pre ignition in high compression engines. It says nothing about whether ethanol was added during blending.
Octane numbers commonly seen at the pump are 87 for regular, 89 for mid grade, and 91 to 93 for premium. Ethanol can be blended into any of these. In fact, ethanol itself has a naturally high octane rating, which is one reason refiners use it. Adding ethanol can actually help a fuel reach a higher octane number more affordably, so premium fuel is not just compatible with ethanol blending, it is sometimes assisted by it.
Every fuel pump in the United States is required to display a label if the gasoline contains more than a small percentage of ethanol. Look for a small sticker near the payment screen or nozzle that says something like Contains up to 10% Ethanol or E10. If the pump does not have this label, the station is required to disclose ethanol content somewhere on site, so ask an attendant if you are unsure.
According to the U.S. Department of Energy, fuel retailers must clearly label dispensers for any blend above 10 percent ethanol, but disclosure rules for E10 can be less consistent, so reading the small print at the pump is always worth the extra few seconds.
If you store fuel for generators, chainsaws, vehicles, or backup equipment, ethanol content is one of the most important things to pay attention to, arguably more important than octane rating. Ethanol is hygroscopic, meaning it absorbs moisture from the air. Over time in a storage container, this can lead to phase separation, where water and ethanol settle at the bottom of the tank while gasoline floats on top. Running an engine on this separated mixture can cause corrosion, clogged fuel lines, and damage to carburetors and fuel injectors.
Ethanol blended fuel also tends to degrade faster than ethanol free gasoline, often losing its combustibility within three to six months even with a stabilizer added. This is a serious concern for anyone maintaining a fuel reserve for emergencies, since the last thing you want is unreliable fuel when the power grid goes down.
For long term storage and small engines like generators, lawn equipment, boats, and motorcycles, ethanol free gasoline is almost always the better choice, even though it usually costs more per gallon. Many small engine manufacturers explicitly recommend ethanol free fuel or fuel with no more than 10 percent ethanol, and using anything higher, like E15, can void warranties and damage seals and gaskets not designed for it.
The Environmental Protection Agency notes that engines not specifically designed for higher ethanol blends can experience accelerated wear, which is why checking your equipment’s owner manual before fueling matters as much as checking the pump label.
If ethanol free gas is not available locally, the next best option is using a high quality fuel stabilizer rated for ethanol blends, rotating your stored fuel every few months, and storing it in sealed, UV resistant containers away from temperature swings that accelerate moisture absorption.
Power outages are only one part of the preparedness equation. If you’re serious about becoming more self-reliant, knowing how to produce your own water, food, energy, and other essentials can make all the difference.
No-Grid Survival Projects shows you how to build practical, low-cost projects that help you rely less on public utilities and more on your own property.
You’ll discover how to build:
 Get the No-Grid Survival Projects book today and start building your own resilient homestead before the next emergency catches you unprepared!
Premium gas almost always contains ethanol unless it is specifically labeled as ethanol free. Octane rating tells you about engine performance and knock resistance, not about fuel composition. For everyday driving in a modern vehicle, this usually is not a major concern. But for anyone maintaining backup fuel supplies, generators, or small engines as part of a preparedness plan, seeking out ethanol free gasoline and labeling your stored containers accordingly can prevent costly damage and ensure your equipment actually starts when you need it most.
You may also like:
 How to Siphon Gas from a Motorcycle
Arizona Farmer Accidentally Discovers Trick to Turn Air into Water (VIDEO)
How to Siphon Gas From a Modern Car: Emergency Preparedness Guide
How Long Does Gas Last in a Can?
How to Siphon Gas from a Boat Tank
The post Does Premium Gas Contain Ethanol? appeared first on Ask a Prepper.
Today, it’s all about what to plant in July. You still have plenty of time to plant seeds or seedlings this month. It’s not too late to grow and enjoy a fall harvest crop in late summer or early fall before the first frost date. By the way, how is your garden doing with the warm soil conditions? There is something special about a fall garden that is still in bloom and provides veggies you can enjoy all winter.
One positive aspect of this recent gardening season is that most of the country has experienced ample water from heavy winter snow and numerous spring and early summer rainstorms. We didn’t have to plant those drought-tolerant plants this growing season.
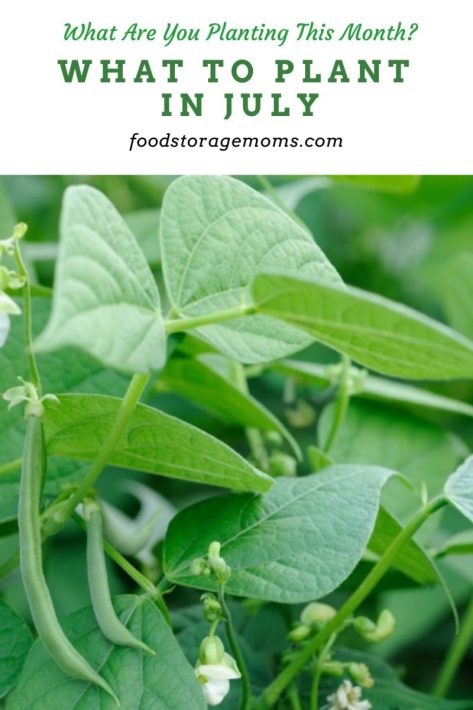
I like to update this post every year with new tips. This week, I would typically be planting more cilantro, carrots, zucchini, green onions, and green beans. You may recall that I’ve relocated to the north to build a small home so that I won’t have a garden this year. Hopefully, next year, when the construction is complete, I can lay out my small garden plot.
It’s been nearly four years, and it’s frustrating, but that’s just the way it is. Thankfully, after three years of paying for climate-controlled storage units, our food storage and preps are in place. My area in the garage is still a mess, but I have to wait until it cools down to clean it up and organize it.
Where I buy my garden seeds: SeedsNow
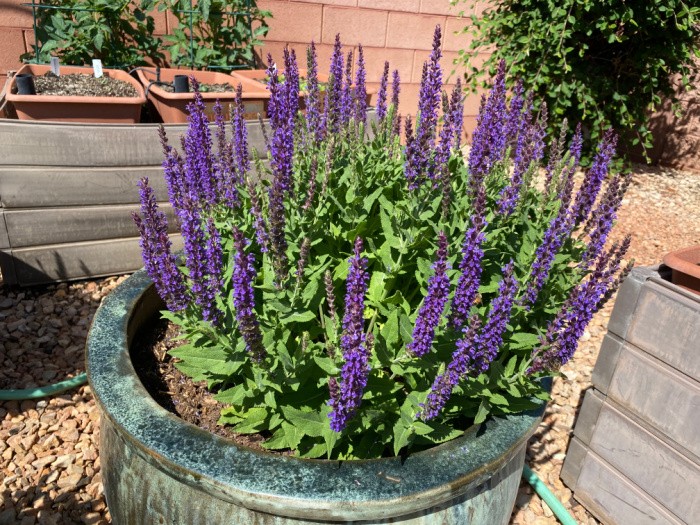
I highly recommend planting flowers near your garden because if you have flowers, the bees and other pollinators will come and help pollinate your garden plants. Oh, and don’t forget the butterflies that pollinate and add fun color to the garden. They are magical to me. Perennial Salvia plants are my favorite flowers to bring bees to my garden area. Because they are perennials, you cut them back a few times a year, and they keep coming back, as do the bees. These are the seeds: Perennial Salvia.
Plastic Photo Container and Label Maker
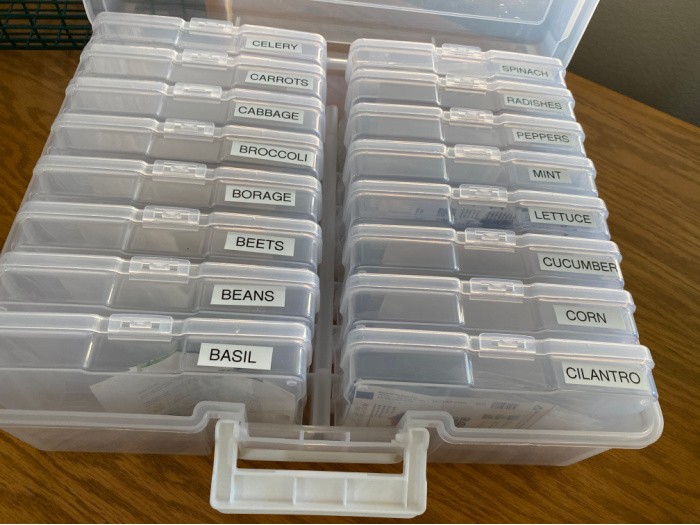
Where I buy my garden seeds: SeedsNow
I highly recommend these products for growing your seedlings: CowPots and Organic Seedling Soil. You plant your seeds and place the CowPots in your garden when the temperatures are correct, based on your specific hardiness zone location.
People probably say that having the right pH level in your garden soil is essential for a successful harvest. You may wonder what pH level means when gardening and how to determine your garden soil’s pH level. Each plant prefers a different level of acidity to grow the very best harvest. The level of acidity desired varies between plants.
Therefore, you can adjust the pH of your soil by adding lime or sulfur to bring it up or down, depending on the needs of your soil. You can have your soil tested, possibly by your state extension service, or try to do it yourself with a soil tester. pH Tester. Additionally, some local nurseries offer this service to their customers.
All you need is a paintbrush or cotton swab (see below). If you need to hand-pollinate because you aren’t seeing any fruit develop on your garden vegetables, here is something you may want to try. You do this by removing the male blossom (male blossoms don’t have fruit behind them).
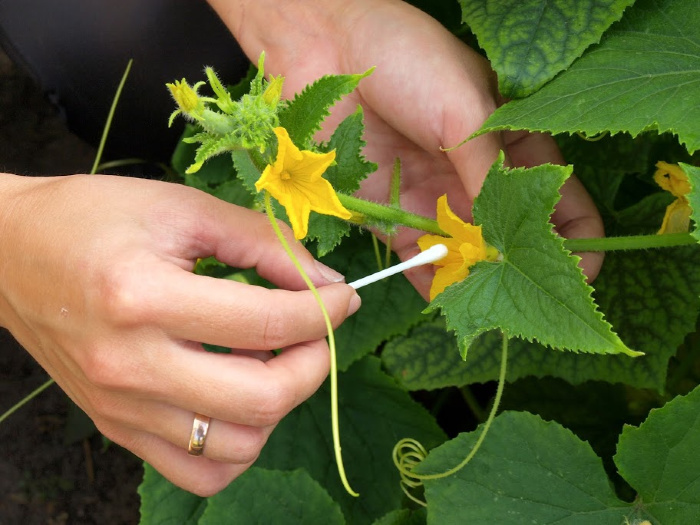
They produce pollen, leaving the center covered in pollen that can be collected with a brush or swab. Use a brush or swab to apply the pollen you collected to the center of the female flower. This works for squash, melons, herbs, and cucumbers.
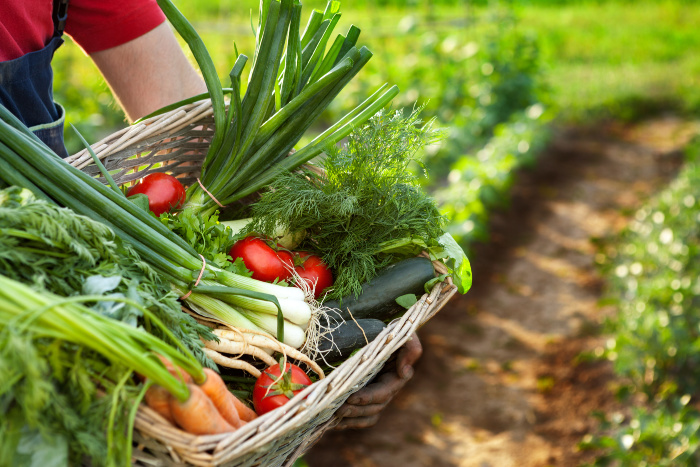
July is not too late to start a garden. It can be a perfect time, depending on your time zone. It’s interesting to note how the zones have shifted slightly due to the global temperature change. Planting times have changed a lot. Here is what you can plant by zone:
While July is peak harvesting time for many places, the cooler climate locations can start planting their gardens. If you live in zones 1-3, it is prime time to start planting the following:
Zones 4-5 are found throughout the Northern Midwest and New England. Here is what you can plant in these zones during July:
In zones 6-7, you have mild temperatures during this time. This means it is the optimal time to grow some of these plants in your garden:
When you live in the southern states, it is pretty hot during July. But there are still several items you can plant. Here are just a few:
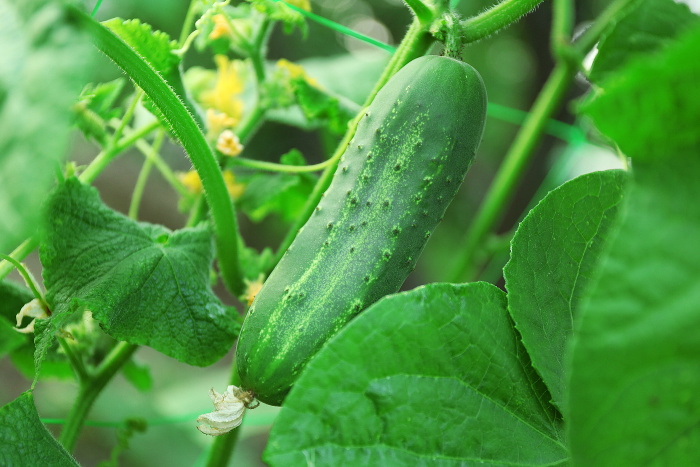
Cucumbers thrive when the weather is hot and receives a lot of water. Plant them in full sun. If you planted seeds inside, don’t set your seedlings outside until the weather is in the 70-degree range.
Check the last frost date and wait two weeks before planting the seedlings or seeds outside. You can grow a second set of cucumber seeds in the first week of July and still be able to harvest them before the first fall frost date.
Decide if you want to grow bush cucumbers or cucumbers on the vine. I have always had better luck with bush cucumbers, which work great in pots or small gardens.
This is why they do better in my raised gardens. I suggest you stagger the planting of the seeds, as this will result in cucumbers bearing fruit at different times during the growing season, rather than all at once, producing a more manageable harvest.
Cucumbers like compost and composted, well-rotted manure. They need well-fertilized soil. Cucumbers grow fast and don’t depend on much care or work to get them to thrive. When watering, try to keep the leaves dry to prevent leaf diseases from forming.
Male blooms show up first and drop off. No worries; a female flower will appear within a week or two. If not, you may have to do hand pollination. You remove the male blossom, leaving the center covered in pollen. Use a brush or cotton swab to apply the pollen you collected to the center of the female flower.
Use metal cages for vines. The cucumbers will hang better on those because they attach more easily to the wires as they grow. Plant two to three seeds about one inch into the soil and cover them with soil.
If the soil is moist and warm, you will see sprouts within a few days. Plant the seeds or plants 36-60 inches apart. Bush cucumbers can be planted closer. Cucumbers grow from start to finish in 50-70 days.
pH level for Cucumbers: 6.5 to 7.0
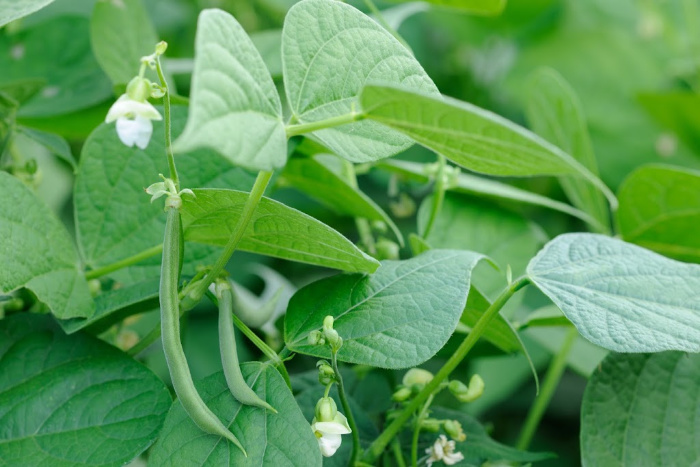
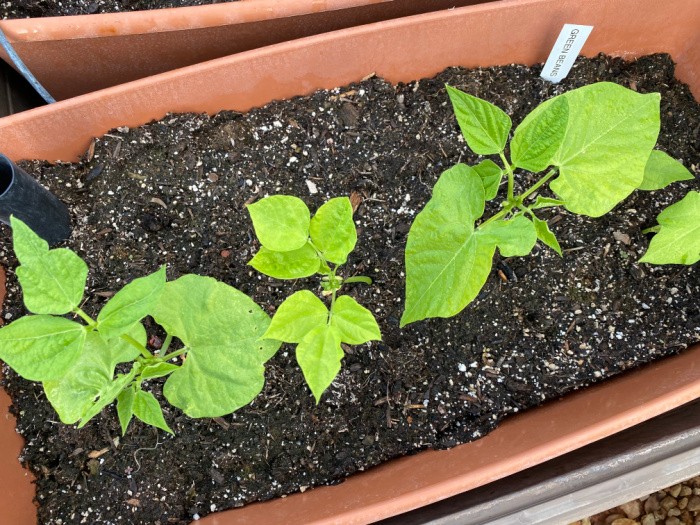
I have consistently grown bush beans. Their growing time is shorter, 60-70 days, which is just enough time if you plant the seeds in the first few days of July.
This is one of my favorite vegetables to grow. When our girls were growing up, we grew many green beans. We canned bushels of them in our pressure cooker.
They taste so good when they are freshly picked. I only grew bush beans, but you can plant pole beans if you have a support system to keep them off the ground.
Bush beans typically grow to about 2 feet tall, while pole beans can reach heights of up to 10 feet. Bush beans are ready to pick about 50-55 days after planting. Pole beans take a bit longer to mature, so plan on harvesting them in 55-65 days.
Please remember that if you stagger the plantings every 2 weeks, you can harvest green beans for weeks rather than all at once in one week.
Green beans are like well-composted, rich soil with rotted manure. You plant the seeds 1-2 inches deep and cover them with soil. Space the seeds in rows about 6-8 inches apart.
Water them immediately and regularly until they begin to sprout. After sprouting, they need 1 to 1.5 inches of water each week. They need full sun, so plan accordingly. They grow best when the air temperatures are between 65°F and 85°F.
When the green beans are the size of a pencil, they are ready to be harvested. They can toughen up very quickly, so check on them often. You pick them by snapping them off at the vine.
pH level for Green Beans: 6.0 to 6.2
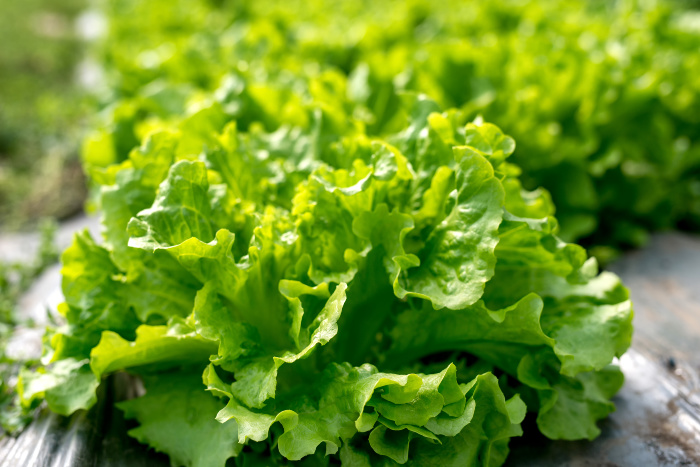
The nice thing about lettuce is that it’s easy to grow and sprouts quickly. Ensure the soil is loose, loamy, and well-drained. Lettuce loves nitrogen and potassium, so keep your eye on the leaves as they grow.
Work in a lot of organic matter or compost. Lettuce matures in 55 to 60 days. Romaine takes longer to mature, as do head lettuce varieties.
Summer Lettuce Seeds: Summer Bibb
Adriana, Coastal Star, Red Cross, and Muir are other heat-resistant varieties.
Plant the seeds about 1/4 inch deep, tamp them in the soil, and water them. Easy and simple. Read the package to space the lettuce according to the type you choose. Seeds will not germinate in soils above 80°F.
You can start some seeds indoors and transplant the seedlings into a shady spot when the weather is too hot outside to plant them directly in the soil. You may want to choose heat-resistant varieties if you live in an area where temperatures get too hot in the summer.
It’s better to pick early than late in the growing cycle because the leaves become bitter if you wait too long.
pH level for Lettuce: 6.0-7.0
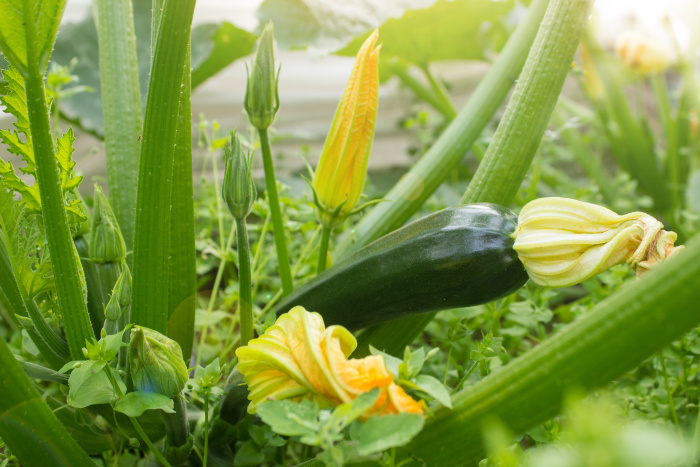
Summer Squash: zucchini, crookneck, and straight-neck (harvested in the summer before they reach maturity). You can start a second planting if you plant the summer squash seeds by the first week of July.
Winter Squash: pumpkins, butternut, spaghetti, and acorn squash (harvested in the autumn months after they reach maturity).
When you plant the seeds, test the soil to ensure it is at least 60 degrees F. before sowing. They need total sun exposure, loamy soil rich in nutrients, and proper drainage.
Plant the seeds in hills (2-3 each) one inch deep. Space them 2-3 feet apart. Thin as needed to produce the most vigorous plant. Use a cloche to protect the plants from cool weather.
Mulch the plants to keep them moist and weed-free. When the first blooms appear, fertilize the plants.
Water deeply, at least one inch of water per week. The soil needs to be moist at least 4 inches down. If your blossom ends turn black and rot, you have blossom rot. It’s usually caused by uneven moisture in the soil. It could also be a calcium problem.
Water must be consistent and frequent for the fruit to produce. If the fruits are misshapen, they may not have received enough water or fertilizer. Check for fruit you can pick daily; they grow faster than you think.
pH level for Squash: 5.5-6.8
It’s all about self-reliance, and gardening is a great way to do it. It doesn’t have to be the most enormous garden on the block; it can be on a small deck with pots planted with the seeds of the plants you love to eat.
It can be a shared piece of property or several acres of land. Whatever we can do to produce some of our food is one of the best ways to teach our families to care for themselves.
So, if you were wondering what to plant in July, now you know, and you can pass this information on to your neighbors. Thanks for being prepared for the unexpected. May God bless this world, Linda
Copyright Images: Gardening AdobeStock_218588157 by Irina Fischer, French Green Beans AdobeStock_42955688 by ecobo, Pollinating Cucumbers AdobeStock_177403079 by Viesturs Kalvans, Cucumber Growing In Garden AdobeStock_91930629 by Africa Studio, Fresh Lettuce in Hothouse AdobeStock_143646375 by diyanadimitrova, Zucchini Growing in Summer Day AdobeStock_116494927 by AKA-RA
The post What To Plant In July appeared first on Food Storage Moms.
Estimated reading time: 6 minutes
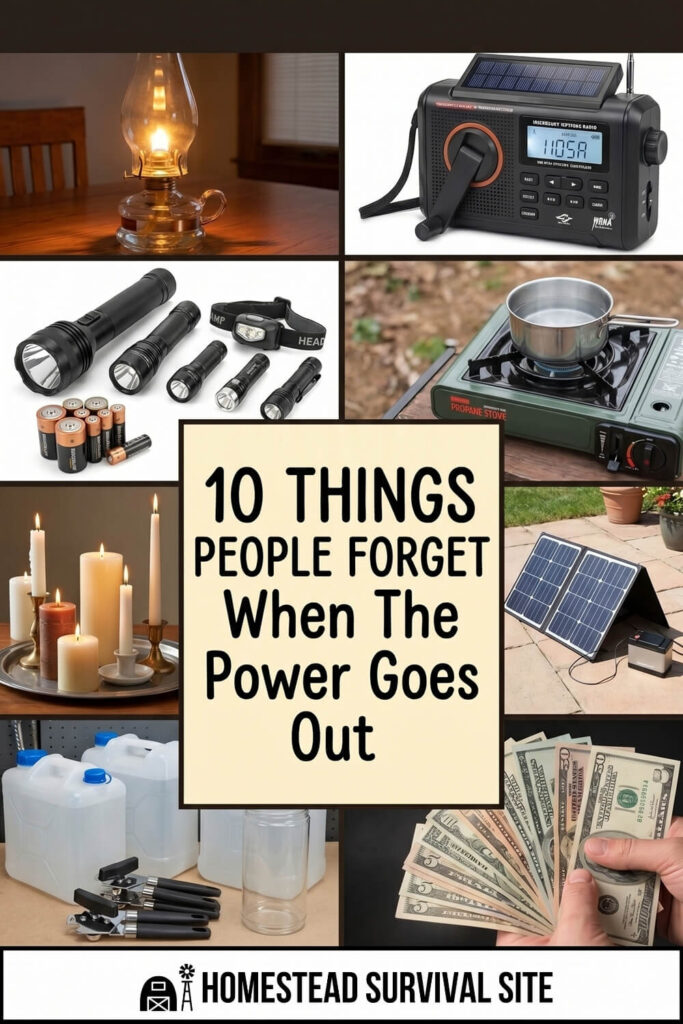
Most of us flip a light switch dozens of times a day without a second thought. We plug in our phones, run the dishwasher, and crank up the heat without ever considering what life looks like when the grid goes down. But when a storm knocks out power for more than a few hours, that comfortable routine falls apart fast, and that's when you realize just how unprepared you actually are.
A power outage isn't just an inconvenience. Without electricity, you lose heat or cooling, running water may become unreliable, food starts to spoil, and the darkness can make even a familiar home feel disorienting. Most people assume they'll figure it out when it happens. They won't. Or at least not easily.
That's why I love this video from the YouTube channel, Clever Joe Off Grid. Joe lives off-grid full time, so power outages aren't a crisis for him. In this video, he walks through the 10 things that actually matter when the lights go out, and a few of them are ones most people never think about until it's too late.
You can watch the video and see his list below.
The first thing you'll want is some kind of power source, but Joe cautions against overthinking this. A lot of people's first instinct is to buy a portable power station, and while those are useful, they only cover you for a day or two before you're stuck wondering how to recharge them. Joe recommends starting with a generator. He uses the Honda EU2200i, a quiet 2,000-watt unit that can safely run most household appliances, including your refrigerator.
The ideal setup pairs a generator with a power station. You can also build your own power station using a 12-volt lithium battery and a pure sine wave inverter, which gives you comparable capacity to a name-brand unit at a lower cost. Either way, having a recharge strategy is just as important as having the power station itself.
If your power goes out in winter, heat quickly becomes your most urgent concern. A wood stove is the gold standard, but Joe points out there are solid alternatives. A propane heater like the Thermate can be used safely indoors in cooler shoulder-season temperatures, as long as you have a carbon monoxide detector and don't run it while you sleep. Other options include diesel or kerosene heaters.
One underrated solution Joe swears by: an electric blanket plugged into a power station. It draws very little power and can keep you genuinely warm through a cold night without burning through your fuel supply.
You can tolerate being without power for a while. You cannot tolerate being without water. Joe recommends keeping water stored ahead of time. He fills containers halfway in winter so they can freeze and thaw without bursting. Beyond storage, a water filter is essential.
Joe mentions the Membrane Solutions filter as a solid, affordable option, and notes that smaller hiking-style filters (around $20) are perfect to stash in a cabinet and forget about until you need them.
This one sounds obvious, but people consistently underestimate it, especially at 2 a.m. when they're stumbling around a dark house half asleep. Joe recommends thinking like a camper: keep a self-recharging flashlight, a headlamp, and a reliable rechargeable lantern accessible at all times.
Candles work in a pinch. For longer outages, 12-volt lighting systems are especially efficient and can stretch your power reserves considerably. The goal is to never be caught searching for a flashlight that doesn't work when you actually need one.
The biggest mistake people make with emergency food is buying things they'll never actually eat. Joe's approach is simple: stick to dry goods you already use and practice rotation. Use what you have within a few weeks and replace it. None of this has to be expensive.
Most of what Joe keeps stocked costs about a dollar per item at a dollar store. Skip the elaborate prepper pantry and just build a reasonable buffer of everyday staples.
Once you have food, you need a way to prepare it. Joe's go-to is a butane burner with butane canisters, which he notes can be found cheaply at Asian supermarkets. A propane barbecue works just as well.
A small camping stove kit with a kettle pot covers most bases and can run off a 500-watt power station or larger. The point is to have at least one non-electric cooking method ready before the outage happens, not after.
When the power goes out, so does your Wi-Fi, and your phone battery won't last forever. Joe gives a brief but important mention to staying connected with what's happening outside your home.
A battery-powered or hand-crank emergency radio lets you receive weather alerts and news updates without depending on the grid. Knowing whether the outage is expected to last two hours or two days makes a significant difference in how you manage your resources.
Sanitation is one of the most overlooked items on any emergency prep list, and Joe covers two sides of it. First, personal hygiene: he recommends a simple bucket shower (heat some water, dip your bucket, done) or a rechargeable shower pump that hangs overhead. Wet wipes are an easy backup for staying reasonably clean between showers.
Second, and more urgently: the toilet situation. If your water pressure drops or your septic system stops working, you need a plan. A five-gallon bucket with a toilet seat lid from a hardware store does the job. Line it with compostable bags and you've got a functional sanitation solution that costs almost nothing to set up ahead of time.
Joe flags this as one that hits people hard during extended outages: the freezer full of food you're suddenly worried about. A standard power station can run a full-size fridge for a few hours, maybe longer, but not for days.
A better option is redirecting your food into a small chest freezer, which draws significantly less power and keeps food frozen longer. For those who want to go further, a 12-volt refrigerator running off a dedicated power station can keep food cold for several days on a modest charge.
Joe saves this one for last, and it might actually be the most important. Once your physical needs are covered, surviving a power outage well comes down to staying calm and keeping life feeling reasonably normal. Have something to do like a book, a card game, or a project of some kind.
A little preparation means you're comfortable rather than stressed while you wait it out.
You May Also Like:
The post 10 Things People Forget When The Power Goes Out appeared first on Homestead Survival Site.
[…]
The post How to Prepare for an Earthquake: A Complete Family Safety Guide appeared first on The Survival Mom.
When the grid goes down, hospitals are overwhelmed, or you are miles from the nearest medical facility, a deep laceration can turn into a life-threatening situation fast. That is the reality of serious grid-down or wilderness scenarios, and it is exactly why a suture kit belongs in every serious prepper’s medical supplies. Knowing how to close a wound under pressure, without professional help, could be the difference between a scar and a serious infection.
This guide covers everything you need to know: what comes in a suture kit, which type of sutures to choose, how to properly close a wound in the field, and the critical mistakes that can make a bad situation worse.
A suture kit is a packaged collection of tools and materials designed to close open wounds using stitches. These kits are used by military medics, wilderness first responders, and emergency medical personnel when standard wound care is not sufficient to stop bleeding or keep a wound closed during healing.
A standard suture kit typically contains:
Some kits also include a staple gun alternative, skin adhesive, or Steri-Strips for wounds that do not require full suturing.
Not all sutures are the same. The right choice depends on wound depth, location, and how long it needs to stay closed. Here is a breakdown of the main types you will encounter.
Absorbable sutures dissolve on their own over time and are typically used for internal layers of tissue or areas where removing stitches is impractical. Common materials include polyglycolic acid (Vicryl) and plain gut.
Non-absorbable sutures must be removed after the wound heals. These are used on the outer skin layer and are made from materials like nylon (Ethilon), polypropylene (Prolene), or silk. For most external field suturing situations, nylon is the go-to choice because it is strong, resists infection, and is easy to handle.
Suture thickness is measured in a reverse gauge system: the larger the number, the thinner the thread. For preppers, the most practical sizes are:
For a general prepper suture kit, stocking 3-0 nylon is your best all-around option. Add a pack of 2-0 for high-tension areas and 4-0 for facial lacerations.
According to the American College of Surgeons, proper wound closure technique and appropriate suture material selection are among the most critical factors in reducing wound infection and promoting clean healing outcomes.
This is one of the most important sections in this guide. Suturing every wound is a mistake. In fact, suturing the wrong wound can trap bacteria inside and cause a serious infection that could have been avoided.
Wounds on areas of high movement (like joints or hands) where adhesives will not hold
In a true grid-down scenario where professional care is unavailable, the rule of thumb is: if in doubt, leave it open. A wound that heals by secondary intention (naturally, from the inside out) may scar more, but it is far safer than a sutured wound that becomes infected.
This is a skill that requires training and practice before you need it under stress. The steps below are a field reference guide, not a substitute for hands-on training. Consider taking a Stop the Bleed course, a wilderness first aid class, or a tactical medicine course to practice with real suturing simulators.
Before you even open your suture kit, the wound must be controlled. Apply direct pressure with a clean cloth or gauze. If the wound is on a limb and bleeding is severe, apply a tourniquet. You cannot suture an actively hemorrhaging wound.
This step is more important than the suturing itself. Using a large syringe (at least 20cc) and clean water or saline, flush the wound under pressure to remove debris, bacteria, and foreign material. Wound irrigation is the single most effective way to reduce infection risk.
Do not use hydrogen peroxide or full-strength iodine directly in the wound. Both damage tissue and slow healing. A diluted povidone-iodine solution (1 part iodine to 10 parts water) is acceptable for contaminated wounds.
Put on sterile gloves. Place the sterile drape around the wound. Open your suture packet aseptically (without touching the needle or thread to anything non-sterile). Place your needle driver, forceps, and scissors on the sterile field.
Hold the needle driver in your dominant hand. Clamp the needle at its mid-point, not at the very tip. The needle should be perpendicular to the driver, curved side facing away from you. The thread should trail naturally behind.
Using your tissue forceps in the non-dominant hand, gently lift one edge of the wound. Pierce the skin at a 90-degree angle roughly 3 to 5mm from the wound edge. Drive the needle through with a smooth wrist-rotation (following the curve of the needle), out the other side of the wound at the same depth and distance from the edge.
The goal is symmetric bites: equal depth and equal distance from the edge on both sides. This produces a clean closure without puckering.
The most common knot used in suturing is the instrument tie (surgeon’s knot). Here is the basic sequence:
Space additional sutures every 3 to 5mm along the wound. Start in the middle of the wound and work outward in each direction. This distributes tension evenly and produces a better closure.
Cover with a non-stick sterile dressing. Secure with medical tape. Do not wrap too tightly. Change the dressing daily and monitor for signs of infection: increasing redness, warmth, swelling, discharge, or fever.
According to the Centers for Disease Control and Prevention (CDC), wound infections are among the most common post-procedure complications, and early signs of infection warrant immediate intervention to prevent sepsis.
Suture removal timing depends on wound location:
To remove sutures, use small scissors or a suture removal kit. Cut the thread on one side as close to the skin as possible, then pull the knot straight out. This prevents dragging bacteria from the outside surface through the tissue. Clean the area afterward with antiseptic.
Commercial pre-built suture kits are available and convenient, but most serious preppers build their own so they know exactly what they have and can customize for their skill level. Here is what a well-stocked DIY suture kit looks like:
Essential Tools
Suture Stock
Supporting Supplies
Store your kit in a waterproof hard case or a labeled pouch inside your medical bag. Keep suture packets out of heat and direct sunlight to preserve sterility. Check expiration dates annually.
A suture kit without the skills to use it is just expensive metal and thread. Suturing is a motor skill that degrades without practice. Here is how to build and maintain your capability:
The goal is not to become a surgeon. The goal is to keep a wound closed long enough to reach definitive care, or to manage healing safely if no care is available. That is an achievable skill with reasonable practice.
The U.S. Army’s Tactical Combat Casualty Care (TCCC) guidelines, published by the Defense Health Agency, recommend wound care training as a core skill for military personnel and civilian first responders operating in austere environments.
In most jurisdictions, performing suturing on another person without a medical license is technically outside standard civilian practice. However, Good Samaritan laws in most U.S. states provide legal protection to individuals who perform emergency first aid in good faith when professional care is unavailable.
The practical reality of preparedness is this: in a true grid-down or disaster scenario, the choice is not between your field suturing and a hospital. It is between your field suturing and nothing. Under those circumstances, the ethical and practical obligation is to help.
Always document what you did, what materials were used, and when. If the person can later access professional care, that information will help their provider assess the wound and continue treatment.
 When There’s No Doctor Nearby…
A serious injury doesn’t always happen within reach of a hospital. That’s why every prepper should know how to treat common medical emergencies when professional help isn’t available.
The Home Doctor is a practical medical survival guide written by experienced healthcare professionals. Inside you’ll learn:
 How to recognize and treat hundreds of medical conditions at home Step-by-step emergency care using everyday supplies What to do when hospitals are overwhelmed or unavailable Essential medical knowledge every family should have
If you’re building a serious medical preparedness plan, this is one resource worth having before you ever need it!
A suture kit is not a toy and it is not a gimmick. It is a high-skill tool for a specific type of emergency. When paired with training, proper wound assessment, and the discipline to know when not to suture, it is one of the most powerful additions you can make to your trauma medical kit.
Buy the kit. Learn the skill. Practice until it is not just knowledge in your head but muscle memory in your hands. The day you need it, there will be no time to read the instructions.
You may also like:
The Wild Plant That You Can Pop, Just like Popcorn (Video)
9 Unusual Things You’ll Find Inside an Army Medic’s First Aid Kit
DIY Dollar Store First Aid Kit
The post Suture Kit: What It Is, How to Use It, and Why Every Prepper Needs One appeared first on Ask a Prepper.
Most preppers have the same problem. Somewhere in the back of the pantry, there are cans with no label date. In the garage, there are batteries you bought two years ago. In the bug-out bag, there are protein bars from who knows when. You know you have supplies, but you have no idea what condition they are in or how long they would actually last your household if things went sideways.
PPantry is a free app built specifically to solve that problem. After spending time with it, I can say it is one of the most practical and well-designed prepper tools I have come across, and the fact that it costs nothing and requires no account makes it a no-brainer for anyone serious about preparedness.
PPantry is a local-first inventory app designed for preppers, homesteaders, and anyone who maintains emergency supplies. It runs in your browser and installs as a Progressive Web App (PWA) on iOS, Android, and desktop. You can find it at ppantry.app.
The tagline is “Preparedness, tracked” and that description is accurate. The app is built around one core question: how long can your household hold out with what you have right now? Everything in the app feeds into answering that question clearly and practically.
There is no account required. No email address. No subscription. No ads. The developer is explicit that the app will remain free forever, supported only by optional Patreon backers who want to help shape the roadmap.
This is the feature that makes PPantry stand out from a generic inventory spreadsheet. Rather than just showing you a list of items, the app calculates how many days your current supplies will last based on your household size. Enter the number of people (and optionally kids or pets), and the app gives you a real duration estimate.
For serious preppers who are working toward 30-day, 90-day, or longer readiness goals, this is invaluable. Instead of guessing, you have a live number. Add items, and the number goes up. Use something or remove an expired item, and the number updates accordingly.
Expired supplies are worse than no supplies, because they give you false confidence. PPantry solves the rotation problem with configurable expiration reminders and a rotation queue that tells you what to use next before it goes bad.
This is not limited to food. The app tracks medications, batteries, and other perishables with expiration dates. Anyone who has pulled a flashlight out during a power outage and found dead batteries knows why this matters.
According to FEMA’s emergency preparedness guidelines, rotating food and water supplies regularly is one of the most commonly overlooked aspects of household emergency readiness. PPantry automates exactly that.
Adding items to your inventory is where most apps fall apart. If entering supplies feels like data entry homework, people stop doing it. PPantry addresses this with barcode scanning powered by the Open Food Facts database.
Scan a can, a box, or a packaged item, and the app auto-fills the name, brand, and nutritional information. This is a significant time saver when you are logging a full pantry or a case of canned goods. The scan-out feature works in reverse: scan an item when you use it, and your inventory decrements automatically.
For preppers who are just getting started or building out a new kit, PPantry includes pre-built templates for common preparedness scenarios.
These templates give you an immediate starting checklist based on established preparedness standards, which you can then customize to your situation. It dramatically lowers the barrier for new preppers who are not sure where to start.
This feature matters more than it might seem at first glance. Your inventory data lives on your device, not on a server somewhere. The app works fully offline, which means it functions during a power outage, after a natural disaster, or in any situation where internet access is unavailable.
Think about when you would actually be checking your emergency supplies most urgently. Often that is exactly when connectivity is questionable. An app that stops working during a grid-down event is not a preparedness tool. PPantry’s local-first architecture means your data is always accessible, regardless of what is happening to the internet.
Cloud sync is available as an optional feature for those who want it, but it is never required. Your data does not go anywhere unless you actively choose to enable sync.
PPantry works well across a range of preparedness levels and use cases:
The honest standout feature is the days-of-supply number. Every other prepper inventory tool I have looked at just gives you a list. PPantry converts that list into a meaningful metric: how long can my household survive on what I have right now? That single number changes how you approach restocking and goal setting in a way that a spreadsheet never does.
The privacy approach is also worth highlighting. In a world where every app wants your email address and payment information, PPantry’s no-account, no-tracking, data-stays-on-your-device model is genuinely refreshing. It is also the right call for a preparedness tool. You do not want your supply inventory sitting on a third-party server.
And the price point (free, with no gated features) removes every possible barrier to getting started. There is no reason not to try it.
PPantry is a relatively new app and is still actively developing. If you are looking for advanced features like multi-location inventory, detailed nutritional calorie tracking across full meal plans, or team sharing for group preparedness operations, some of those may be roadmap items rather than current features. The developer is transparent about the project direction through the Patreon community.
As with any inventory system, the app is only as useful as the data you put into it. The barcode scanning speeds up entry significantly, but you still have to spend the time logging your supplies initially. Budget an hour or two for your first full inventory session, and then maintenance becomes quick.
Getting started with PPantry takes about two minutes:
Go to ppantry.app on your phone or computer. No download required beyond installing it as a PWA if you want it on your home screen. Open the app, set your household size, and either start from a template or begin adding items from your existing supplies. The barcode scanner is accessible directly from the add-item flow
For your first session, start with whatever is already in your pantry or emergency kit. Let the days-of-supply number give you your current baseline, then use that number to guide what you stock up on next.
The American Red Cross recommends maintaining at least a 72-hour emergency supply kit as a minimum household standard. PPantry gives you a clear, real-time view of whether you are meeting that standard and by how much.
PPantry is the prepper inventory app I wish had existed five years ago. It is focused, practical, and built with the right priorities: offline functionality, privacy, no paywall, and a core feature (days of supply) that actually answers the question preppers care about most.
If you have ever felt like your preparedness was a pile of stuff you kind of know about rather than a clearly organized system you are confident in, this app will change that. It is free, it takes minutes to start, and it works without an internet connection when you need it most.
Go to ppantry.app and start tracking your supplies today.
You may also like:
 Honey for Survival: The One Pantry Item That Does Everything
The Top 10 Seeds the U.S. Government Is Hiding in a Vault Right Now (VIDEO)
Cake In A Jar: The Secret Survival Dessert You Want In Your Pantry!
Your Pantry Is Full… How Long Until It All Runs Out?
Rice And Bean Casserole – An American Pantry Staple
The post PPantry App Review – The Best Free Tool for Tracking Your Emergency Supplies appeared first on Ask a Prepper.