Estimated reading time: 10 minutes

Most homesteaders grudgingly admit that they aren’t 100% self-sufficient. The items that we typically end up outsourcing are staples: oil, sugar, salt, and flour. While honey can certainly substitute for sugar, oil and salt are trickier (unless you live close to an ocean), but flour is something that any of us can produce domestically.
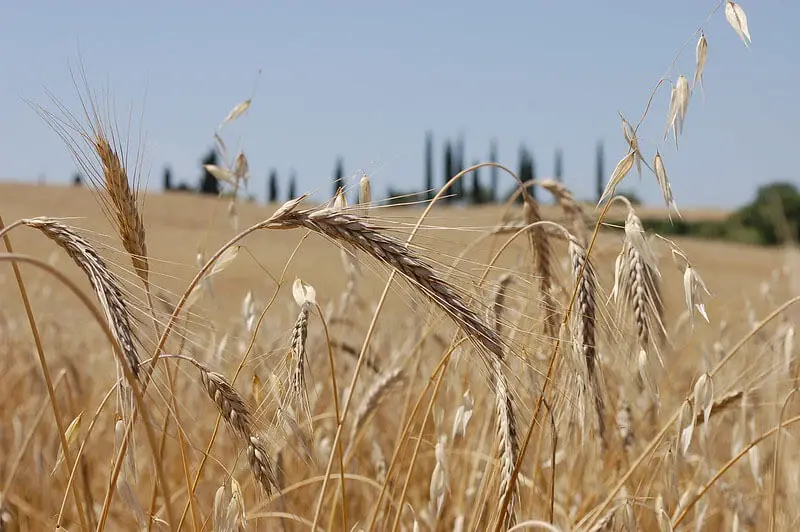
Most people are under the impression that it takes a huge amount of land to produce a usable amount of wheat, which is completely incorrect.
The truth is that it only takes about 1,000 square feet to grow a bushel of wheat. To put it into perspective, a bushel of wheat is 60 pounds of grain–enough for at least 90 loaves of bread. Of course, you don’t have to grow your own, especially if you live in an agricultural area.
Any farmer will sell you a bushel of wheat berries for next to nothing. However, if you want to grow wheat that is organic and non-GMO, your best bet is to grow your own. Once you’ve got your wheat, converting it into flour is surprisingly easy.
Want to save this post for later? Click Here to Pin It On Pinterest!
The first thing you’ll need is a grain mill. There are a handful of different types of mills on the market to choose from, each with their advantages.
Champion juicers and KitchenAid mixers have grain mill attachments that use steel cutting plates to mill flour, although the end result is not the finest and there is no way to control fineness other than running flour through multiple times.
Standalone countertop mills, on the other hand, typically use actual stones to grind flour, much like a traditional grain mill. There are also completely manual mills that do a fine job but take more time and effort to operate.
If you are working on going completely off-grid, check on how much energy a unit uses and factor it in if you use solar power. The mill I’m using is an electric countertop mill that uses granite stones to grind flour.
Tips to Know Before You Start
Consider Sprouting the Grains First
Sprouting grains before making them into flour adds a bit more work to the process, but also creates a flour that is more nutrient-dense, sweeter, and easier for some people to digest. There are some wonderful online resources for explaining the process, but this one is the best I’ve come across.
If you do decide to sprout your grains, be sure to dry them completely before milling, ideally down to about 12% moisture. If they’re still damp, they’ll gum up your mill and cause the flour to clump or spoil faster.
Choose the Right Grain for the Right Job
Hard wheat (like red or white winter wheat) is best for bread because it’s high in protein and gluten. Soft wheat is better for pastries, biscuits, and cakes due to its lower protein content.
Some mills also handle other grains like spelt, rye, or even corn, but check your mill’s manual to make sure. Running hard grains through a weaker motor may shorten its life or void the warranty.
Fresh Flour Has a Shorter Shelf Life
Once flour is milled, its shelf life shortens because the oils in the wheat germ begin to oxidize. Ideally, only grind what you plan to use within a few days. If you want to batch mill, store the flour in airtight containers in the freezer or in a cool, dark place like a cellar. Just be sure to label it with the date.
Whole wheat flour stored at room temperature will stay fresh for a couple of weeks. After that, you may notice off smells or bitterness as the oils start to go rancid.
Expect to Adjust Your Recipes
Freshly milled flour absorbs more liquid than store-bought flour. You may need to add 3–4 tablespoons of extra water per cup of flour in your recipes. Start slow and get a feel for how your flour behaves before making big recipe changes.
You’ll also notice that coarser flour (with more bran and germ) makes denser baked goods. For lighter textures, try sifting out some of the bran, or blend your freshly milled flour with a little commercial all-purpose flour while you're learning.
Understand Fineness Settings
The fineness of your flour affects baking and storage. Finer flour tends to compact more and can go rancid slightly faster, while coarser flour needs more liquid and longer resting times in doughs. If your mill doesn't give perfect results on the first pass, don’t worry, you can always re-mill the flour until it’s as fine as you want.
How to Grind Flour
The following will demonstrate exactly how to use an electric countertop grain mill to make flour.
Step 1: Prepare Grinder
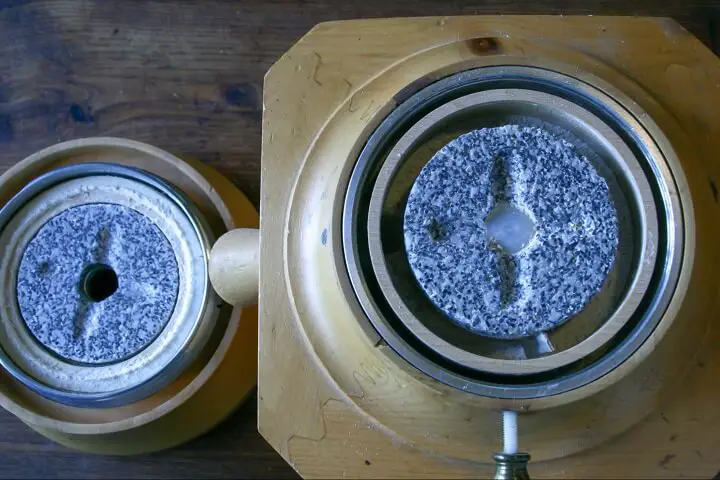
Take apart the mill and make sure there is no debris from past grinds inside. Shake or vacuum out the top and bottom and check for residue caked onto any of the nooks and crannies.
If you use the mill frequently, you can skip this step. The main objective here is to clean out any insects or old residue lurking inside the mill.
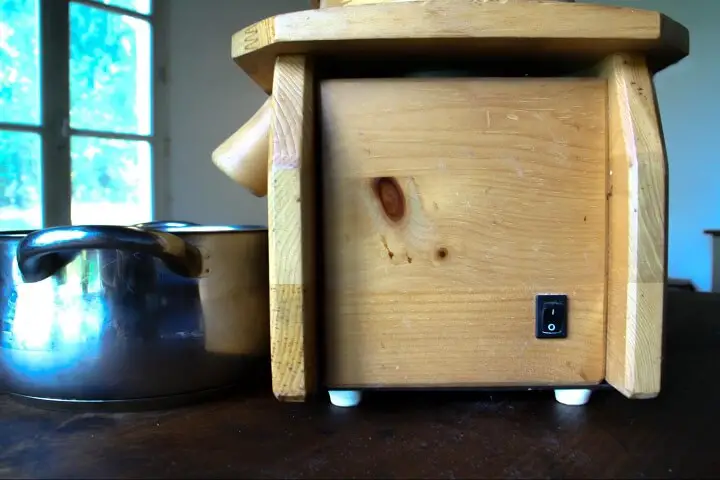
Step 2: Set Mill up For Action
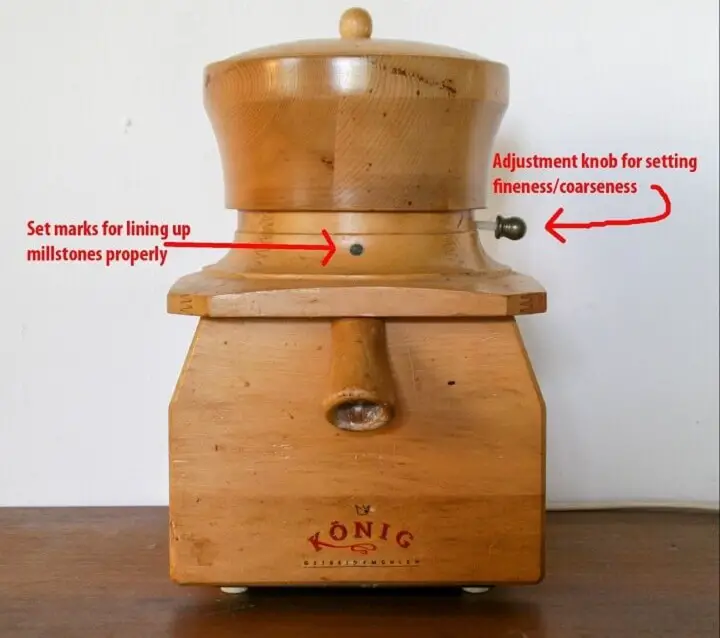
Many countertop-style mills will have black dots that must align for the mill to function properly. Make sure these dots are lined up (in the photo, the other dot is on the backside of the mill). Once you have the dots aligned, plug the machine in.
Step 3: Clean the Grinding Surface/Set Fineness
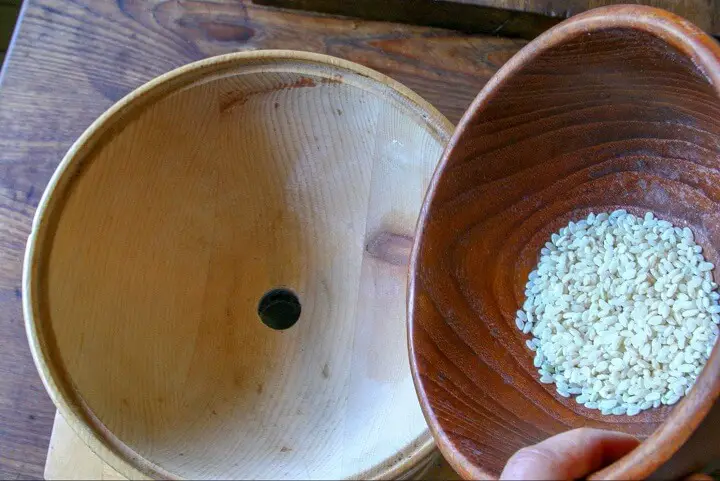
Many people use mills for grinding different types of grain and sometimes spices, too. Regardless of what you’ve been grinding, if it’s been a while, you’ll want to do a quick cleaning of the grinding surfaces and take the opportunity to set the level of fineness you want, too. To do this, use white rice.

Pour a small amount of rice–a handful is fine–and then turn on the mill and set it to the level of coarse or fineness that you prefer.
Note: Rice is harder than wheat, and may not give you the measure of accuracy you want. You may have to make an additional adjustment later.
Once the rice has run completely through, your mill is ready to grind the wheat berries.
Step 4: Weigh Wheat and Load into Mill
One of the nicest things about having your own mill is that you can have freshly-milled flour whenever you want. Bakers are happy to explain that the fresher the flour, the better the finished product.
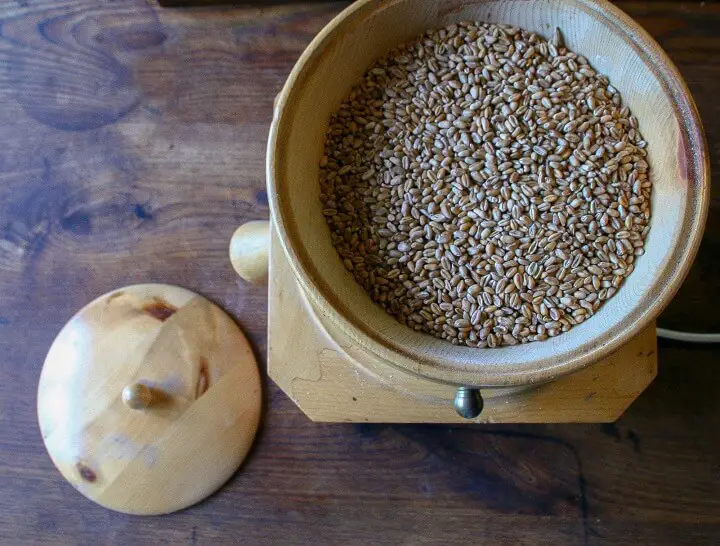
For this reason, you might not want to grind a huge amount at a time. One pound of wheat berries will yield almost 3 cups of flour, so consider this when grinding.
If you do decide to mill a large batch, storing it in the freezer or vacuum sealed and in a cool, dry place like a cellar will help keep flour fresh.
Step 5: Set up a Container, Adjust for Fineness
Place a container that is tall enough and has enough volume to contain all the flour you will mill beneath the downspout of your mill. Turn it on and let it run for ten seconds or so and check the fineness of your flour.
If it is too coarse or too fine, adjust the mill settings and then turn on the mill again for ten seconds or so.
Don’t worry that you are wasting wheat. You can always pour flour back through the mill to re-mill it, and if it is too fine, it can be combined with coarser flour and will work just fine.
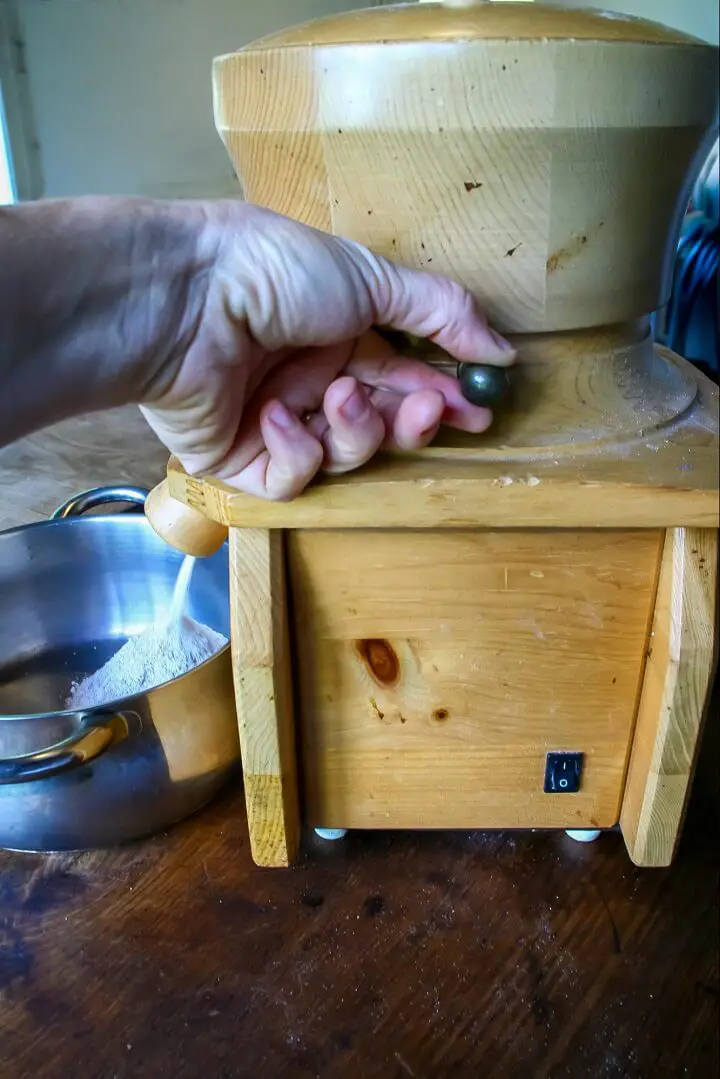
Step 6: Shake Container to Level Flour
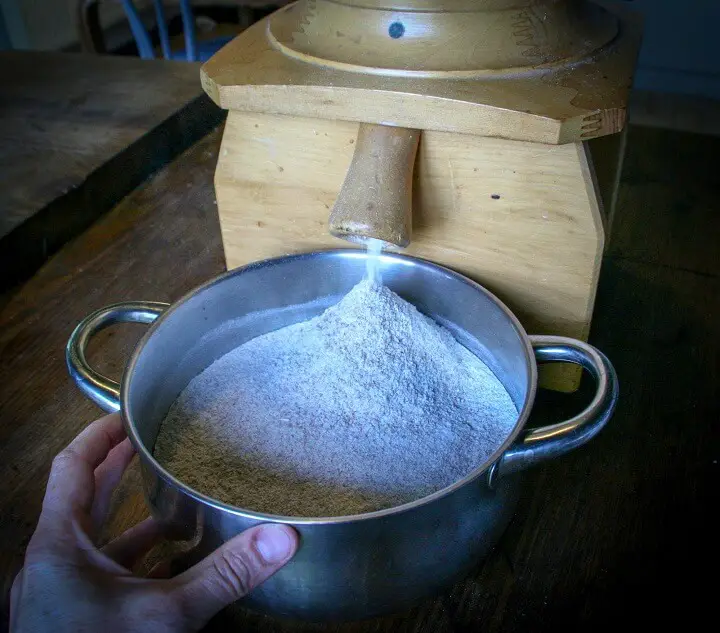
As your wheat is ground, you’ll want to tap or shake the bowl you’re collecting it in to keep it level. This also gives you a chance to examine the flour for consistency.
Step 7: Work all Grains Through

Once it seems the mill has completed its job, turn it off, remove the lid and coax all of the wheat grains into the mouth of the mill. Turn it back on and let it finish off the last of the grains.
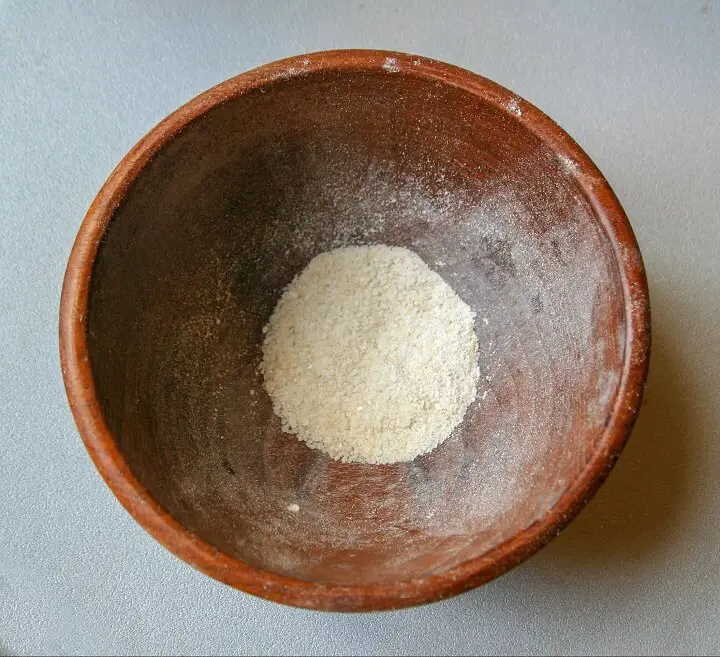
Step 8: Measure Flour for Use or Storage
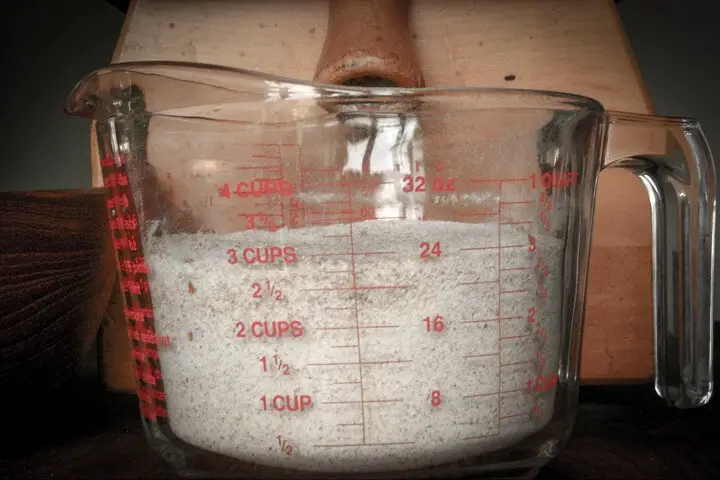
As mentioned, one pound of wheat berries yields almost three cups of flour. Measure the flour out and pack it up for storage or use it in your favorite baking recipe immediately.
This is how you get the good stuff: hearty, unbleached, un-treated, organic whole wheat. Use it for cooking, baking, and feeling proud of your self-sufficiency!
Troubleshooting Common Mill Issues:
- If your mill is overheating, try reducing the batch size or selecting a coarser grind setting. Excessive friction raises temperature and may damage heat‑sensitive nutrients.
- If you notice uneven grind size, check that the stones or plates are properly aligned and clean of debris. Run a handful of white rice through it and inspect the output—this is a common test method.
- If your flour smells “off” or rancid, discard it; whole‑grain flour has more oil and can go bad faster. Smell is your best clue.
Like this post? Don't Forget to Pin It On Pinterest!
You May Also Like:
The post How to Use a Grain Mill appeared first on Homestead Survival Site.
from Homestead Survival Site https://ift.tt/XWDL4VM
No comments:
Post a Comment