Estimated reading time: 5 minutes

Whether you're canning your garden harvest or canning meals for emergencies, you’ve probably run into the same problem: where to put all those jars. You need shelving that can keep your food organized but can also handle the weight. A quart filled with canned food weighs 2 to 3 pounds, so the weight can add up fast.
These DIY canning shelves don't take up much space, you can get the materials for around $50, and the 2x4s are sturdy enough to handle lots of jars. In fact, it can hold up to 120 quart jars. It's perfect for your pantry, basement, or storage room.
I found these plans on The Cook Family Homestead. You can watch the video and read the instructions below.
Want to save this post for later? Click Here to Pin It On Pinterest!
Materials List
- 2 × 2x4x10 boards
- 4 × 2x4x8 boards
- 1 × 4'x8′ sheet of 3/8″ plywood (use budget grade)
- Box of drywall screws
- Nails (optional, for temporary assembly)
Tools Needed
- Miter saw or circular saw
- Tape measure
- Table saw (for plywood)
- Drill and screwdriver bit
- Square
- Pencil
Shelf Dimensions
Before you start making cuts, it's important to understand what you're making. Here are the dimensions of the shelves:
- Height: 5 feet
- Width: 27 inches
- Depth: 24 inches
- Number of shelves: 4
- Spacing: ~12 inches between shelves, 10 inches from the floor to the first shelf
Each shelf will hold about 30 quart jars (6 across, 5 deep). Total capacity: Up to120 quart jars.
Step-by-Step Instructions
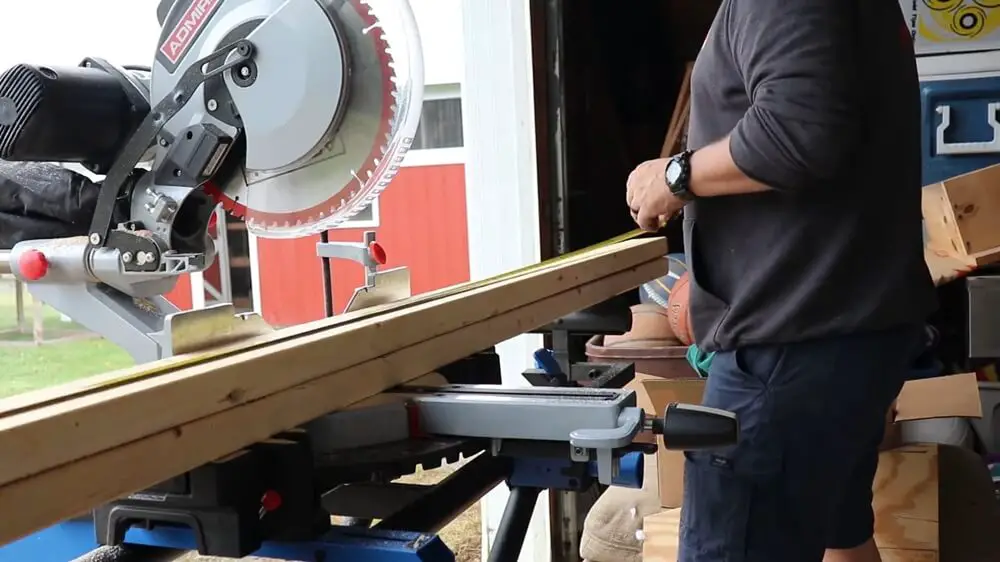
1. Cut the Frame Boards
From your 2x4s:
- Cut four 5-foot pieces for the legs.
- For each shelf, cut:
- 2 pieces at 2 feet (depth)
- 2 pieces at 2 feet 3 inches (these are longer to account for the width of the other 2x4s in the shelf frame)
You’ll need four shelf frames total. 16 cuts in all.
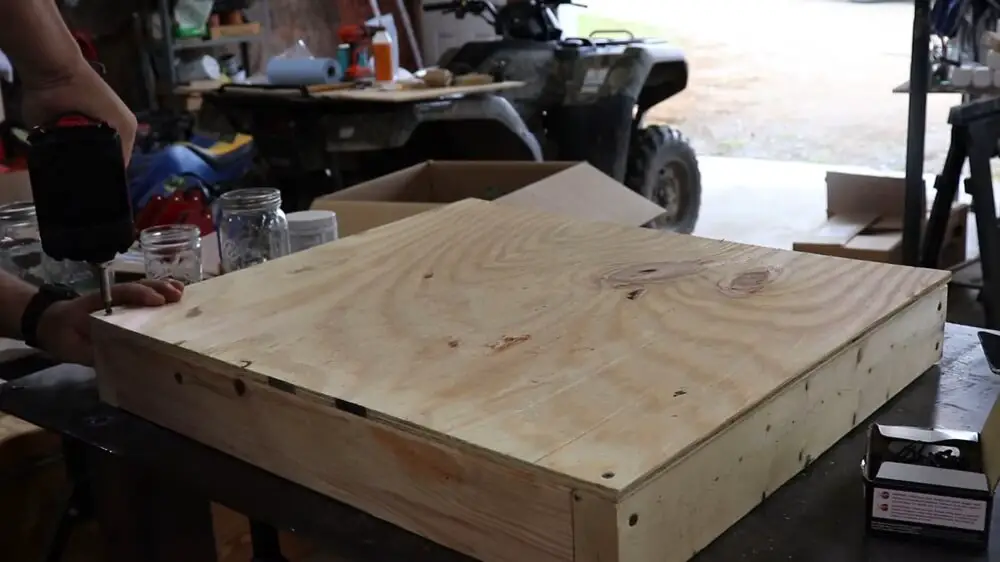
2. Assemble the Shelf Frames
- Use 2 nails or screws at each joint.
- Ensure each rectangle is square.
- Assemble four identical frames.
Note: The nails are temporarily. Screws will secure the final build.

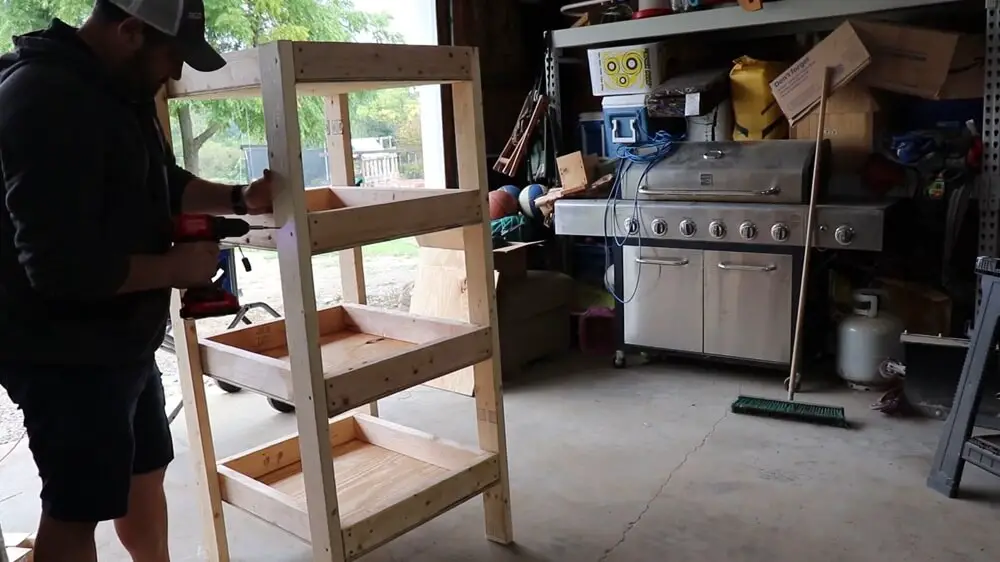
3. Cut and Attach Plywood Tops
From the plywood sheet, use a table saw to cut four 24″ x 27″ panels for the shelf tops.
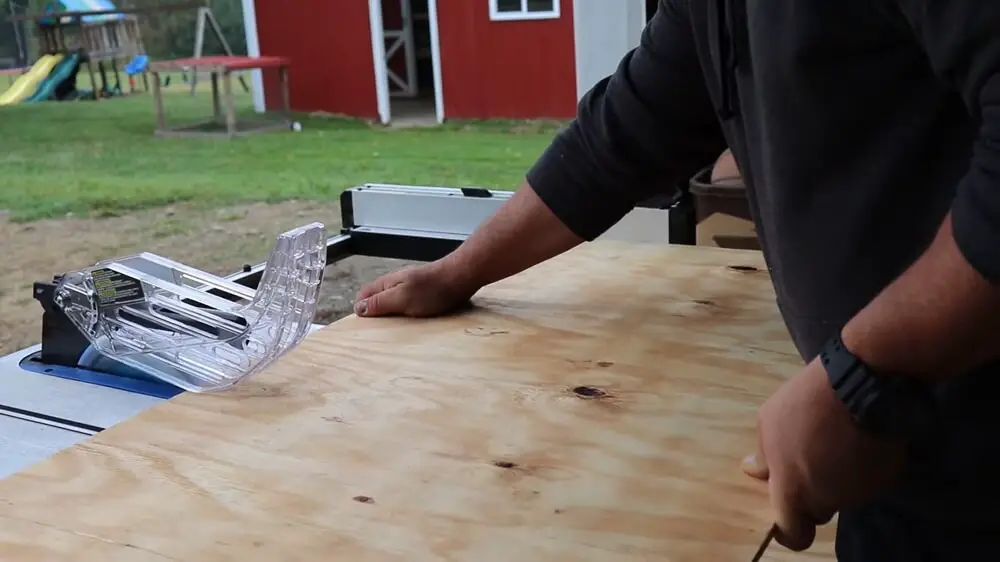
Place each panel smooth-side up (facing the jars). Screw each panel onto its frame with drywall screws.
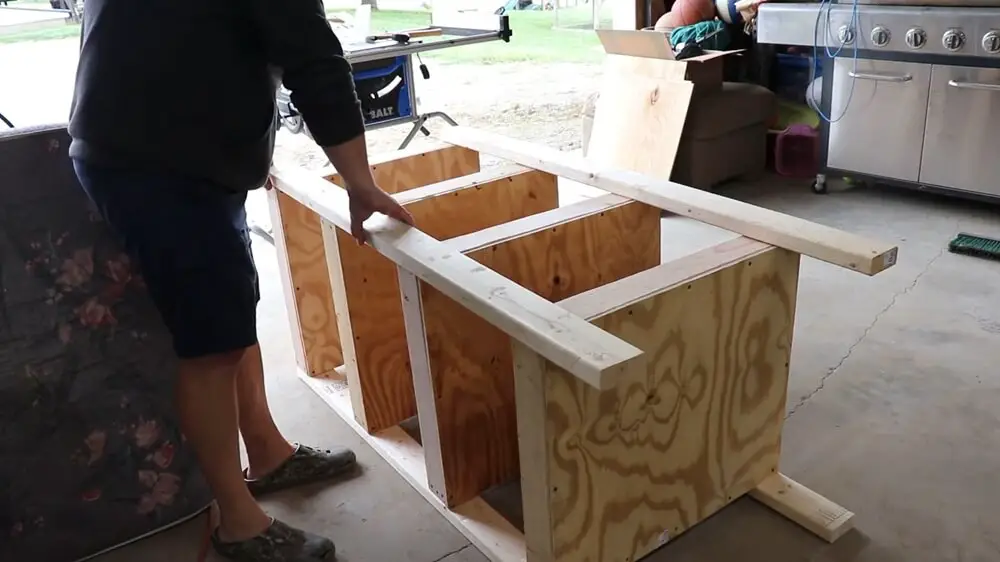
4. Attach the Legs
Place the shelves on their sides, spaced 12″ apart.
Lay two legs on top of them, with the legs reaching about about 10″ from the bottom shelf.
Be sure to place the shelves so that the legs will cover the ends of the 2x4s in the shelf frames. It makes the shelves look nicer.
Use nails to attach the legs to the shelves (one nail for each part; you'll use screws later).
Turn the whole thing over so you can do the same on the other side.
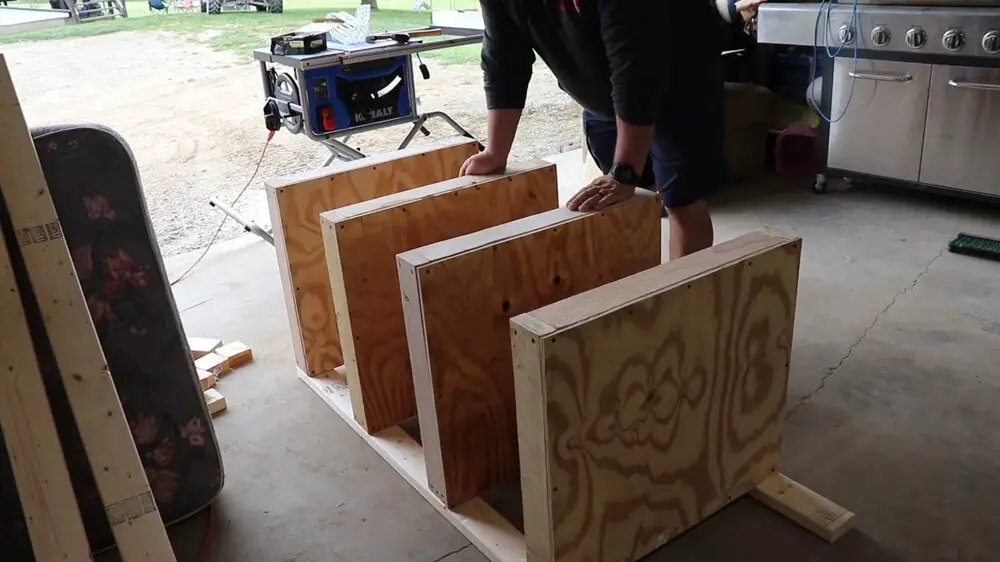
Double check your measurements, then attach the other two legs using nails.
5. Final Assembly and Placement
Stand the shelf upright and make sure it's level and square.
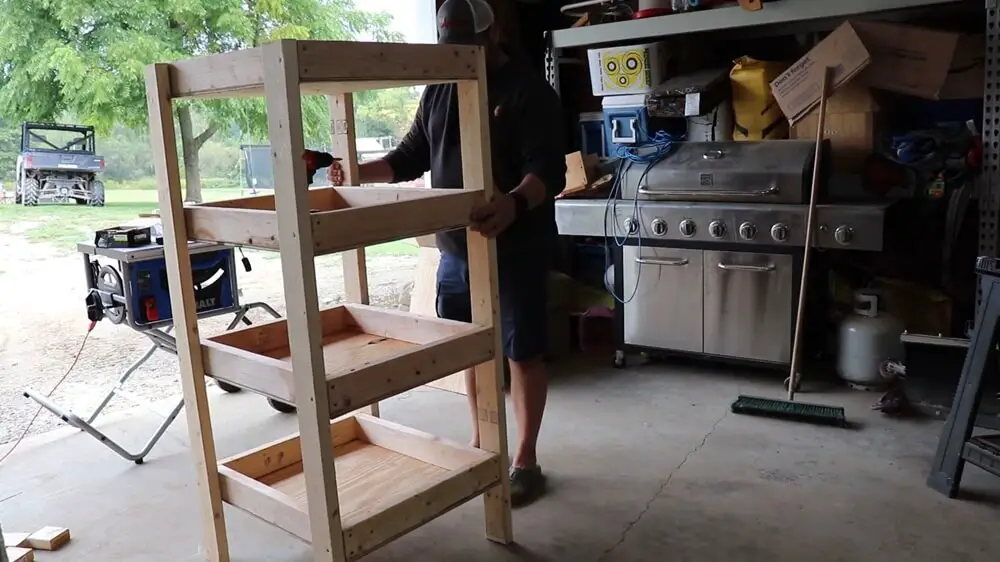
Now use screws to secure everything.
Place the unit where needed.
Final Tips
- You can easily add a 5th shelf if you use pint jars instead of quarts.
- Leave extra space above each shelf to make it easier to grab jars from the back row.
- If you’re short on tools, many home improvement stores can make cuts for you.
Like this post? Don't Forget to Pin It On Pinterest!
You May Also Like:
The post Easy DIY Canning Storage appeared first on Homestead Survival Site.
from Homestead Survival Site https://ift.tt/gXGVM4D
No comments:
Post a Comment