Estimated reading time: 8 minutes
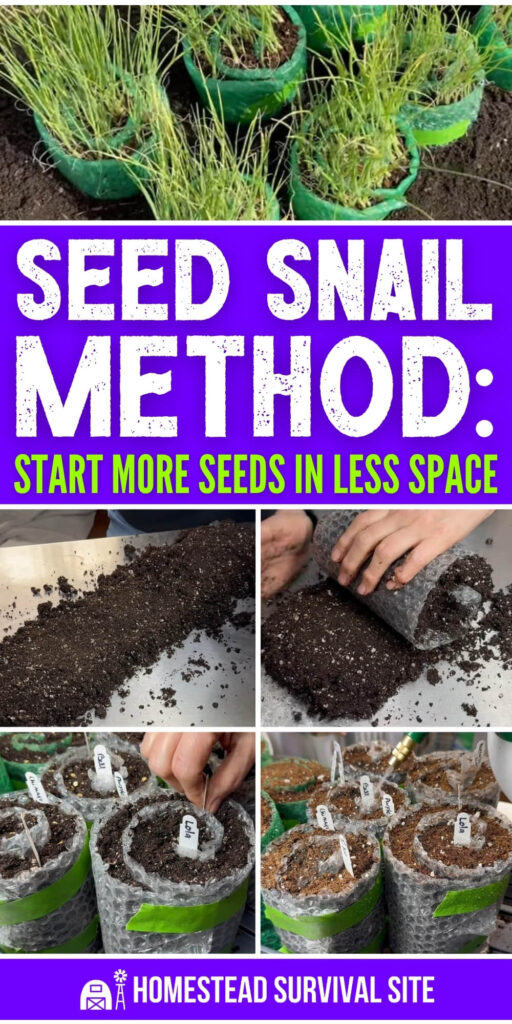
The seed snail method is a seed-starting technique where you roll up a length of flexible material filled with potting soil into a compact cylinder. You stand it upright, then plant the seeds directly into the top of the roll. The whole thing takes up a fraction of the space of seed-starting pots.
The method is great for gardeners who start a lot of seedlings indoors and people with limited shelf space. Because the rolls stand vertically, you can pack a surprising number of plants onto a single heat mat or shelf under a grow light. The cylindrical shape encourages strong, downward root growth naturally, essentially doing the work of root training without any effort on your part.
There are several materials you can use to make the rolls, and you can change the height depending on what you're growing. Shallow rolls work well for lettuce, cabbage, and herbs, and taller rolls work well for peppers, tomatoes, and other plants with deep roots. When it's time to transplant them, you simply unroll the cylinder, and the seedlings come out with minimal root disturbance.
This technique was popularized on Instagram by a gardener named Farita Sober, who grows in a greenhouse setting. I came across a fantastic breakdown of the method on the YouTube channel Little Bit a Homestead, where the host Loanna walks through the entire process in detail. You can watch it and read the instructions below.
What You'll Need
- Bubble wrap, polystyrene foam (like window seal insulation from a hardware store), or padded mailer envelopes, cut to your desired height
- Multi-purpose potting mix (organic is best, but any quality mix works)
- Seed starting mix
- Painter's tape or rubber bands
- A spray bottle
- Plant labels
- Diluted liquid fertilizer (for after the seedlings develop true leaves)
The Seed Snail Method
Step 1: Choose and Cut Your Material

Cut your material to a height of 3 to 6 inches, depending on what you're planting. Shorter rolls around 3 to 3.5 inches work well for lettuce, cabbage, and herbs. Taller rolls of 5 to 6 inches are better for peppers, tomatoes, and other plants that develop deeper roots.
Bubble wrap is a great choice because it's durable, reusable across multiple seasons, and easy to work with.
Step 2: Add and Pack the Potting Mix
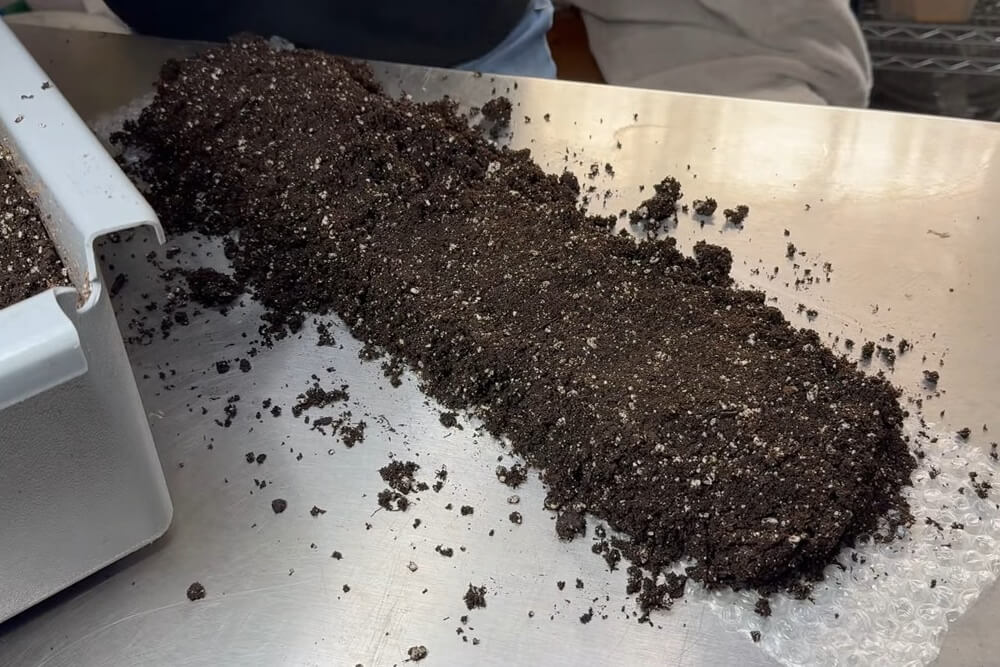
Lay your cut material flat and spread a layer of damp potting mix across it. Aim for about 1.5 to 2 inches thick. Press the soil down firmly, smoothing out any lumps and packing the edges well.
Pay extra attention to what will become the bottom of the roll, since that end needs to be compact enough to hold everything together. The soil should feel firm and dense, not loose.
Step 3: Roll It Up
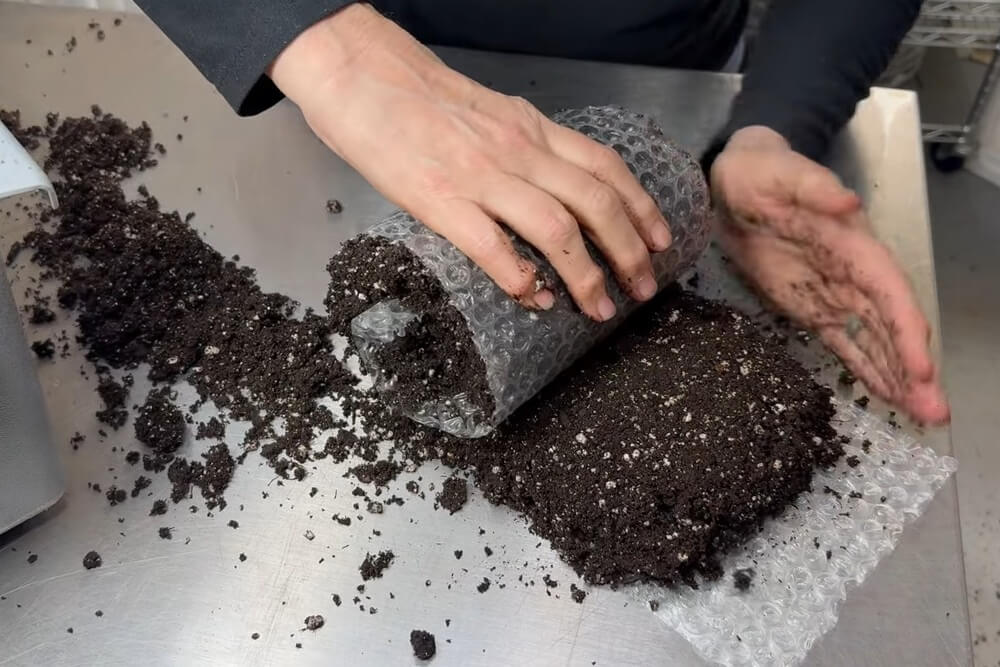
Starting at one end, roll the material up firmly but gently. Don't press down hard as you roll as that will push the soil out the other end. Think of it as a firm, steady roll rather than a squeeze.
Don't worry if a small amount of soil falls out during this step. If you end up with excess material at the end, just fold or trim it. Once rolled, secure the cylinder with painter's tape. Rubber bands work too, but tape tends to hold up better over time.
Step 4: Stand It Up and Top It Off
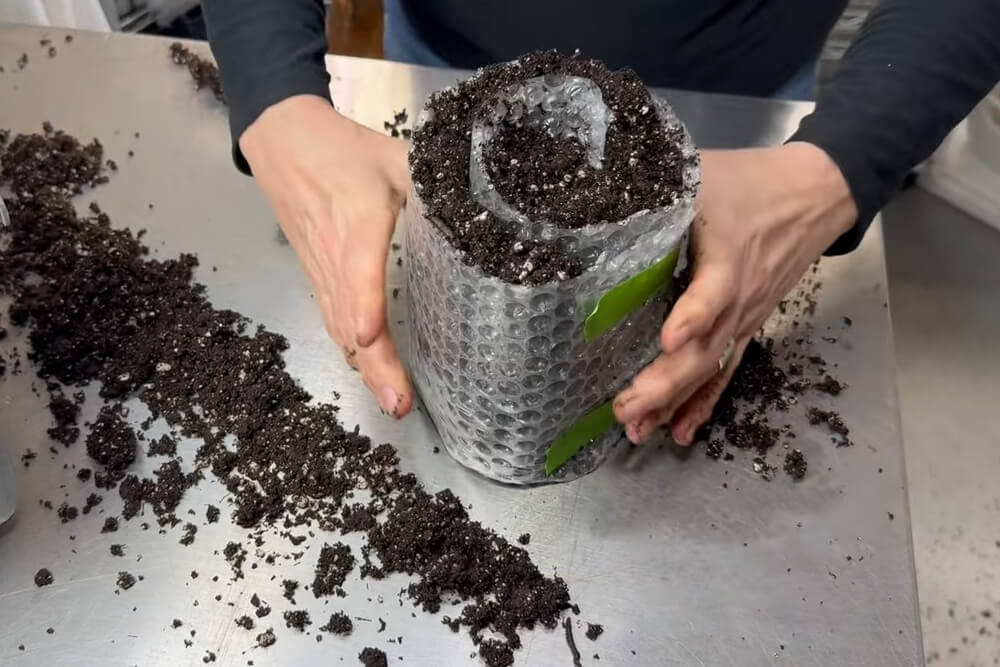
Stand the roll upright and tap it lightly against your work surface to settle the soil. Check whether you need to add a small amount of potting mix to fill it up near the top.
You want enough room at the top to plant your seeds and add a layer of seed starting mix over them.
Step 5: Plant Your Seeds
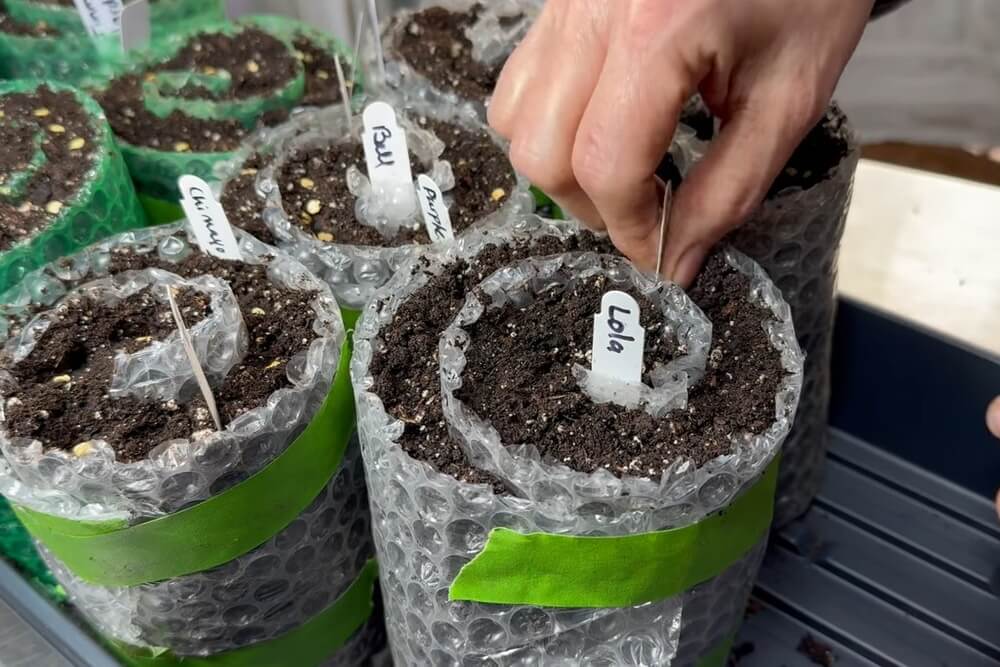
Using your finger or a pencil, make small holes or depressions in the top of the soil, spaced evenly. Drop your seeds in, then cover them with a light layer of seed starting mix.
This finer, fluffier mix makes it easy for seedlings to push through while the denser potting mix below provides nutrients for the roots as they grow downward. For larger seeds that need to be planted deeper, just poke them in with your finger before topping off.
A few tips for planting:
- Don't plant seeds before you roll the material up. The soil shifts during rolling and your seeds won't end up where you placed them.
- Plant similar varieties together in the same roll, especially those with similar germination times. Mixing fast and slow germinators in the same roll means some seedlings will be way ahead of others.
- You can plant multiple varieties in a single roll. Just add a label wherever one variety ends and another begins.
Step 6: Water and Cover
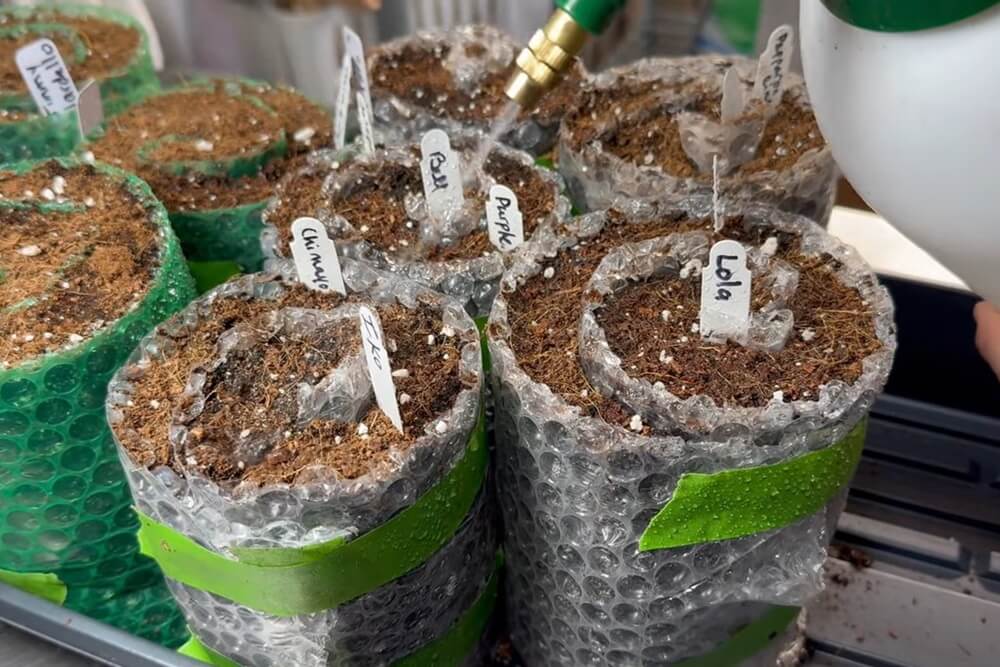
Spray the top of the seed starting mix thoroughly to moisten it. It's best to start with already-damp potting mix in the roll so the soil underneath is ready to go.
Until your seeds germinate, keep the top layer consistently moist by misting or watering from the top. You can also place a clear plastic humidity dome over the rolls to help retain moisture during germination.
Step 7: Fertilize Once True Leaves Appear
Hold off on fertilizer until your seedlings have developed their true leaves. At that point, mix a liquid fertilizer at about half the recommended strength (about half a tablespoon per gallon) and water with it as needed.
If your seedlings start looking pale or hungry, you can bump up the concentration slightly.
How to “Up-Roll” When Plants Need More Space
One of the best features of the seed roll method is how easy it is to give plants more room without potting each one individually.
If plants just need a bit more soil and nutrients: Unroll the cylinder, lay it flat, add a fresh layer of damp potting mix on top of the existing soil, and roll it back up. This gives the roots more room to grow downward without disturbing them too much.
If plants need significantly more room: Gently separate the seedlings from one another, keeping as much soil on the roots as possible. Pack two new rolls with fresh potting mix, space your seedlings evenly across them, top with a little soil, and roll them back up. Even splitting one roll into two still saves far more space than putting each plant into its own 4-inch pot.
Tips for Managing Your Rolls
- Group similar plants together not just by variety, but by how long they take to germinate. Mixing fast and slow germinators causes timing problems when it's time to transplant.
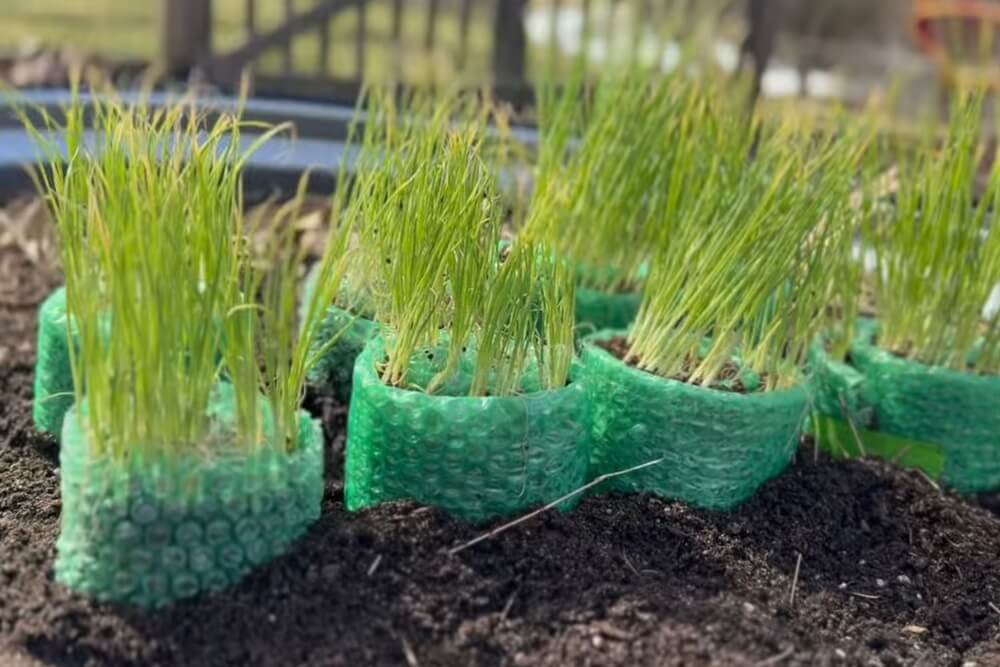
- Don't cut the roots before transplanting. The long root structure that develops in a seed roll is a feature, not a problem. It's essentially natural root training.
- Harden off gradually. For cold-tolerant crops like onions and cabbage, set the rolls outside and submerge them partway into the soil, placing them close together so they can be covered easily if a cold night rolls in.
- Reuse your rolls. Bubble wrap and polystyrene hold up well and can be reused multiple times throughout the growing season and into the following year.
You May Also Like:
The post The Seed Snail Method: Start More Seeds in Less Space appeared first on Homestead Survival Site.
from Homestead Survival Site https://ift.tt/aZ31keX
No comments:
Post a Comment