Original Article
Evidently, I'm not afraid of fermented fruit, because this is the only way to make banana bread. I'm quite opinionated on that.
It's rather weird to think that this may well be the last time I make banana bread. I don't buy bananas anymore.
In my Inventory, I listed 2 ancient bananas that I found in the freezer. I had frozen them in their skins, which is definitely not my preferred way. Some people swear by it, and it's certainly easier when you're freezing them. However, it's icky and messy when thawing.
At any rate, I thawed the bananas, got them out of their skins and left to ferment in a glass measuring cup. This is the way I've been making banana bread for the past twenty years, and I have never once had them go moldy. They will, however, froth and bubble and attract more fruit flies than you thought existed.
The recipe is pretty simple. I usually let my bananas ferment for close to a week. Make it four days if you're nervous. They need to be in something where the gas can escape but air can't get in. A canning jar with a re-used lid just lightly lying on top will work for that. This time I didn't wait that long because I knew the bananas were pretty ripe when they went in the freezer, plus the freezer breaks them down a lot.
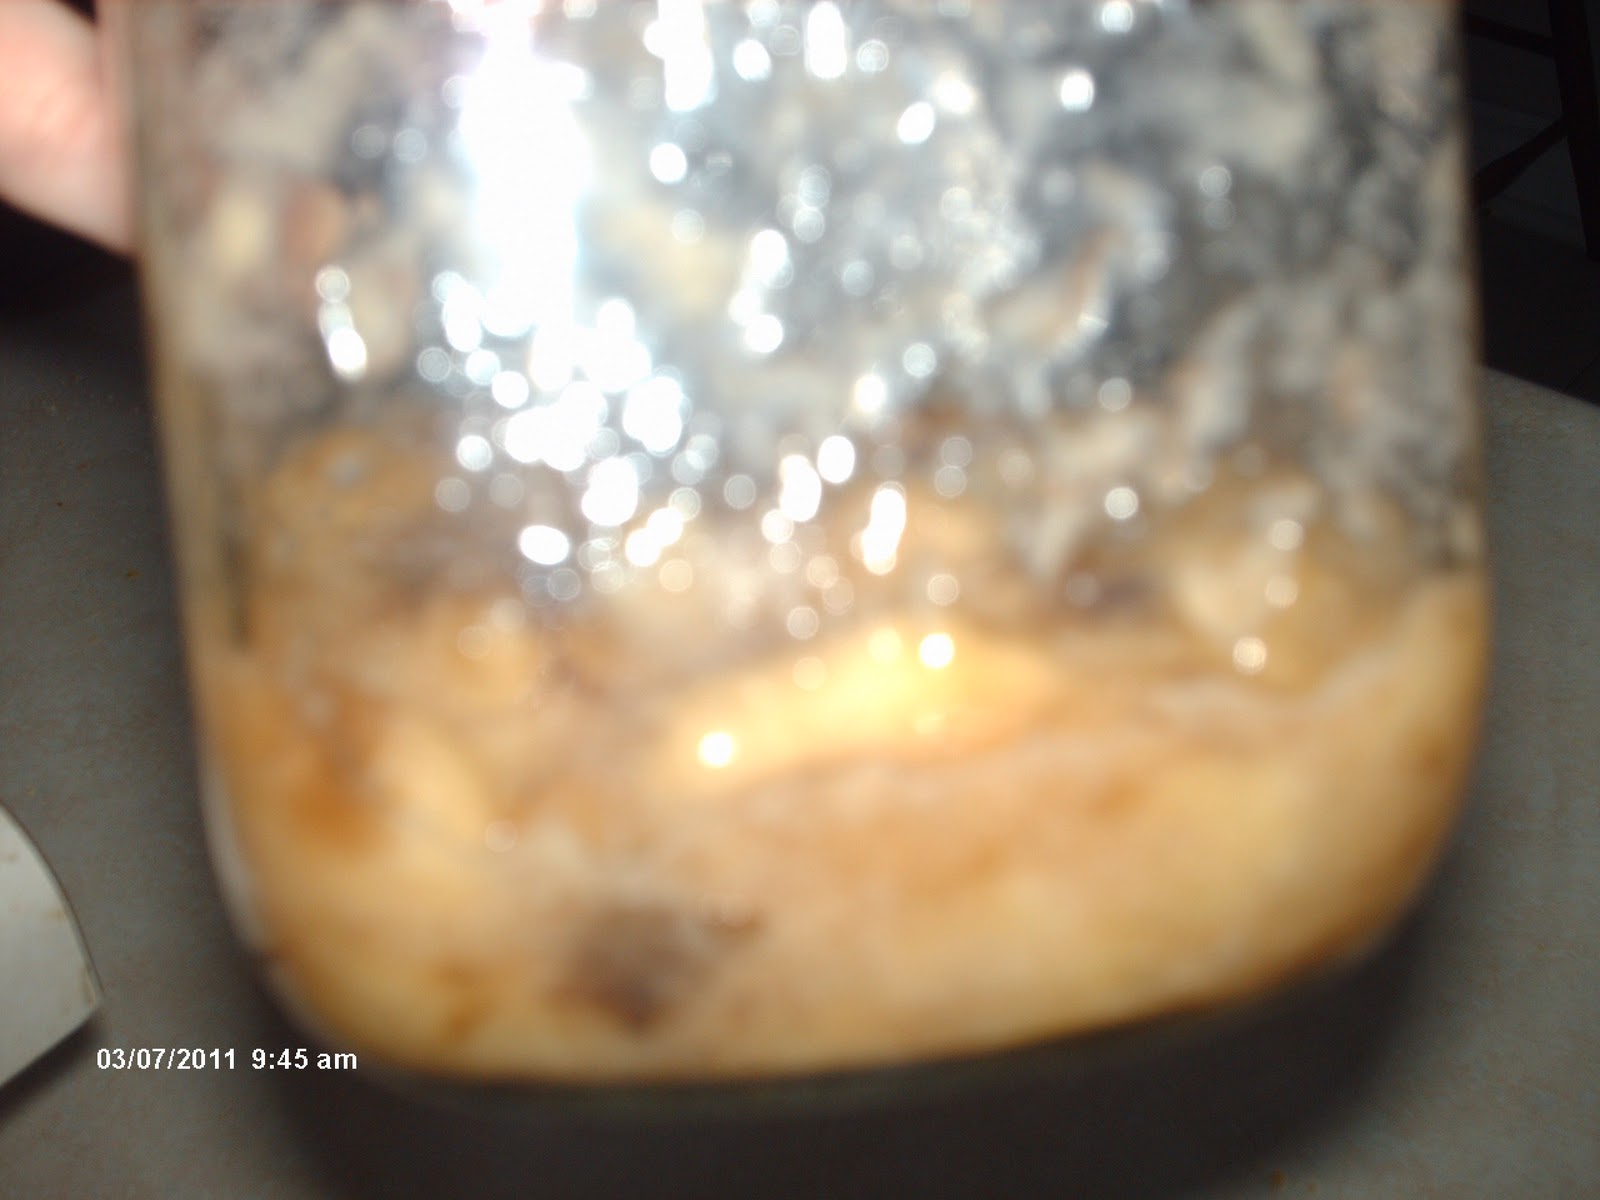
The top layer of the banana will turn almost black. That's okay.
 Just stir it and let it set some more. The lady who taught me how to do this would leave them out on the counter, just covered with a bit of plastic, until they were bubbling.
The top layer of the banana will turn almost black. That's okay.

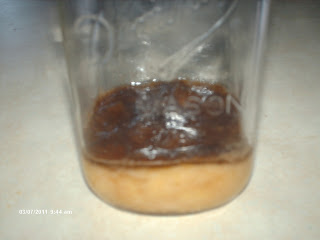
It's a good idea, when you try to take pictures of your fully fermented banana, to actually have the memory card in the camera and not in the computer.
This is fermented banana, plus chunky applesauce to make a full cup.

Preheat the oven to 350F. Most recipes say that, and Mr. Doom thought this was a rule sent down from Heaven. Honestly, I rarely remember to turn on the oven until my batter is almost ready to go in. You'll get better results if you preheat, though.
This is also a good time to grease your loaf pan. I wonder if everyone reading understands what I mean if I say "grease and flour"? If you're reading this and that doesn't make sense to you, let me know.
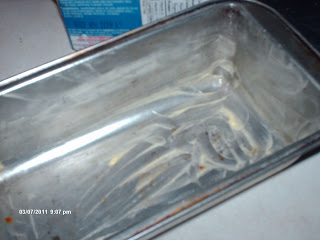
This is greased. I used Crisco shortening. I don't use vegetable shortening often, but during this Challenge, it was nice to find that in the back of the fridge after I ran out of butter/ghee.
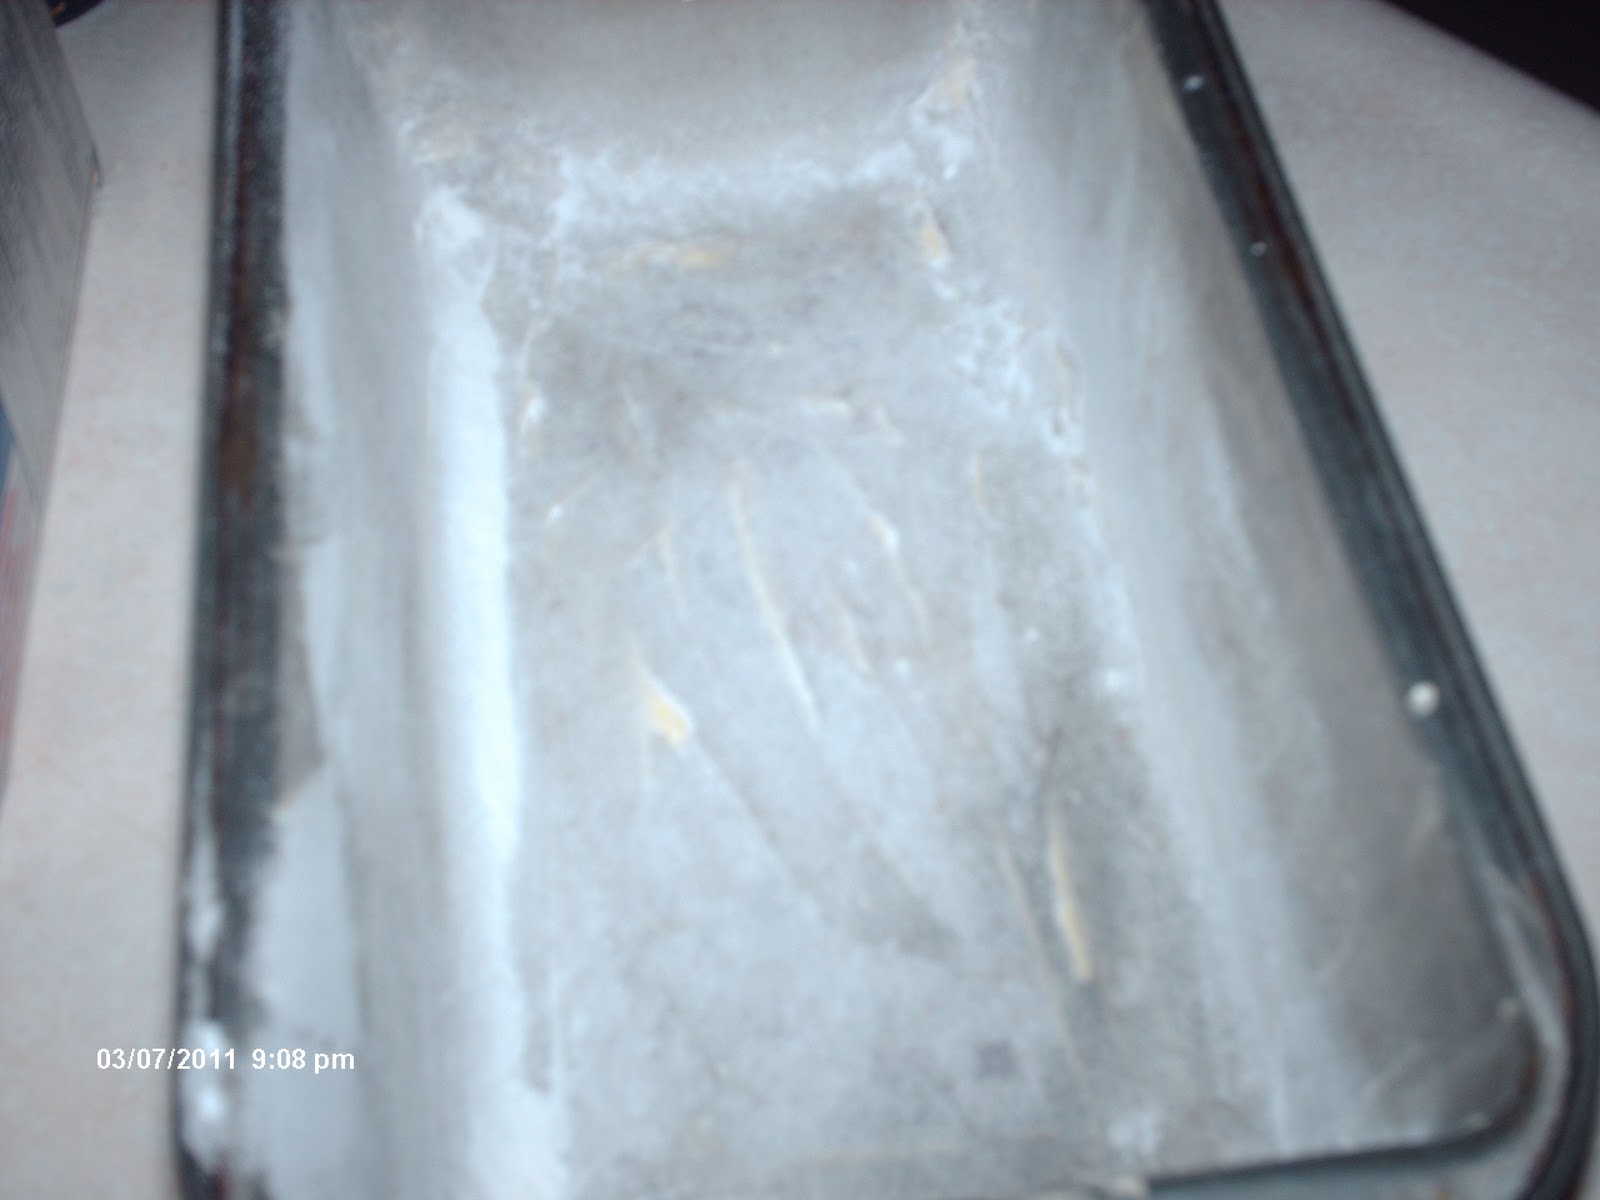
 This is floured. It really only takes about a tablespoon of flour. Toss it in and then knock the pan against the counter so the flour covers all surfaces. Try it - it's not hard, although you might use a little more flour when you're learning.

This is greased. I used Crisco shortening. I don't use vegetable shortening often, but during this Challenge, it was nice to find that in the back of the fridge after I ran out of butter/ghee.

At this point, my camera batteries died and I had to put them in the charger. Have to say, by the way, I LOVE having rechargeable batteries for my camera.
The dry ingredients are:
1 3/4 cups flour
2/3 cup sugar
2 tsp. baking powder
1/2 tsp. baking soda
1/4 tsp. salt
2/3 cup sugar
2 tsp. baking powder
1/2 tsp. baking soda
1/4 tsp. salt
Mix these.
If you want it spiced, add:
1 tsp cinnamon
1/2 tsp nutmeg
1/4 tsp ground cloves
1 tsp vanilla
Don't fret about it, and don't buy spices just for a recipe. I used cinnamon and vanilla in this loaf. Even without spices, it'll taste great.
Now measure the banana. If there's not enough to make 1 cup, add applesauce or any other pureed fruit. Remember, though, there will be a slight flavor from any variations.
Mix together:
1 cup banana and fruit
1/3 cup oil or fat of your choice (I used canola oil)
2 Tb milk or water (I used milk)
2 eggs
Now add the dry ingredients to the wet ingredients. Mix well.
If you like raisins or nuts or chocolate chips in your banana bread, you can add 1/4 cup of the addition now. I like my banana bread plain.
Banana bread takes an incredibly long time to cook. It will take an hour, give or take a few minutes. When it's done, the edges will have pulled away from the side of the pan and a toothpick inserted into the middle of the loaf will come out clean. That's called the toothpick test and it can also be done with a broom straw. If your broom is made of straw and you're fine with sticking that into your food. Otherwise, you could get an Amish Broom Cake Tester or the much less wasteful metal Cake Tester
 . I'll be honest, though - I just use a bread knife.
When the loaf is cooked, place it right side up on a cooling rack for ten minutes, and THEN invert it on the cooling rack to remove.
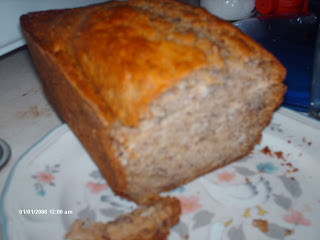
Batteries are charged and I have a picture for you! The way banana bread cooks, it always seems to leave a split across the top. I think it looks great. Anyway, I grabbed this picture partway through breakfast. In another ten minutes, it's going to be gone.
Butter on this will taste heavenly, but it's moist enough to eat alone.
 The whole loaf cost me about $1.
Batteries are charged and I have a picture for you! The way banana bread cooks, it always seems to leave a split across the top. I think it looks great. Anyway, I grabbed this picture partway through breakfast. In another ten minutes, it's going to be gone.
Butter on this will taste heavenly, but it's moist enough to eat alone.

Doomer is the best cook I have ever seen, she always has something good going. I am glad to have her as my friend too.
ReplyDelete