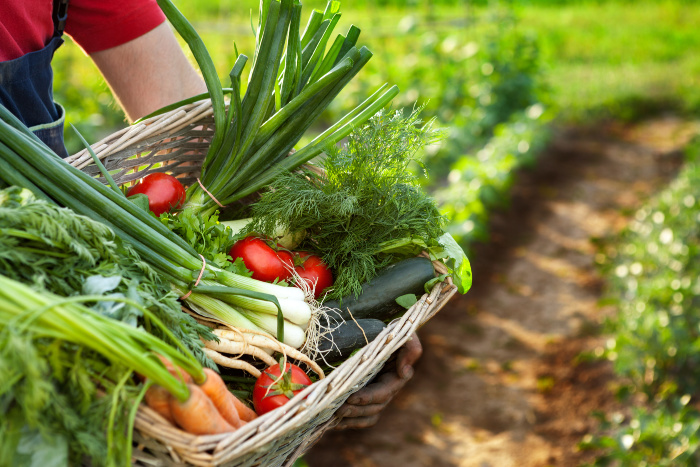
Today, it’s all about what to plant in July. You still have plenty of time to plant seeds or seedlings this month. It’s not too late to grow and enjoy a fall harvest crop in late summer or early fall before the first frost date. By the way, how is your garden doing with the warm soil conditions? There is something special about a fall garden that is still in bloom and provides veggies you can enjoy all winter.
One positive aspect of this recent gardening season is that most of the country has experienced ample water from heavy winter snow and numerous spring and early summer rainstorms. We didn’t have to plant those drought-tolerant plants this growing season.
I like to update this post every year with new tips. This week, I would typically be planting more cilantro, carrots, zucchini, green onions, and green beans. You may recall that I’ve relocated to the north to build a small home so that I won’t have a garden this year. Hopefully, next year, if and when the construction is done, I can lay out my small garden plot.
It’s been nearly four years, and it’s frustrating, but that’s just the way it is. Thankfully, after three years of paying for climate-controlled storage units, our food storage and preps are in place. My area in the garage is still a mess, but I have to wait until it cools down to clean it up and organize it.
Where I buy my garden seeds: SeedsNow
What To Plant In July
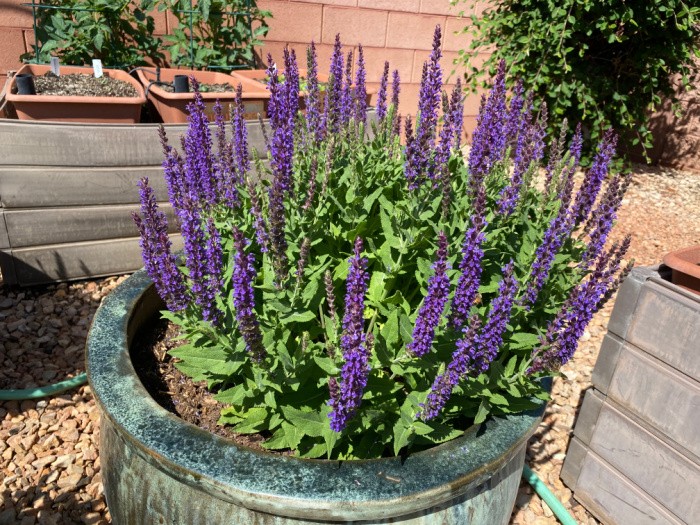
I highly recommend planting flowers near your garden because if you have flowers, the bees and other pollinators will come and help pollinate your garden plants. Oh, and don’t forget the butterflies that pollinate and add fun color to the garden. They are magical to me. Perennial Salvia plants are my favorite flowers to bring bees to my garden area. Because they are perennials, you cut them back a few times a year, and they keep coming back, as do the bees. These are the seeds: Perennial Salvia.
Check here to find your zone.
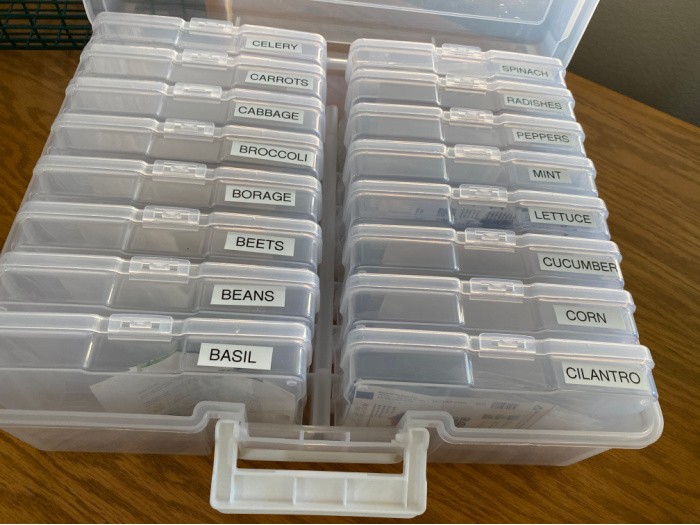
How I store my garden seeds:
Plastic Photo Container and Label Maker
Where I buy my garden seeds: SeedsNow
I highly recommend these products for growing your seedlings: CowPots and Organic Seedling Soil. You plant your seeds and place the CowPots in your garden when the temperatures are correct, based on your specific hardiness zone location.
Soil pH Levels
What Does the Term pH Level Mean
People probably say that having the right pH level in your garden soil is essential for a successful harvest. You may wonder what pH level means when gardening and how to determine your garden soil’s pH level. Each plant prefers a different level of acidity to grow the very best harvest. The level of acidity desired varies between plants.
Therefore, you can adjust the pH of your soil by adding lime or sulfur to bring it up or down, depending on the needs of your soil. You can have your soil tested, possibly by your state extension service, or try to do it yourself with a soil tester. pH Tester. Additionally, some local nurseries offer this service to their customers.
How To Hand Pollinate
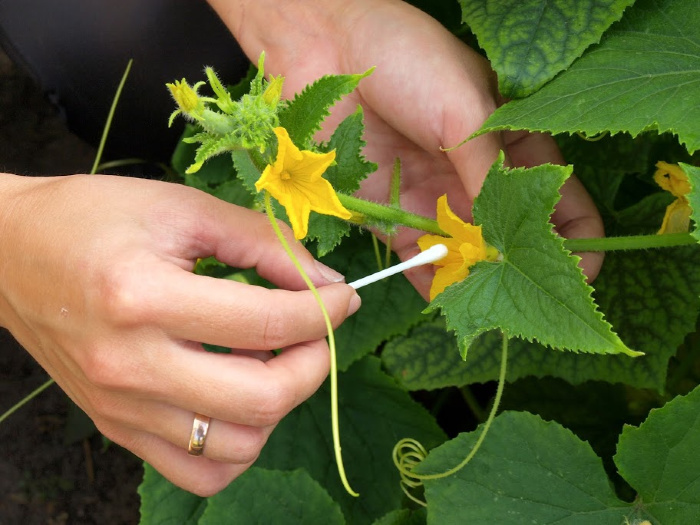
All you need is a paintbrush or cotton swab (see below). If you need to hand-pollinate because you aren’t seeing any fruit develop on your garden vegetables, here is something you may want to try. You do this by removing the male blossom (male blossoms don’t have fruit behind them).
They produce pollen, leaving the center covered in pollen that can be collected with a brush or swab. Use a brush or swab to apply the pollen you collected to the center of the female flower. This works for squash, melons, herbs, and cucumbers.
What to Plant in July by Zone
July is not too late to start a garden. It can be a perfect time, depending on your time zone. It’s interesting to note how the zones have shifted slightly due to the global temperature change. Planting times have changed a lot. Here is what you can plant by zone:
Zones 1-3
While July is peak harvesting time for many places, the cooler climate locations can start planting their gardens. If you live in zones 1-3, it is prime time to start planting the following:
- Arugula
- Beans (snap)
- Beets
- Broccoli
- Brussels sprouts (Zone 2)
- Cabbage
- Carrots (Zone 2)
- Chinese Cabbage
- Cilantro
- Endive
- Kale
- Kohlrabi
- Lettuce (head and leaf)
- Parsley
- Radish
- Rutabaga
- Spinach
Zones 4-5
Zones 4-5 are found throughout the Northern Midwest and New England. Here is what you can plant in these zones during July:
- Basil
- Beans (pole and bush)
- Beets
- Brussels sprouts
- Chinese cabbage
- Carrots
- Kale
- Kohlrabi
- Leeks
- Radishes
- Squash (Summer)
- Turnips
Zones 6-7
In zones 6-7, you have mild temperatures during this time. This means it is the optimal time to grow some of these plants in your garden:
Zones 8-10
When you live in the southern states, it is pretty hot during July. But there are still several items you can plant. Here are just a few:
- Brussels sprouts
- Cilantro
- Dill
- Eggplant
- Okra
- Peas (Southern)
- Peppers
- Squash
- Tomato
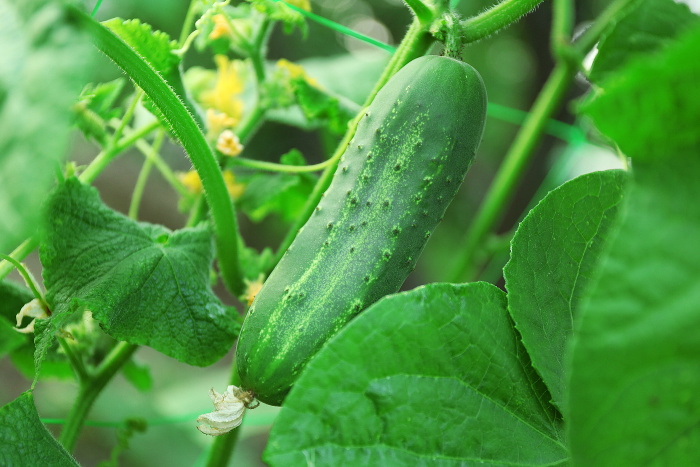
Cucumbers
Cucumbers thrive when the weather is hot and receives a lot of water. Plant them in full sun. If you planted seeds inside, don’t set your seedlings outside until the weather is in the 70-degree range.
Check the last frost date and wait two weeks before planting the seedlings or seeds outside. You can grow a second set of cucumber seeds in the first week of July and still be able to harvest them before the first fall frost date.
Decide if you want to grow bush cucumbers or cucumbers on the vine. I have always had better luck with bush cucumbers, which work great in pots or small gardens.
This is why they do better in my raised gardens. I suggest you stagger the planting of the seeds, as this will result in cucumbers bearing fruit at different times during the growing season, rather than all at once, producing a more manageable harvest.
Compost and Well-Rotted Manure
Cucumbers like compost and composted, well-rotted manure. They need well-fertilized soil. Cucumbers grow fast and don’t depend on much care or work to get them to thrive. When watering, try to keep the leaves dry to prevent leaf diseases from forming.
Male blooms show up first and drop off. No worries; a female flower will appear within a week or two. If not, you may have to do hand pollination. You remove the male blossom, leaving the center covered in pollen. Use a brush or cotton swab to apply the pollen you collected to the center of the female flower.
Use metal cages for vines. The cucumbers will hang better on those because they attach more easily to the wires as they grow. Plant two to three seeds about one inch into the soil and cover them with soil.
If the soil is moist and warm, you will see sprouts within a few days. Plant the seeds or plants 36-60 inches apart. Bush cucumbers can be planted closer. Cucumbers grow from start to finish in 50-70 days.
pH level for Cucumbers: 6.5 to 7.0
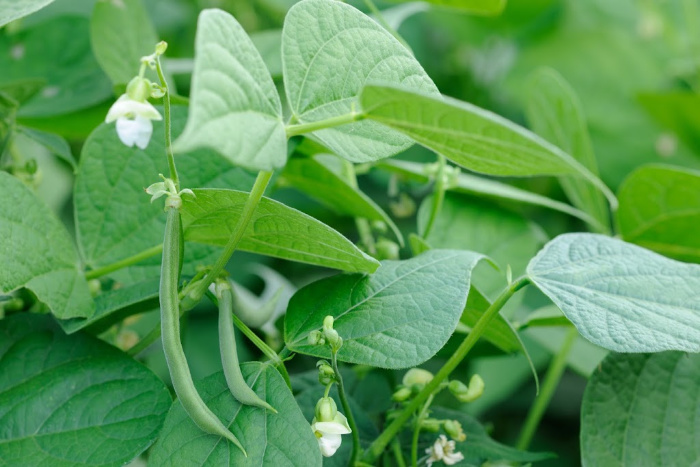
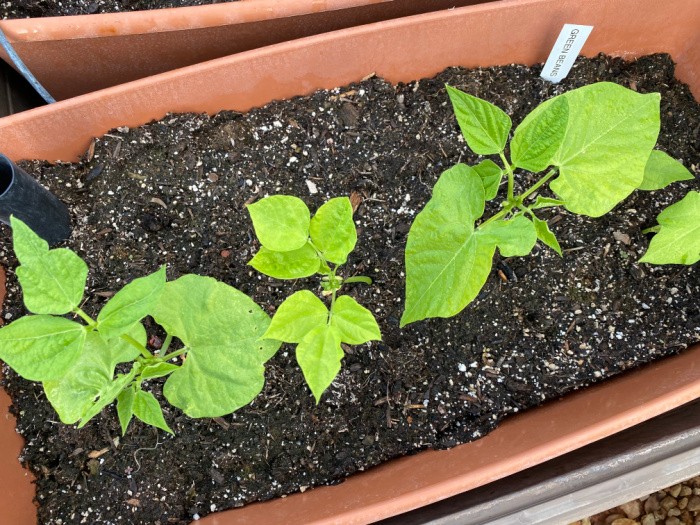
Green Beans
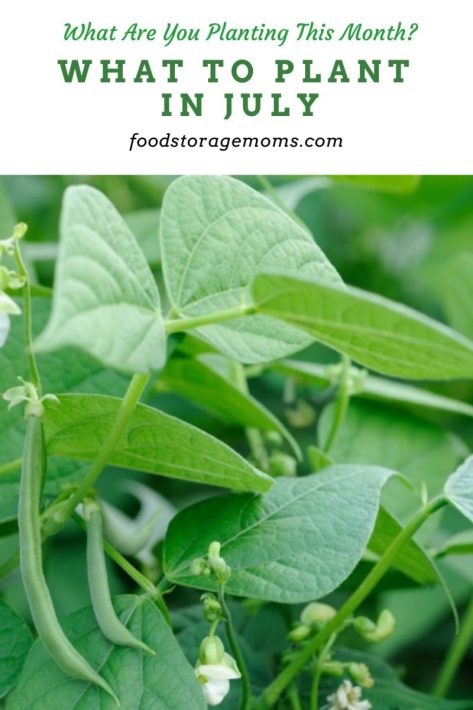
I have always grown bush beans. Their growing time is shorter, 60-70 days, which is just enough time if you plant the seeds in the first few days of July.
This is one of my favorite vegetables to grow. When our girls were growing up, we grew many green beans. We canned bushels of them in our pressure cooker.
They taste so good when they are freshly picked. I only grew bush beans, but you can plant pole beans if you can support them off the ground.
Bush beans grow about 2 feet tall, and pole beans grow up to 10 feet tall. Bush beans are ready to pick about 50-55 days after planting. Pole beans take a bit longer, so plan 55-65 days to harvest.
Please remember, if you can stagger the plantings every 2 weeks you can harvest green beans for weeks rather than all at once in one week.
Green beans are like well-composted, rich soil with rotted manure. You plant the seeds 1-2 -inches deep and cover them with soil. Space the seeds in rows about 6-8 inches apart.
Water them immediately and regularly until they begin to sprout. After sprouting, they need 1 to 1.5 inches of water each week. They need full sun, so plan accordingly. They grow best when the air temperatures are between 65 to 85 degrees.
When the green beans are the size of a pencil, they are ready. They can toughen up very quickly, so check on them often. You pick them by snapping them off at the vine.
pH level for Green Beans: 6.0 to 6.2
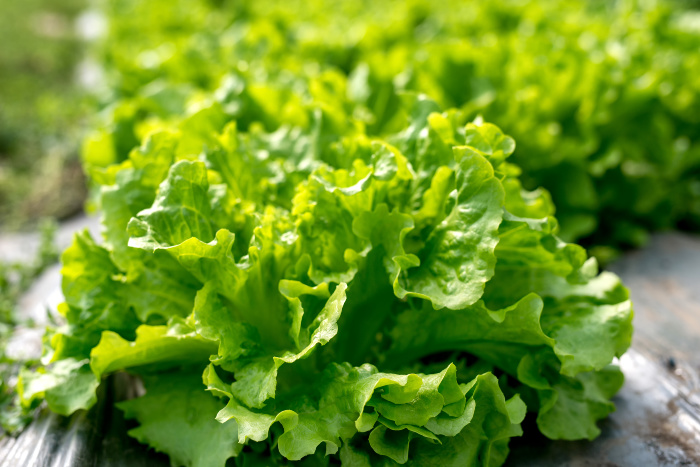
Plant In July-Lettuce Varieties
The nice thing about lettuce is that it’s easy to grow and sprouts quickly. Just make sure the soil is loosened, loamy, and well-drained. Lettuce loves nitrogen and potassium, so keep your eye on the leaves as they grow.
Work in a lot of organic matter or compost. Lettuce matures in 55 to 60 days. Romaine takes longer to mature, and so does head lettuce varieties.
Summer Lettuce Seeds: Summer Bibb
Adriana, Coastal Star, Red Cross, and Muir are other heat-resistant varieties.
Plant the seeds about 1/4 inch deep, tamp them in the soil, and water them. Easy and simple. Read the package to space according to the lettuce you choose. Seeds will not germinate in soils above 80 degrees F.
You can start some seeds indoors and transplant the seedlings into a shady spot when the weather is too hot outside to start the plants directly in the soil. You may want to choose heat-resistant varieties if you live where the temperatures get too hot in the summer.
It’s better to pick early than late in the growing cycle because the leaves become bitter if you wait too long.
pH level for Lettuce: 6.0-7.0
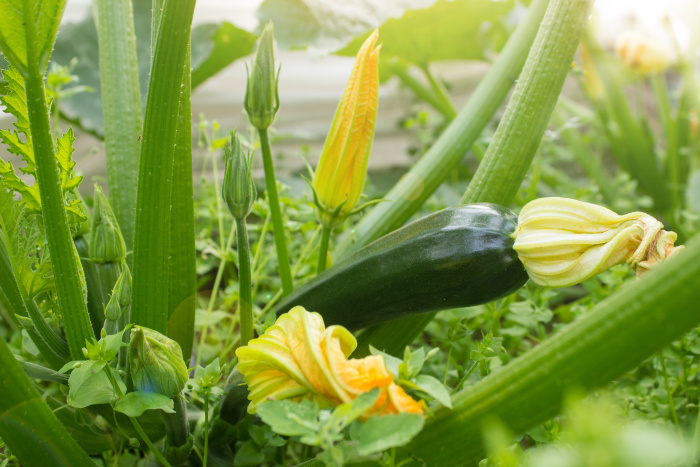
Zucchini or Crookneck
Summer Squash: zucchini, crookneck, and straight-neck (harvested in the summer before they reach maturity). You can start a second planting if you plant the summer squash seeds by the first week or so of July.
Winter Squash: pumpkins, butternut, spaghetti, and acorn squash (harvested in the autumn months after they reach maturity).
When you plant the seeds, test the soil to ensure it is at least 60 degrees F. before sowing. They need total sun exposure, loamy soil rich in nutrients, and proper drainage.
Plant the seeds in hills (2-3 each) one inch deep. Space them 2-3 feet apart. Thin as needed to produce the most vigorous plant. Use a cloche to keep the plants warm in case of cool weather.
Mulch the plants to keep them moist and weed-free. When the first blooms appear, fertilize the plants.
Water deeply, at least one inch of water per week. The soil needs to be moist at least 4 inches down. If your blossom ends turn black and rot, you have blossom rot. It’s usually caused by uneven moisture in the soil. It could also be a calcium problem.
Water must be consistent and frequent for the fruit to produce. If the fruits are misshapen, they may not have received enough water or fertilizer. Check for fruit you can pick daily; they grow faster than you think.
pH level for Squash: 5.5-6.8
Please Check Out What To Plant Each Month:
Final Word
It’s all about self-reliance, and gardening is a great way to do it. It doesn’t have to be the most enormous garden on the block; it can be on a small deck with pots planted with the seeds of the plants you love to eat.
It can be a shared piece of property or several acres. Whatever we can do to produce some of our food is one of the best ways to teach our families to care for themselves.
So, if you were wondering what to plant in July, now you know, and you can pass this information on to your neighbors. Thanks for being prepared for the unexpected. May God bless this world, Linda
Copyright Images: Gardening AdobeStock_218588157 by Irina Fischer, French Green Beans AdobeStock_42955688 by ecobo, Pollinating Cucumbers AdobeStock_177403079 by Viesturs Kalvans, Cucumber Growing In Garden AdobeStock_91930629 by Africa Studio, Fresh Lettuce in Hothouse AdobeStock_143646375 by diyanadimitrova, Zucchini Growing in Summer Day AdobeStock_116494927 by AKA-RA
The post What To Plant In July appeared first on Food Storage Moms.
from Food Storage Moms