Estimated reading time: 15 minutes

Grinding Your Own Flour Can Save You Money, Enhance Your Nutrition, and Teach You a Valuable Survival Skill.
In many ways, bread is what made civilization happen. The ability to cultivate crops, especially grains, gave humanity the chance to find the time to invent things like language, culture, mathematics, government, and towns. The greatest invention may have been the ability to transform grains into flour in order to make and bake a staple part of our diet.
The earliest tool used to make flour was a sized-up variation of a mortar and pestle. A large, standing tree stump was hollowed out to form a deep bowl and a smaller log was shaved to form a blunt, rounded end that was lifted and dropped onto grains in the log bowl. Repeated lifting and dropping turned the grains into a powder commonly described as flour.
Rocks were also used to crush grains. The rocks would be rubbed over each other with the grains in between them to create flour or a coarse meal.
Eventually, these rocks were turned into large wheels that rotated around an axle to crush the grains on a large rock surface. As the ability to make flour in large quantities grew, so did the advance of civilization. Just ask the ancient Egyptians.
Why Grind Your Own?
Store-bought flour is built for shelf life, not for you. To keep it from spoiling on a grocery shelf for months, manufacturers strip out the germ, which is the part of the grain that holds most of the oils, fiber, and B vitamins. What's left is mostly starch. When you grind whole grains at home, you keep the entire kernel intact, germ and all, so you get the full nutrition the grain has to offer.
There's a cost benefit too. Buying whole grain in bulk almost always runs cheaper per pound than bagged flour, and the price gap grows the more you buy. A sack of whole wheat berries stored properly will outlast bagged flour many times over and give you fresh flour whenever you need it.
DIY Flour Grinding
Grinding your own flour is simpler than you think. You can use grains you grow, find in the wild, or buy in bulk from specialty stores and websites. Whole Foods sells many grains in bulk and websites specializing in long-term food storage usually do the same. But to really put your flour grinding into high gear, you’re going to need some equipment.
Flour Mill Types
There are essentially three options for home-ground flour making:
We’re going to focus on the hand-cranked mill for many of the flours we’ll make because it’s a good off-grid alternative. However, a food processor is definitely worth considering.
A food processor can not only make flour but also grind certain grains as an initial preparation step from larger sources like almonds and acorns before the final grind in a hand-cranked mill, or further processed to create a nut butter.
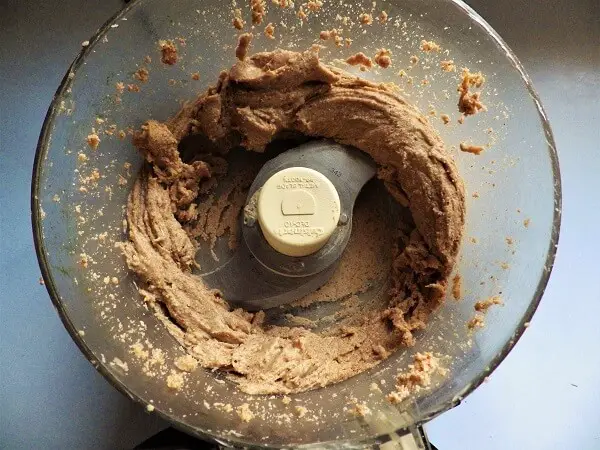
Electric flour mills are also a good alternative if you plan on making flour grinding a regular part of your food-prep activity and aren’t worried about a loss of electric power.
Stone Ground Versus Steel Cut
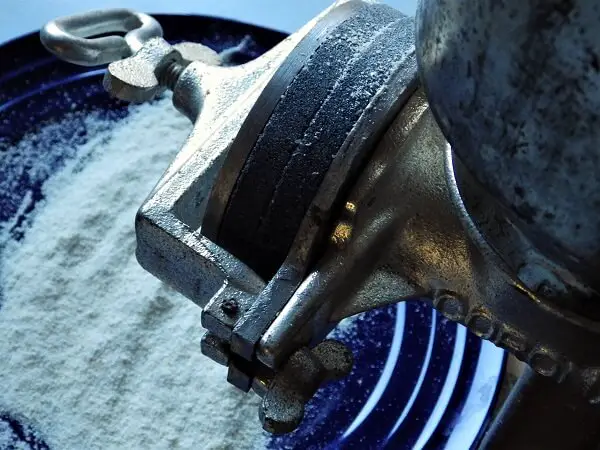
Flour mills typically come with two grinding options. A “Steel Cut” that mills grains into a coarse meal like cornmeal, and a “Stone Ground” option that mills grains into a fine, powdery flour.
Gluten versus Gluten Free
Many of these flour sources are gluten-free but there are some hard facts you should consider. For one, only 10% of people have a gluten intolerance to varying degrees. 1% of people have a condition known as Celiac disease which is a serious allergy to gluten and they need to pursue a strict gluten-free diet.
However, for at least 90% of people, gluten is easy to digest with no adverse effects. There’s also a benefit related to gluten worth considering.
If you're baking gluten-free, a binder helps hold everything together in the absence of gluten. An egg, a spoonful of psyllium husk, or a little xanthan gum will give your dough structure and keep the finished loaf from crumbling apart.
Yeast Needs Gluten
Yeast is a dormant form of fungus that comes to life in dough. As it grows and multiplies, it releases a waste product in the form of carbon dioxide gas. This release of carbon dioxide inflates dough and causes it to rise, resulting in a loaf of bread that is light and airy.
One of the primary ingredients to encourage this yeast growth is gluten. Sugar or honey and warm water also help, but gluten is the main-course for yeast. That’s why many gluten-free breads don’t rise like breads made with traditional flours. Unless you’re allergic to gluten, you can consume gluten without fear.
Flour Sources
Anything that can be ground into a powder can be made into a flour. The question is whether or not it’s something you would want to eat, and it assumes the source material is sufficiently dry to be ground into a powder. Moist materials will reduce to a paste which is undesirable for a flour unless you want to make a butter like peanut butter–or as we’ll demonstrate, acorn or almond butter.
Here are some of the flour resources we’ll cover with some simple recipes you can easily make and bake:
1. Acorns (Gluten Free)
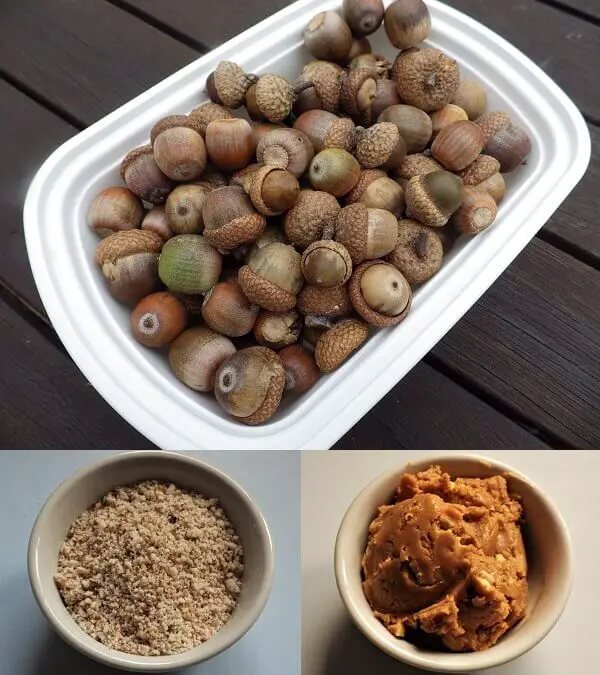
Acorns are ubiquitous and easily harvested. Most acorns need to be leached in water to remove the tannic acid that makes them bitter. Some are milder than others, so the safest approach is to soak them, change the water, and taste-test along the way, repeating until the bitterness is gone.
This can take anywhere from a few hours to a full day or more depending on the acorns. Once leached and lightly roasted at 225° F, they can be processed in a food processor to make acorn butter, or stone ground in a hand-cranked mill to make a flour.
2. Almonds (Gluten Free)
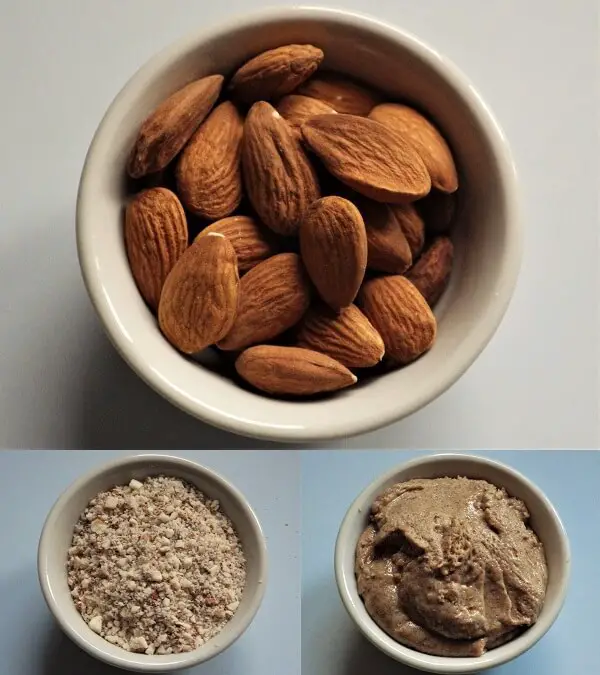
Easy to buy by the bag or in bulk and make an excellent steel cut meal or an almond butter in the food processor. Run in the processor for 5 minutes until smooth, pulsing occasionally.
3. Barley
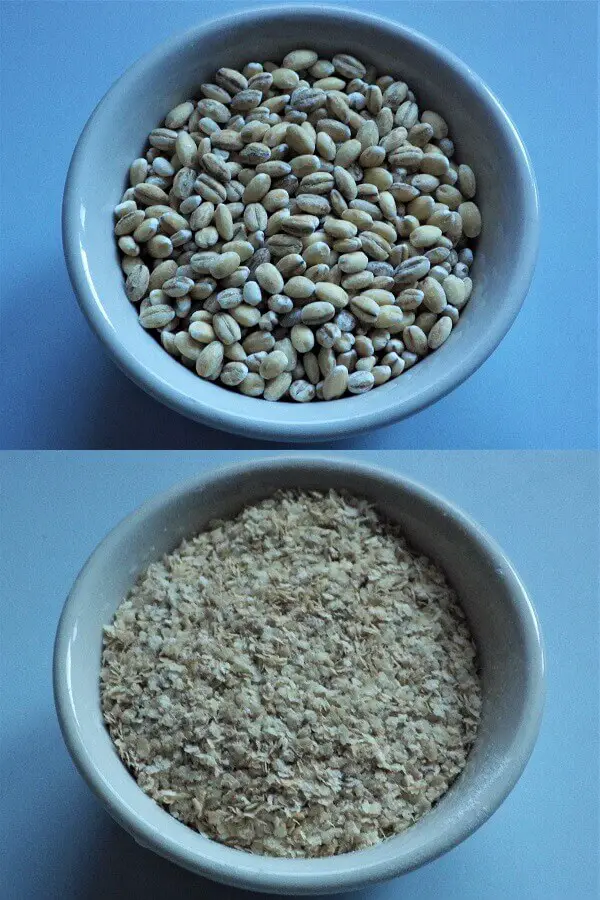
Barley is a relatively well-known grain that rarely shows up on grocery store shelves. It’s easy to grow and has a light, nut-like flavor. Stone grind into a coarse flour.
4. Buckwheat (Gluten Free)
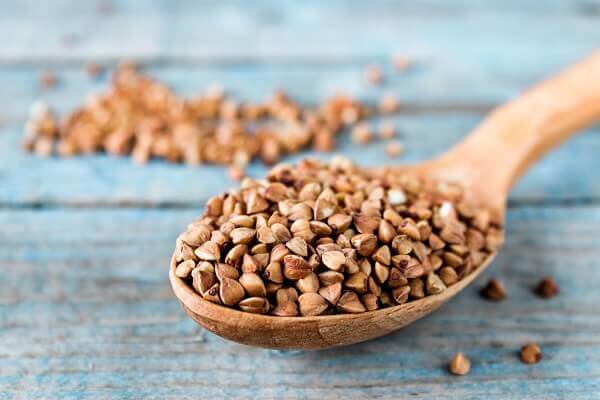
Despite the name, buckwheat isn't wheat at all and contains no gluten. It's a fast-growing crop that thrives in poor soil, which makes it a favorite for homesteaders and a good cover crop to boot. The groats have an earthy, nutty flavor that shines in pancakes, crepes, and traditional soba-style noodles. Stone grind into a fine, dark flour and blend it with a lighter flour to keep baked goods from getting too dense.
5. Corn
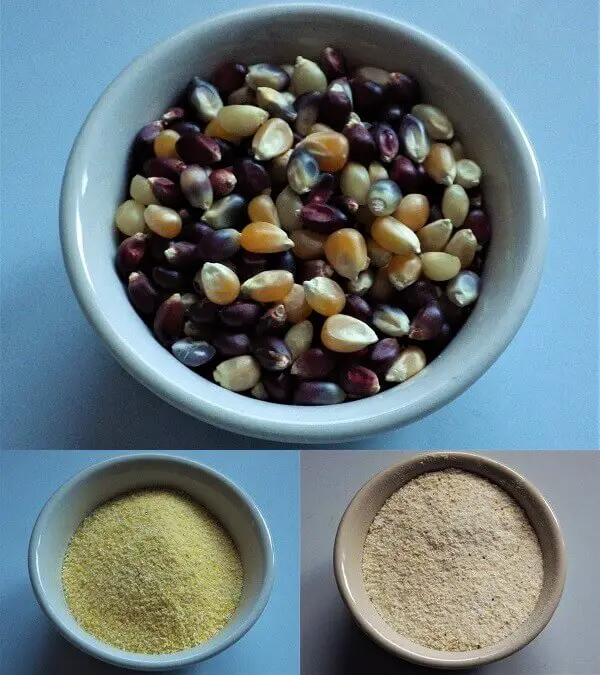
A mainstay of Native-American peoples. Can be either steel cut into cornmeal or stone ground into corn flour. Native peoples often treated their corn with wood ash or lime before grinding, a process called nixtamalization. It softens the kernels, makes them easier to mill into masa, and unlocks niacin that the body otherwise can't absorb from corn. It's an old technique, but it's the reason corn became such a reliable staple.
6. Oats
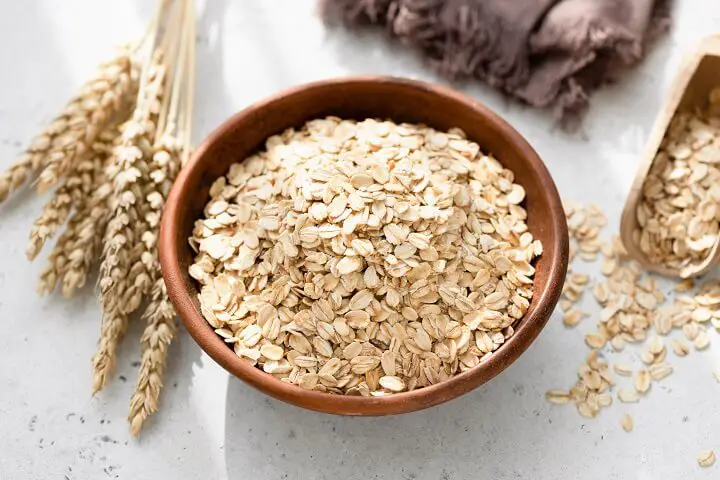
Oats have been a homestead staple for centuries, especially in Scotland where they fed both families and livestock. Buy them as whole groats rather than rolled oats for the freshest grind.
Stone grind into a soft flour for biscuits and quick breads, or steel cut into a coarse meal for hot cereal. Naturally gluten-free, though oats are often processed alongside wheat, so look for certified gluten-free groats if that matters to you.
7. Quinoa (Gluten Free)
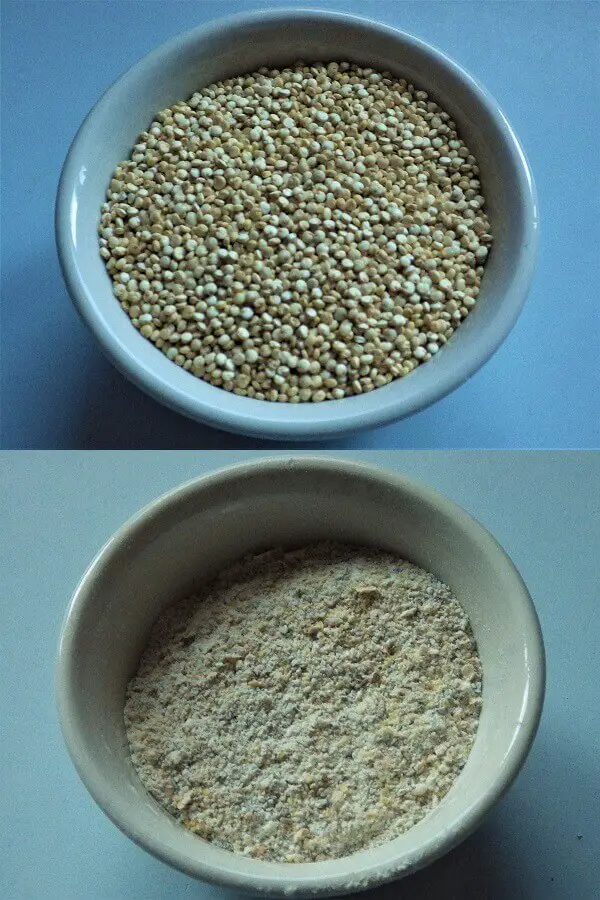
Quinoa is an ancient grain du jour that keeps showing up in articles and on websites. Easy to grow and a classic gluten-free ingredient in baked goods. Best when stone ground into a flour.
8. Pine Nuts (Gluten Free)
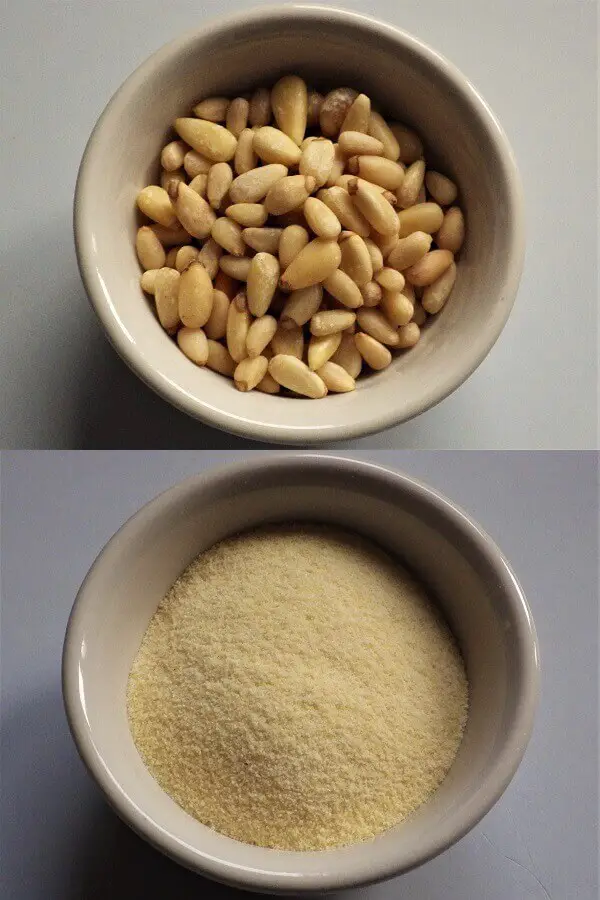
Not as easy to find in the wild as you think, but it can also produce a nutty tasting flour. Sold in both jars and in bulk but a bit pricey.
9. Red Winter Wheat
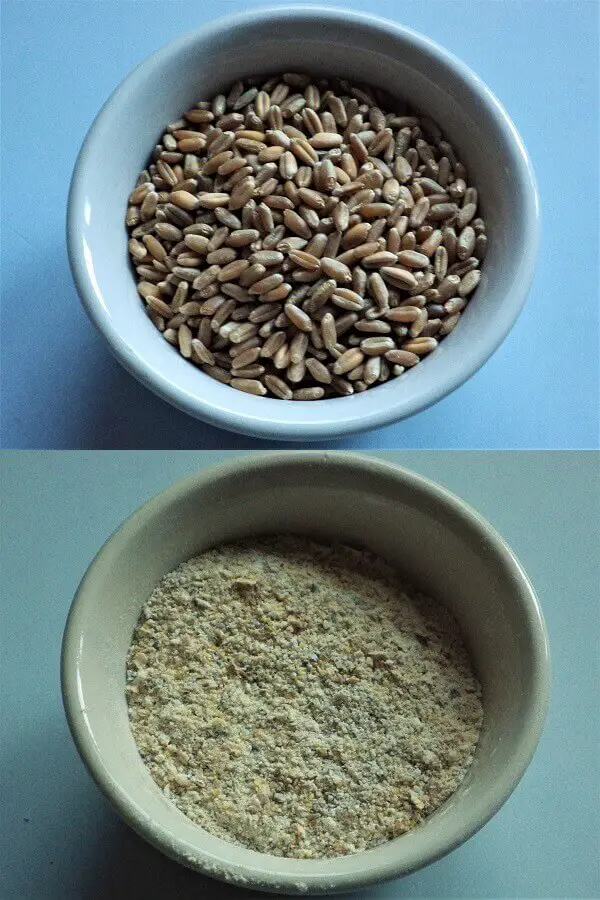
Red winter wheat is a standard whole-grain that stores well and has a long shelf-life when properly packaged and kept dry. Can be either stone ground into flour or steel cut to make cracked wheat.
10. Rice (Gluten Free)
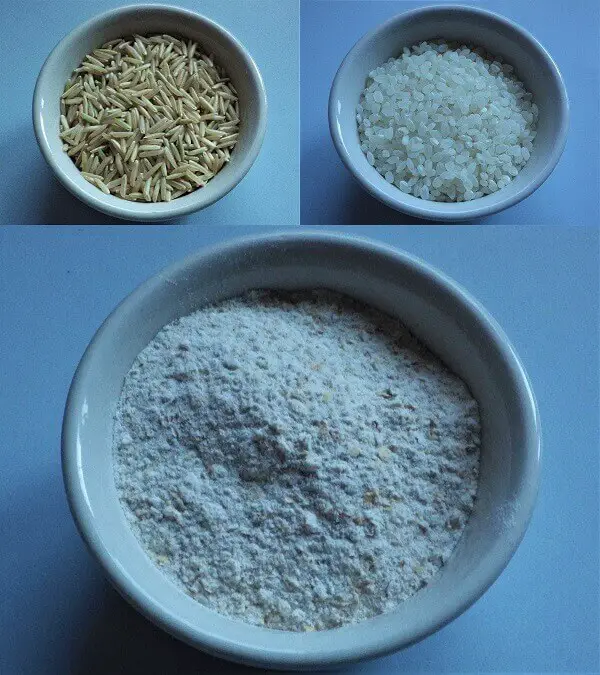
White rice is another classic ingredient in gluten-free baking. Stone grind into rice flour to bake gluten-free bread or as a thickener in soups or gravies.
Blending Flours
One of the advantages of grinding your own flour is the ability to blend various flours to enhance the texture, flavor, and appearance of anything you bake. It also gives you more nutritional diversity and will help baked goods with gluten-free ingredients to rise.
Home-Ground Flour Recipes:
BARLEY CORNBREAD
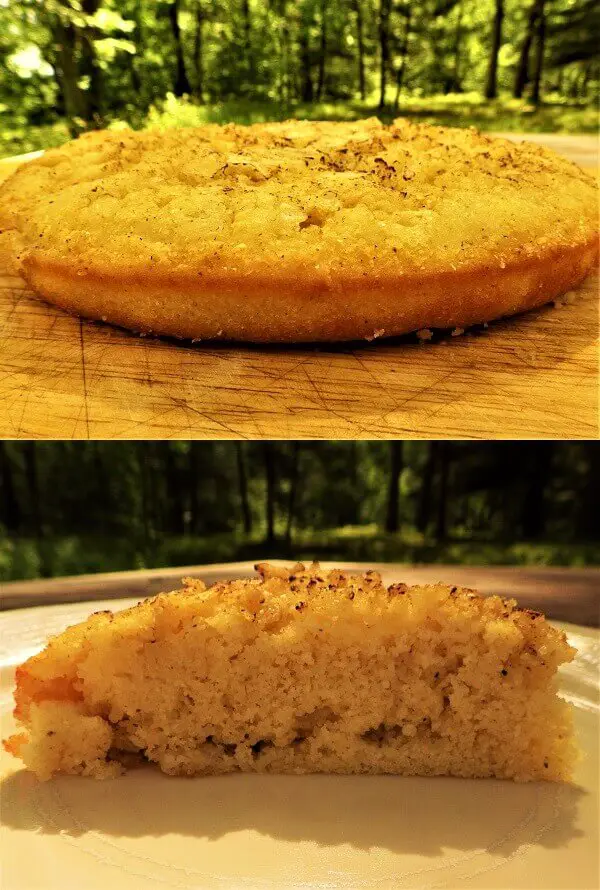
Barley Cornbread Recipe: (Makes a 1-pound loaf)
Ingredients:
- 2 cups of cornmeal
- 1/2 cup of barley flour
- 1 tsp. salt
- 1 tsp. baking soda
- 2 tsp. baking powder
- 1 egg
- 4 tbsp. melted butter
- 1 ½ cups of plain yogurt or sour cream or buttermilk or milk (You can also combine them any way you like to total 1 ½ cups.)
- 4 tbsp. honey
Instructions:
- Preheat the oven to 400° F./205° c.
- Mix dry ingredients together.
- Mix wet ingredients together.
- Combine dry and wet ingredients and mix thoroughly to make the batter.
- Generously butter a 12 x 12-inch glass baking dish and pour the batter into the dish.
- When the oven reaches temperature, place on the center baking rack and bake for 15 to 20 minutes.
- Check the cornbread after 15 minutes and test the center with a toothpick. If it comes out dry, remove it from the oven and let it rest for 10 minutes. Otherwise, give it another 5 minutes.
Rice Bread
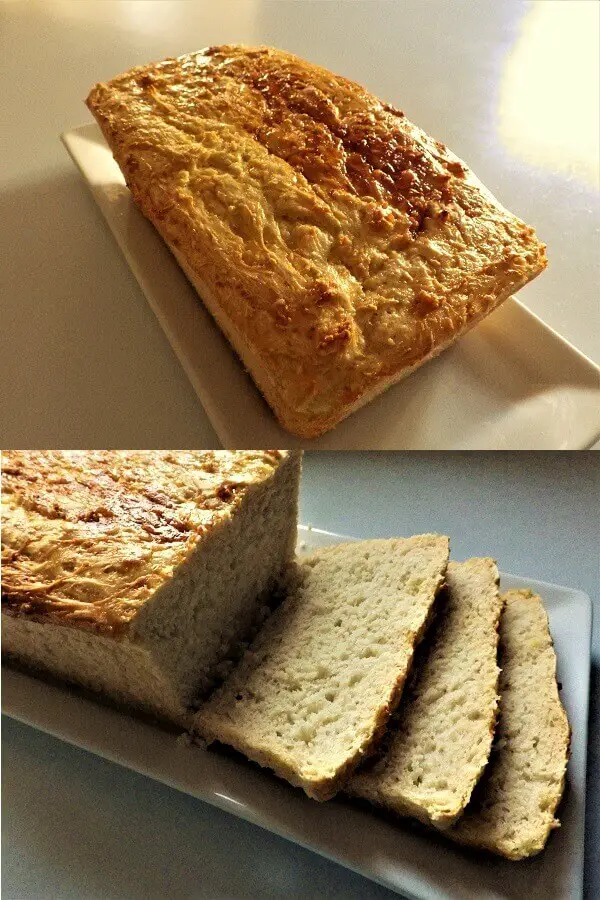
RICE BREAD RECIPE
Ingredients:
- 1/4 cup cooked rice
- 3/4 cup warm water (110° F./ 43º C.)
- 1/2 teaspoons salt
- 1 teaspoon of sugar
- 1 cup of rice flour
- 1 cup of red winter wheat flour
- 1 teaspoon of active dry yeast
Instructions:
- To make a 1/2 cup of cooked rice, add 1/4 cup of rice to 1/2 cup of water; bring to a boil, cover and simmer until rice is done. About 10 minutes.
- Preheat the oven to 350° F.
- Add the water, salt and sugar to a bowl and mix together.
- Stir the cooked rice into the water/salt/sugar mixture to make a slurry before adding the flour and topping with the yeast. Mix with your hands or a spoon.
- Put the dough into a buttered bread pan and let rise for 1 hour.
- Bake at 350° for 30 to 35 minutes.
Gluten Free Rice/Quinoa/Acorn Flour Biscuits

GLUTEN FREE RICE/QUINOA/ACORN FLOUR BISCUITS RECIPE:
(Yields 6 to 12 biscuits depending on size)
Ingredients:
- 2/3 cup milk
- 2 large eggs
- 1 1/4tsp. salt
- 1 ½ cups of rice flour
- 1 cup of quinoa flour
- 1 cup of acorn flour
(You can use only one or two of the above flours as long as they total 3 ½ cups of flour)
- 1 tbsp. active dry yeast
- 1 tbsp. honey
- 1/3 cup unsalted butter
Instructions:
- Add all of the ingredients to a bowl and mix.
- Preheat oven to 425° F.
- Roll dough 1/2 inch thick and let rise 30 minutes. Cut rounds out of the dough with a water glass or dough cutter to the shape and size you like.
- Place on a buttered or oiled cookie sheet and bake for 15 minutes or until browned.
Pine Nut and Barley Flat Bread
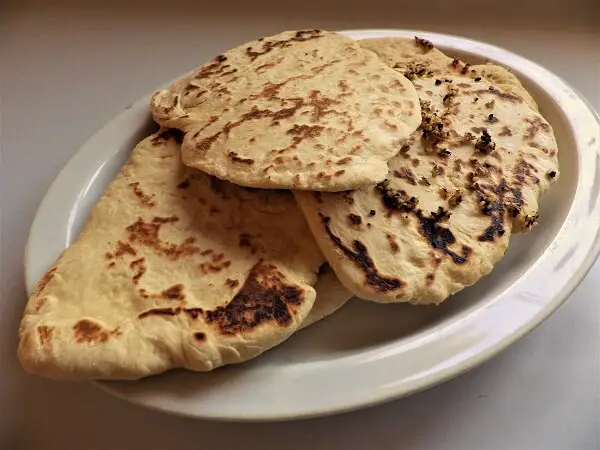
PINE NUT AND BARLEY BREAD RECIPE:
(Makes 6 flatbreads)
Ingredients:
- 3/4 cup of water
- 2 tablespoons of plain yogurt
- 1 egg
- 2 teaspoons of salt
- 1 tablespoon of olive oil
- 1/2 cup of pine nut flour
- 2 ½ cups of barley flour
- 1 ½ tablespoons of active dry yeast
Instructions:
- Add all of the ingredients to a bowl and mix.
- Turn the dough out onto a floured surface and cut into 6 equal size pieces.
- Using your hands and fingers, press the dough out into a flatbread about 6 to 8 inches in diameter.
- Let the dough pieces rise for about 15 minutes. In the meantime, heat an ungreased cast iron skillet over high heat until it is very hot.
- Toss the flatbread onto the skillet one at a time for about 2 to 3 minutes a side or until you have some browning.
- Stack the flatbreads as you go and when done, serve.
Acorn Butter Cookies
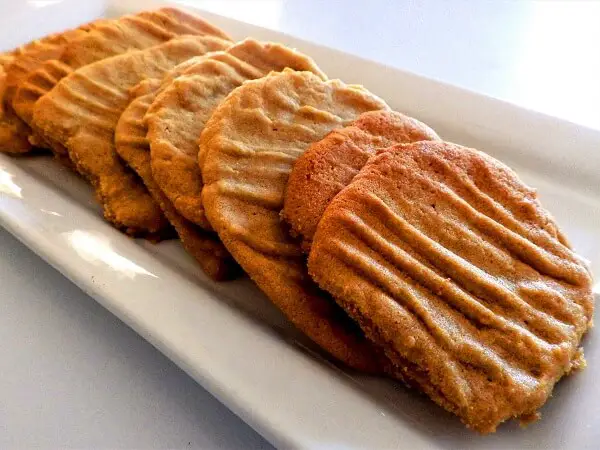
ACORN BUTTER COOKIES RECIPE:
Ingredients:
- 1 cup of butter, softened
- 1 cup of acorn butter (or almond butter) at room temperature
- 1 cup of white sugar
- 1 cup of brown sugar
- 2 eggs (room temperature)
- 2 teaspoons of vanilla extract
- 2 ½ cups of all-purpose flour
- 1 ½ teaspoon of baking soda
- 1/2 teaspoon of salt
Instructions:
- Add all of the ingredients to a bowl and mix together.
- Preheat oven to 375° F.
- The technique is a bit different here compared to other cookies. You should roll the dough into a ball about half the size of a golf ball and then flatten them with a fork to create grooves in the top. Do this on an ungreased baking sheet.
- Bake them for 10 to 12 minutes at 375° F./190° C. and allow them to cool on the sheet for a couple of minutes before removing them with a spatula to a wire rack for final cooling and hardening.
A Few Tips Before You Grind
- Grind small batches. The same germ oils that make fresh flour so nutritious are also the reason it goes rancid quickly. Whole grain stores for years, but once you break it open into flour, the clock starts ticking. Grind what you'll use in the next few weeks rather than milling a big supply all at once.
- Freeze your grain first. Bulk whole grain sometimes carries weevil eggs you'd never notice. Sealing the grain in a bag and freezing it for three or four days kills them off before you move it into long-term storage.
- Sift and re-mill. Home mills often leave behind a few coarse bits of hull or bran. If you want a finer flour, run it through a sifter and send the coarse leftovers back through the mill for a second pass.
- Mind your mill. Hard grains like rice and dried corn can be tough on some stone-burr and hand-crank mills. Check your mill's manual before you feed them through, and start on a coarse setting to be safe.
Home-Ground Flour Storage and Shelf-Life
Store your flours and meals in a resealable plastic bag, covered plastic container, or canning jar. Nut butter should be stored in a sterilized canning jar.
Flours are okay in the pantry, meals either in the refrigerator or freezer, and nut butters in the fridge. Pantry kept flours are good for 4 weeks.
Fridge kept meals and butters for 2 months, and freezer kept flours, meals or butters for 6 to 12 months.
You May Also Like:
The post 10 Foods You Can Turn Into Flour appeared first on Homestead Survival Site.
from Homestead Survival Site https://ift.tt/P6DJETw
No comments:
Post a Comment