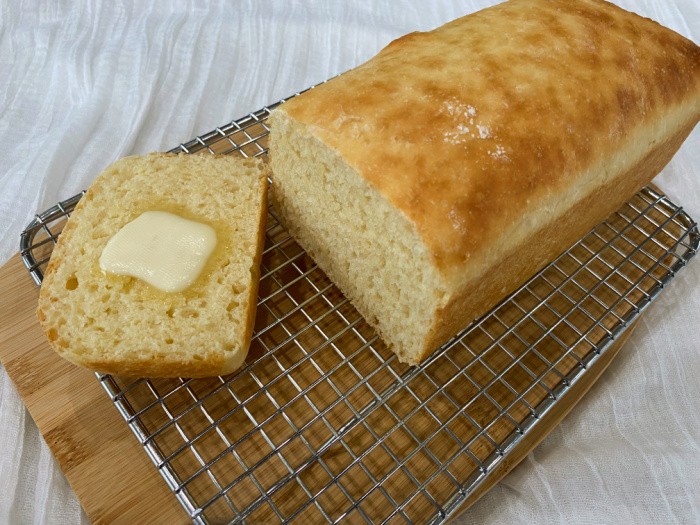
Today, I’m sharing my easy-to-make bread for one person, or two. Either way, this recipe doesn’t require a bread maker or a bread machine.
Do you love the smell of bread baking in your oven, but it seems like too much work to make just one loaf? I really hope you love this recipe because if you have FRESH ingredients, this recipe is another no-fail option!
The Skill Every Family Needs
There was a time when almost every home knew the smell of fresh bread baking. Grandmothers and mothers passed down the simple steps without a second thought because it was just part of running a household. Somewhere along the way, many families stopped making bread from scratch and started relying completely on the grocery store. I think it’s time we bring this skill back into our homes and teach it to our children and grandchildren.
Learning to make bread is not just about nostalgia. It’s about self-reliance. When you know how to make bread with your own hands, you’re no longer dependent on a grocery store shelf staying stocked. Supply chains can be disrupted by weather, by commodity shortages, by transportation problems, or by events none of us can predict. A loaf of bread made from flour, water, yeast, and salt in your own kitchen doesn’t depend on any of that, as long as you’ve stocked up on those ingredients.
There’s also the matter of money. A homemade loaf costs a fraction of what you pay at the store, and the ingredients to make many loaves take up very little pantry space. When you buy flour and yeast in bulk and store them properly, you’re stretching your food budget while also building a reserve that could matter greatly if things ever got difficult.
And then there’s the survival piece. In an emergency, bread made from basic pantry staples can be one of the most sustaining foods you have. It fills stomachs, it lifts spirits, and it gives a sense of normalcy when everything else feels uncertain. If the day ever comes when the stores are empty, or the power is out for an extended time, knowing how to make bread by hand isn’t just a nice skill to have. It could be essential.
This is why I believe teaching our kids and grandkids to bake bread matters so much. It’s a hands-on lesson in patience, in provision, and in the kind of quiet confidence that comes from knowing you can feed your family no matter what happens around you. Gather them into the kitchen. Let them feel the dough. Let them watch it rise. Give them this gift now so that one day they can pass it on to their own children.
One more thing about this recipe. Fresh ingredients truly are critical for a no-fail loaf of bread. Old yeast that’s lost its potency won’t give you a good rise, and flour that’s been sitting open too long can throw off the texture of your loaf. Check the expiration date on your yeast, store your flour in a sealed container, and always use fresh ingredients for the best results every time.
Here’s the deal with fresh ingredients: if you have your yeast in the pantry and it’s a year old, you won’t like making bread. I recommend storing ONLY yeast that you will use within a month or two in your fridge. Any longer, it must go in the freezer.
Now onto the flour. This may raise some eyebrows, but it’s my recommendation for making bread successfully. I only store bread flour that I will use in the next 9-12 months. It’s all about fresh flour.
All-purpose flour or Bread Flour
Years ago, I used all-purpose white flour, and then I taught classes at a couple of high-end kitchen stores. I taught people how to make bread, dinner rolls, and cinnamon rolls, to name just a few things. I loved doing this!
Well, I learned about BREAD flour, and my bread-making changed forever. Yes, I still grind wheat to make my whole-wheat bread, but I love white bread too! Sometimes you just want a slice of warm bread right out of the oven, slathered with butter and some jam.
Gotta love it, right? My goal this next year is to teach more skills in the kitchen, and this recipe is just the beginning. Let’s have fun together!
Bread Pan Sizes
When I was growing up, my mother used large bread pans (approximately 9-1/2 inches by 5-1/12 inches by 2-3/4 inches). Well, back then there weren’t a lot of choices for bread pans. It was like one size fits all.
One day, I was going to a Bosch store in Logan, Utah, and I saw these small bread pans on the shelf. I had to buy them. I tried them the next time I was baking bread, and I was sold. I ended up buying 8 small bread pans. My daughters use the same size pans. These are very similar to the ones I have, Fat Daddio Bread Pans. (7.75 x 3.75 x 2.5 Inches)
You may wonder why I need a smaller bread pan. Well, you don’t have to have them, but today’s recipe is for a small loaf because homemade bread doesn’t have preservatives. It goes bad faster than store-bought bread.
Mark and I can’t eat a large loaf fast enough, so the small pans are perfect for us. Let me know if you use smaller bread pans; I love to hear from you.
In case you missed these posts:
Kitchen Items You May Need
- Mixing Bowl
- Danish Whisk
- Measuring Cups
- Measuring Spoons
- Bread Pan (7.75 x 3.75 x 2.5 Inches)
Easy-to-Make Bread For One
Step One
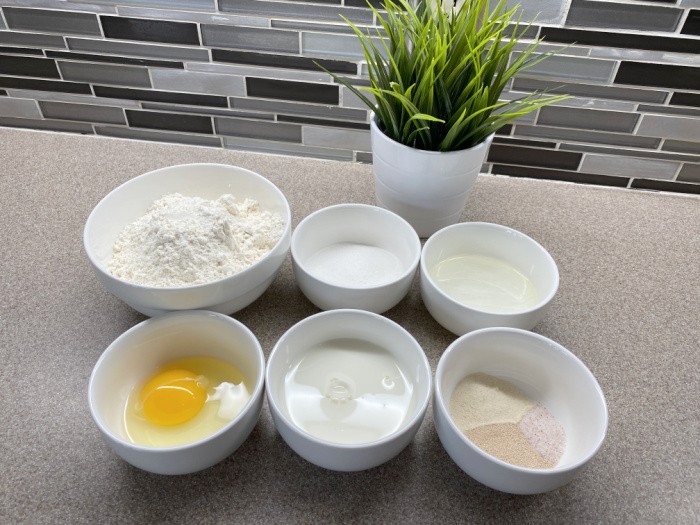
Gather your ingredients so you’re ready to get started making this recipe.
Step Two
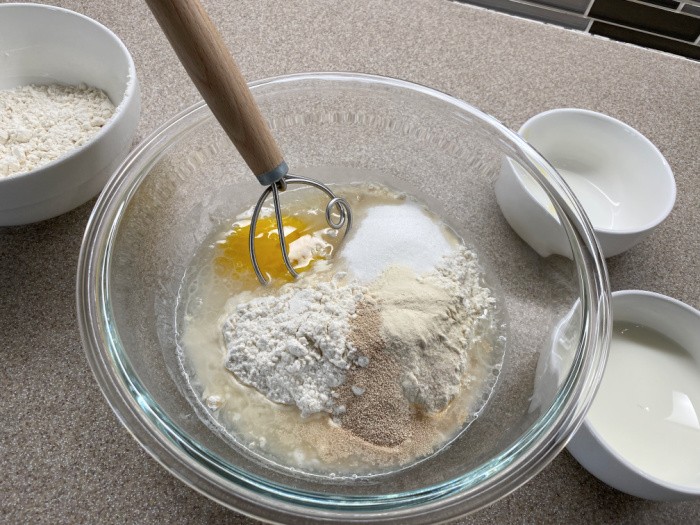
Grease a 7.75 x 3.75 x 2.75-inch bread pan and set it aside. Grab a bowl and a Danish Whisk. Dump everything in a large mixing bowl.
Step Three
Stir until mixed thoroughly. Add additional flour to the mixture if needed if the dough is too sticky. Don’t add too much at a time; we want the dough to make fluffy loaves.
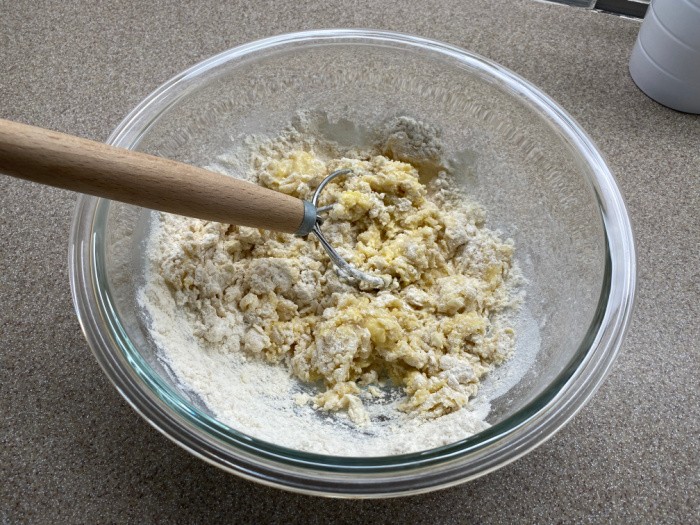
Step Four
Flour your countertop and scoop the dough out onto the countertop. Knead for about 3-4 minutes. Roll the dough out and shape it into a loaf.
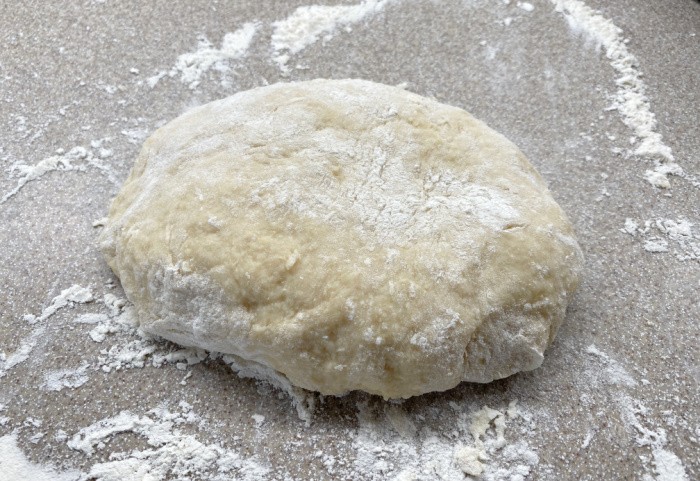
Step Five
Place the loaf in the greased bread pan.
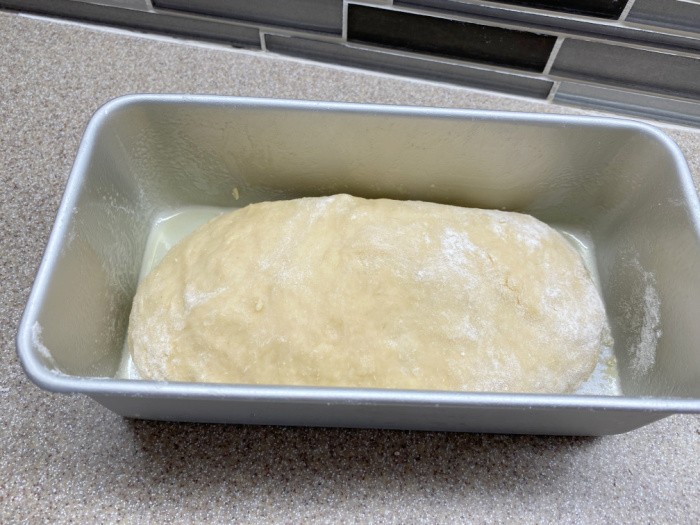
Step Six
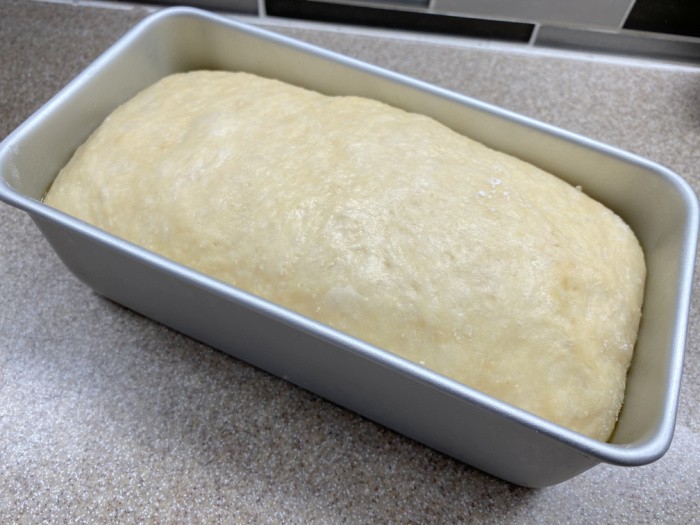
Cover with plastic wrap or a warm, wet towel. Let it rise for about an hour.
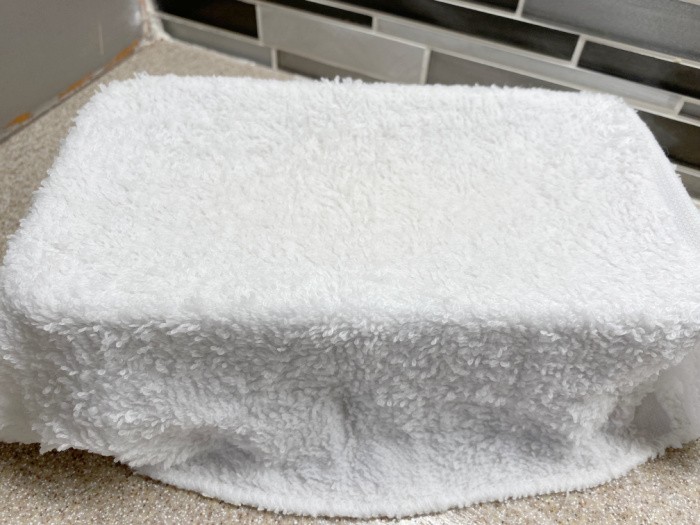
Step Seven
This is what it looks like after it rises for an hour or so. It’s ready to bake.
Step Eight
Preheat the oven to 350°F = (176°C). Bake for 20-25 minutes, or until slightly brown. Lightly butter the top after baking if you want a soft crust. I use a baggie slathered with butter to spread on the top. Let it cool. Store in a bag to keep the bread soft. Enjoy.
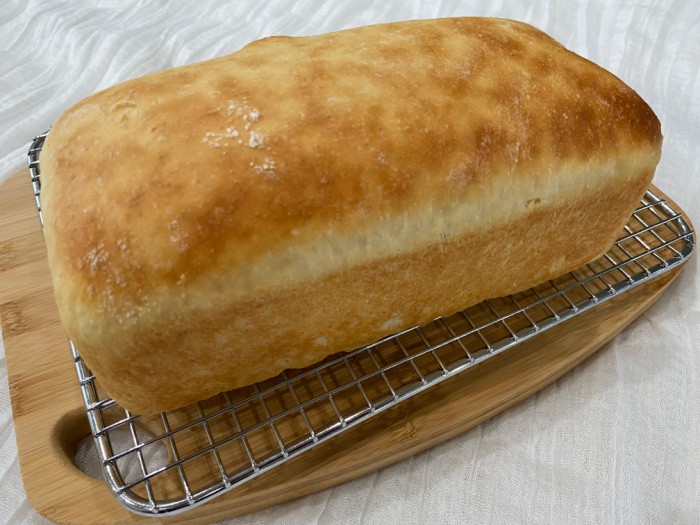
Finished Product: They look so delicious.
Easy To Make Bread For One Recipe
Easy To Make Bread For One
Ingredients
- 1/2 cup warm milk
- 1 teaspoon SAF Instant Yeast (this is what I use)
- 1 teaspoon Dough Enhancer (optional-it makes the bread fluffy)
- 1/2 scant teaspoon salt
- 4 tablespoons sugar
- 1 egg
- 1 tablespoon oil
- 4 tablespoons water
- 1-3/4 to 2 cups white flour (I use bread flour)
Instructions
- Grease a 7.75 x 3.75 x 2.75-inch bread pan and set it aside. Grab a bowl and a Danish Whisk.
- Dump everything in a large mixing bowl. Stir until mixed thoroughly. Add additional flour if needed to the dough if the dough is too sticky. Do not add too much, we want the dough to make fluffy loaves.
- Flour your countertop and scoop the dough out onto the countertop. Knead for about 3-4 minutes.
- Roll the dough out and shape it into a loaf. Place the loaf in the greased bread pan. Cover with plastic wrap or a warm wet towel. Let rise for about an hour.
- Preheat the oven to 350°F = (176°C). Bake for 20-25 minutes, or until slightly browned.
- Lightly butter the top after baking if you want a soft crust. I use a baggie slathered with butter to spread on the top. Let it cool. Store in a bag to keep the bread soft. Enjoy.
How do I store a loaf of bread?
I store my bread in Bread Bags and leave the bread on the countertop. If you place your bread in the refrigerator, it could dry out.
Can I freeze the dough before baking?
I have never frozen the uncooked dough, so I can’t recommend it.
Can I freeze the bread after baking it?
Yes, you can. In my regular bread recipe, I make 8 loaves; I freeze 7 loaves for 1-2 months. I freeze them in bread bags, nothing else.
What bread bags should I use?
Any clean bag will work, but I make so much bread I stock bread bags and ties. Bread Bags
Can I use Gluten-Free flour to make this bread?
Unfortunately not, I actually called King Arthur’s Flour customer service a few years ago to see if their 1:1 (measure for measure) gluten-free flour would work. They said no; it is only designed for cakes, cookies, and sweet breads, not yeast bread recipes.
Bread Making Is Easier Than You May Think
No-Knead Homemade Bread Recipe
Final Word
Bread making is one of those quiet skills that carries far more weight than most people realize. It saves money, it builds self-reliance, and it gives your family something to fall back on if life ever throws a disaster your way. Take the time this week to make a loaf with your kids or grandkids in the kitchen. Teach them the feel of good dough and the patience of watching it rise. It’s a gift that keeps giving for generations.
I hope you enjoyed my easy-to-make bread-for-one post today. There is nothing like the smell of bread baking in the oven. We really enjoy warm bread right out of the oven with just butter. You may enjoy putting some fruit jam on a slice of the bread. It also makes great toast, peanut butter and jam sandwiches, or most any sandwich. My goal is to teach others how to make bread, cook from scratch, and LOVE it! Thank you from the bottom of my heart for reading my blog. May God bless this world. Linda
The post Easy-to-Make Bread For One appeared first on Food Storage Moms.
from Food Storage Moms
No comments:
Post a Comment