Estimated reading time: 6 minutes
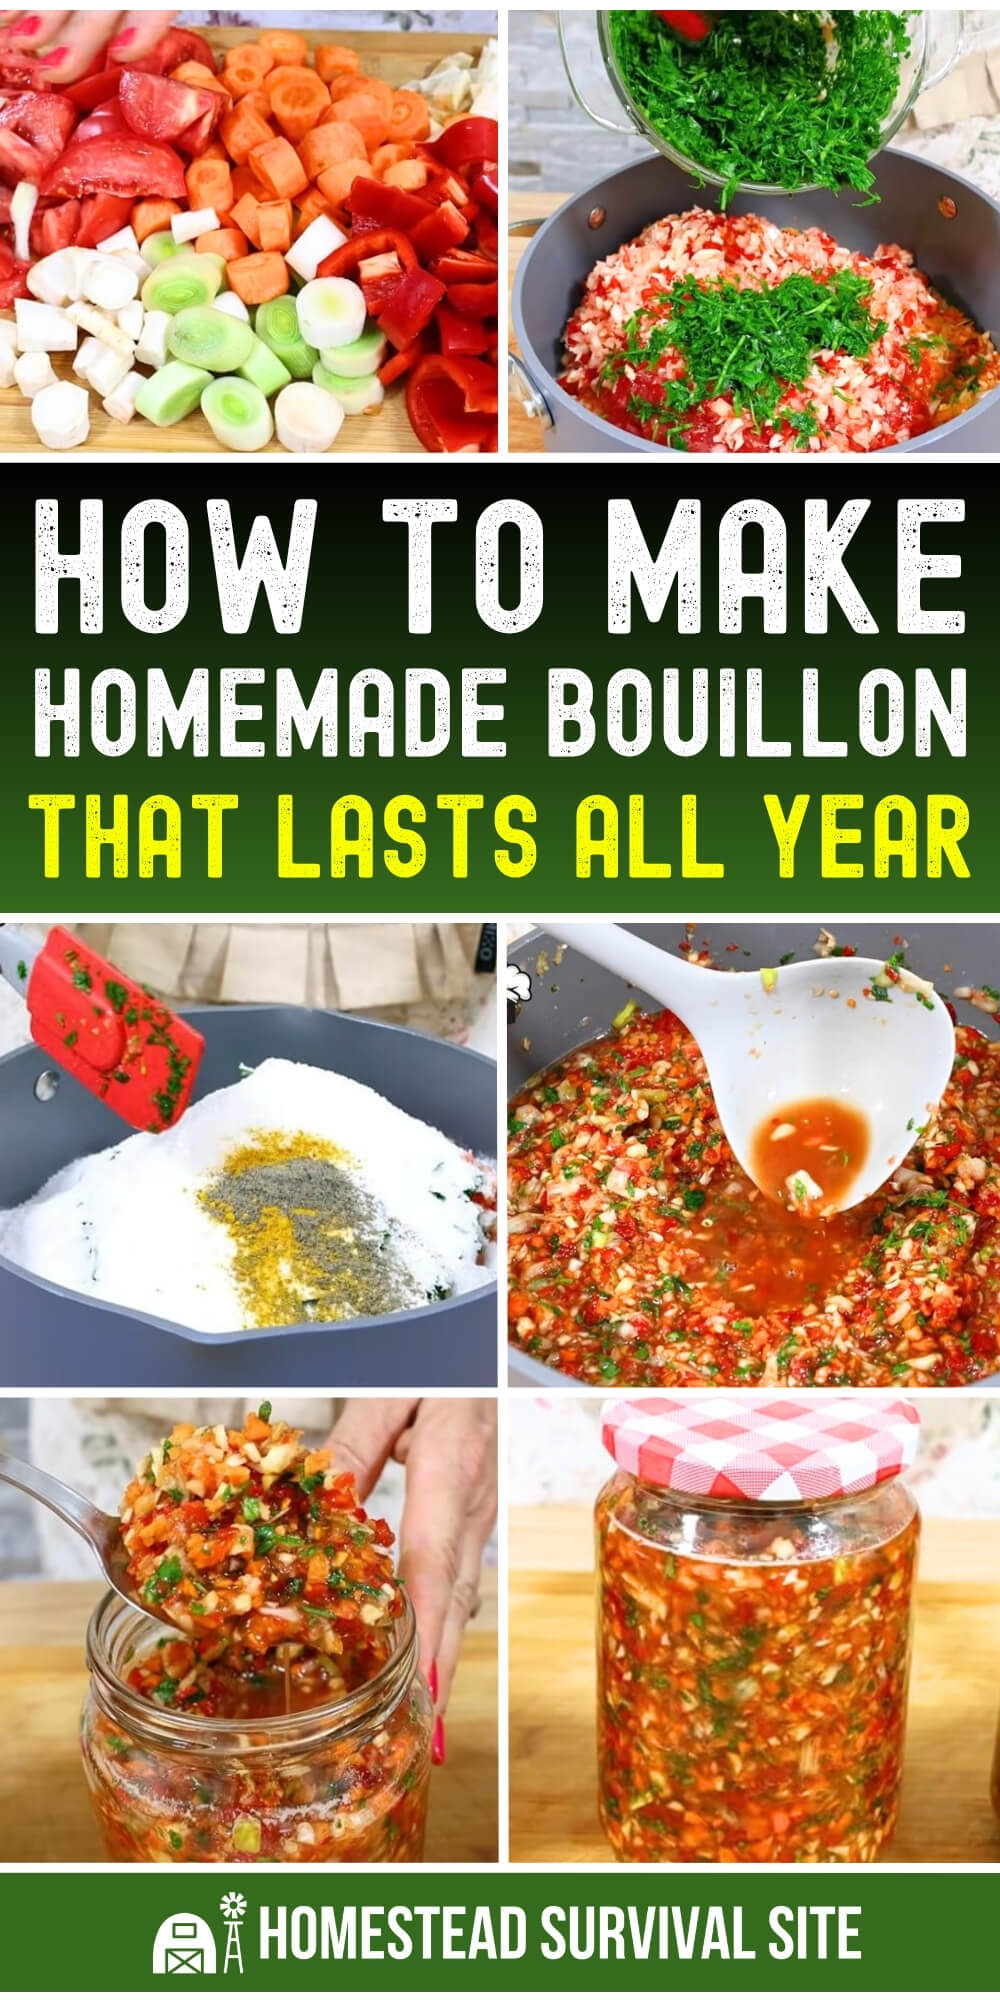
Have you ever actually read the label on store-bought bouillon cubes? It's not pretty. Most of them are loaded with salt, artificial flavors, artificial colors, and a lineup of industrial preservatives you'd never keep in your own pantry.
A lot of them lean hard on MSG and “natural flavoring” to fake the taste of real vegetables and herbs, because there often isn't much actual food in there to begin with. You're basically paying for seasoned salt dressed up to look like soup.
Fortunately, making your own is easier than you'd think, and you don't even have to turn on the stove. This is a no-cook method, which means your vegetables keep their fresh color, smell, and flavor instead of getting dulled down by heat. All you're really doing is chopping, grinding, mixing in salt, and jarring it up.
The salt does the heavy lifting as a natural preservative, so a batch will keep for up to a year without a single artificial ingredient. Once you've got a few jars stashed away, you'll always have real bouillon on hand for soups, stews, sauces, rice, and meat dishes.
Want to save this post for later? Click Here to Pin It On Pinterest!
I found this particular tutorial on the YouTube channel My Kitchen Tanja, and it's a simple, straightforward method that's easy to follow. You can watch her do it and read the instructions below.
What You'll Need
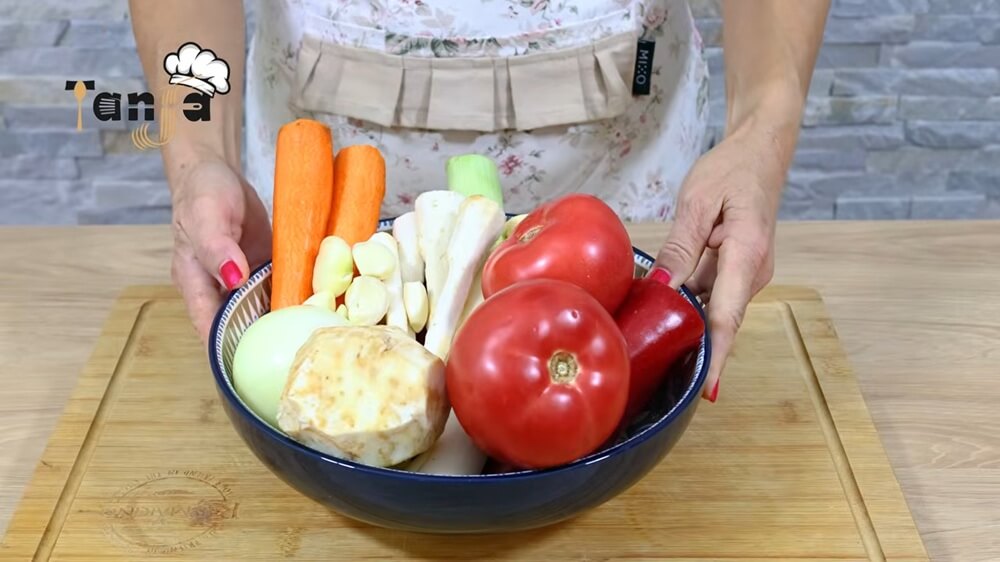
Vegetables:
- 400g carrots
- 100g onion
- 150g parsnips
- 100g leeks
- 300g red pepper
- 250g tomatoes
- 200g celery root
- 50g peeled garlic
- 50g celery leaves
- 50g parsley
Seasoning and preserving:
- 400g salt
- ½ teaspoon turmeric
- ½ teaspoon black pepper
Equipment:
- A food processor or grinder
- A large mixing bowl or pot
- Glass jars with lids
A quick note on the salt before you start: it's not just for flavor. The salt is what keeps the bouillon shelf-stable all year. The rule of thumb is that salt should make up at least 20% of the total weight of your ingredients. You can swap vegetables in and out based on what you've got, but don't skimp on the salt or your bouillon won't last.
Step-by-Step Instructions
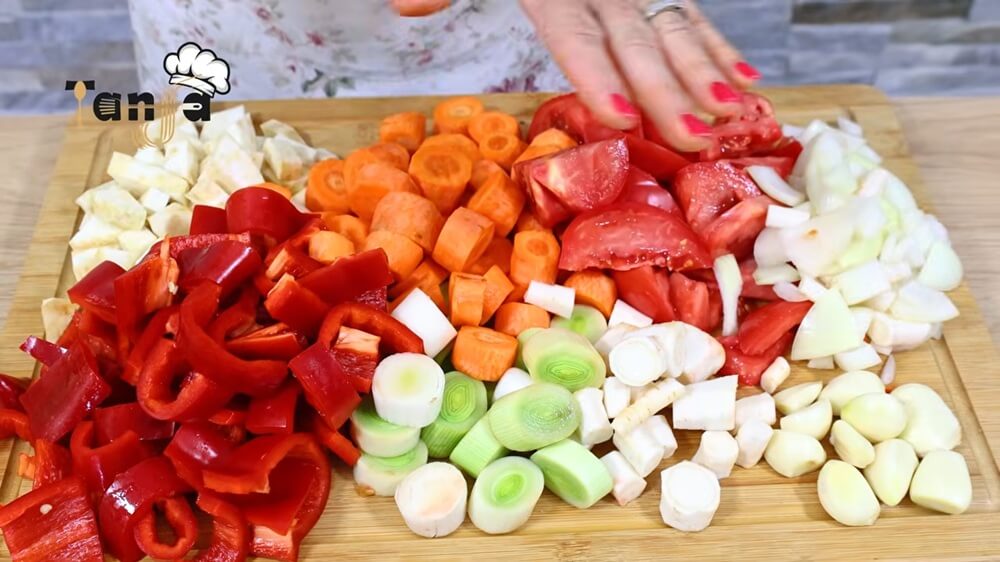
Step 1: Wash and Prep Your Vegetables
Give everything a good wash and clean it thoroughly. Then chop all your vegetables into smaller pieces so they'll be easier to grind. Don't stress about being precise here, since it's all getting ground up anyway.
Step 2: Grind the Vegetables
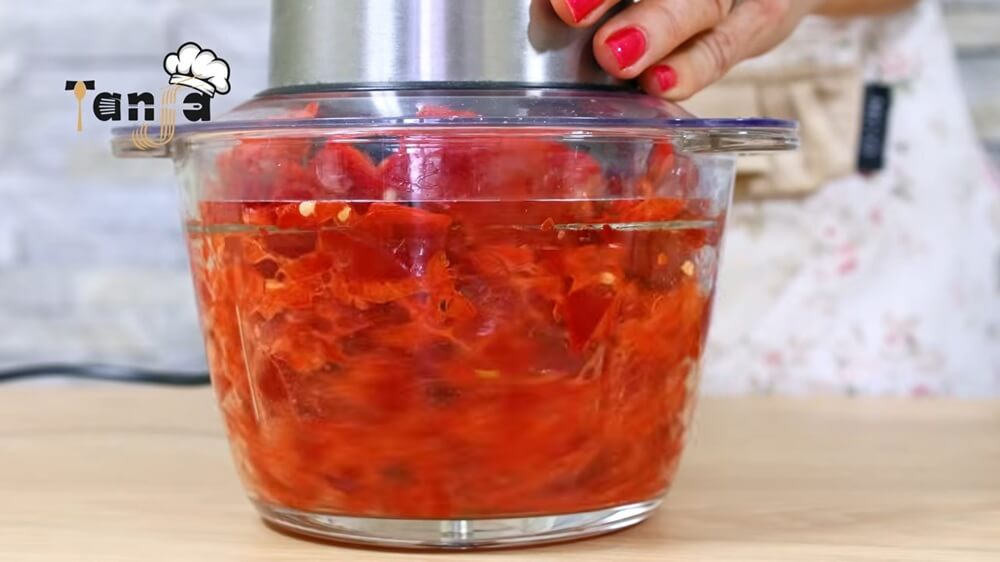
Working in batches, grind the chopped vegetables finely. Add them to your large bowl or pot as you go. Don't worry when the tomatoes turn things watery, that's totally normal and part of how this works. Remember, you're grinding, not cooking, and that's exactly what keeps the mix fresh and vibrant.
Step 3: Add the Herbs
Grind up your 50g of celery leaves and 50g of parsley along with the rest, then mix them into the vegetables.
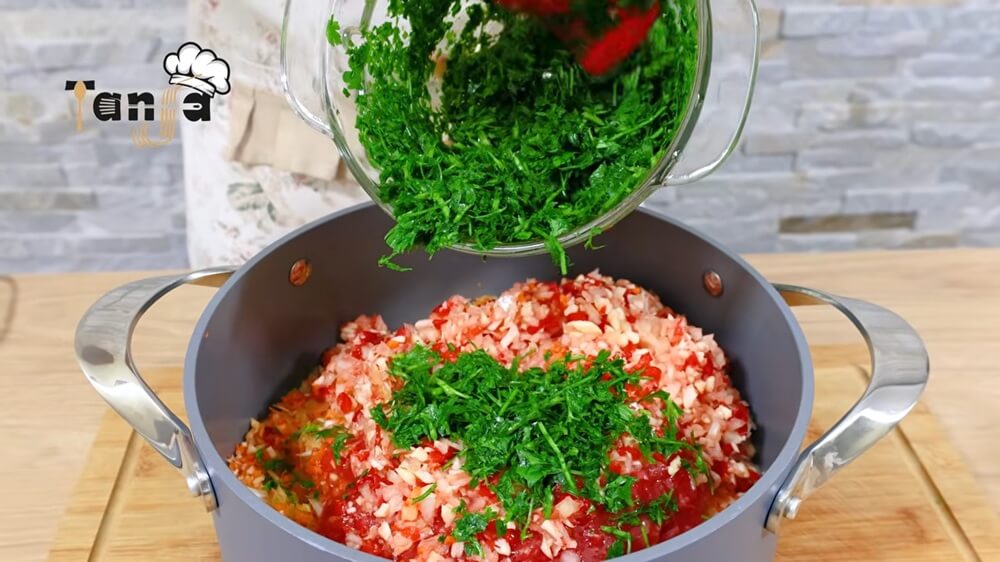
Step 4: Add Salt and Seasonings
Now add the 400g of salt, the half teaspoon of turmeric, and the half teaspoon of pepper. Stir everything together really well so the salt and spices are evenly distributed throughout the whole batch.
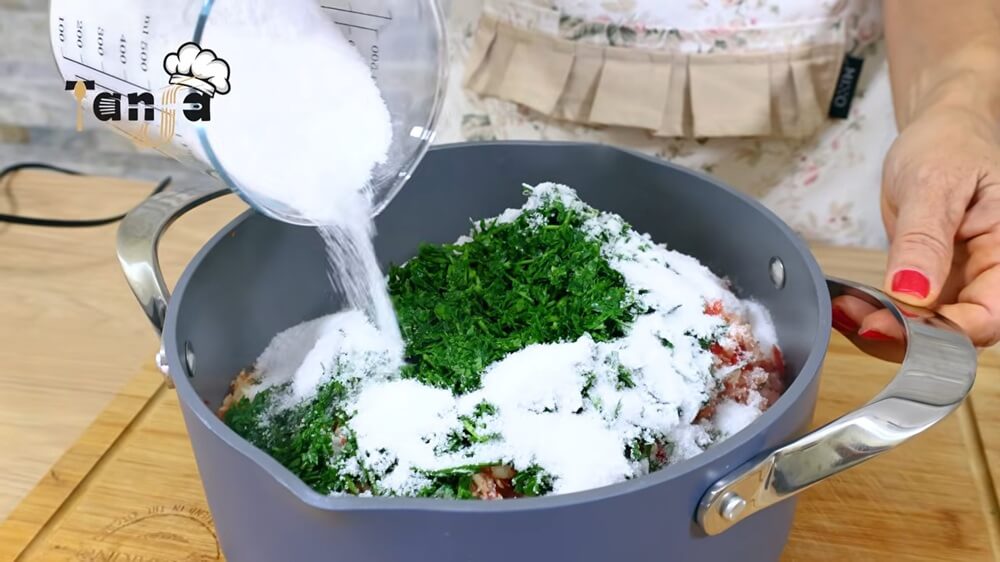
Step 5: Let It Rest
Cover the bowl and let it sit for 30 minutes. During this time, the salt pulls the water out of the vegetables and starts working its preserving magic. When the time's up, you'll have a thick, wet vegetable mixture ready to jar.
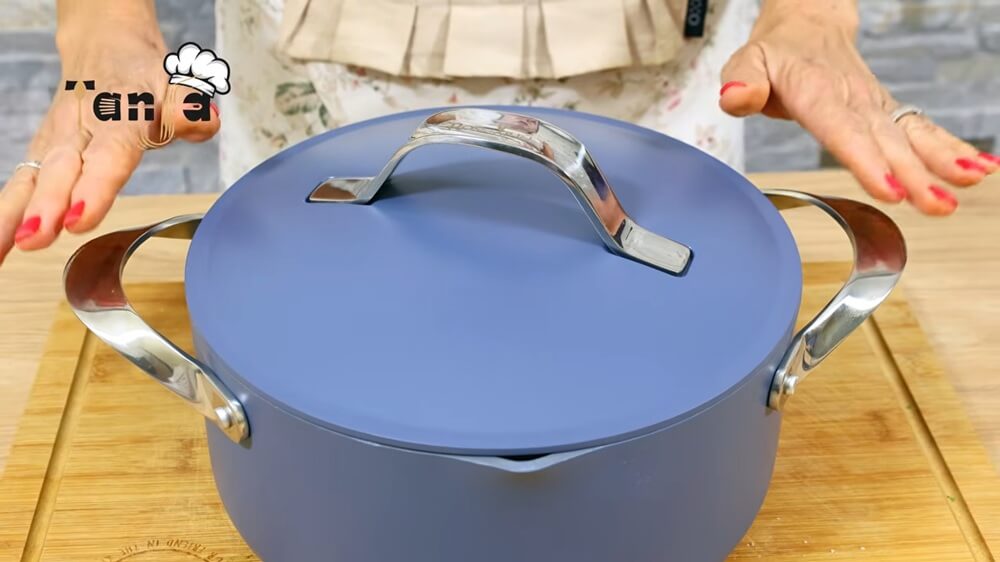
Step 6: Sterilize Your Jars and Lids
While the mixture rests, get your jars ready. Sterilize the jars in the oven at 100°C (about 212°F) for 30 minutes, and boil the lids in water for 10 minutes. Clean, sterile jars are important for making sure your bouillon keeps as long as it should.
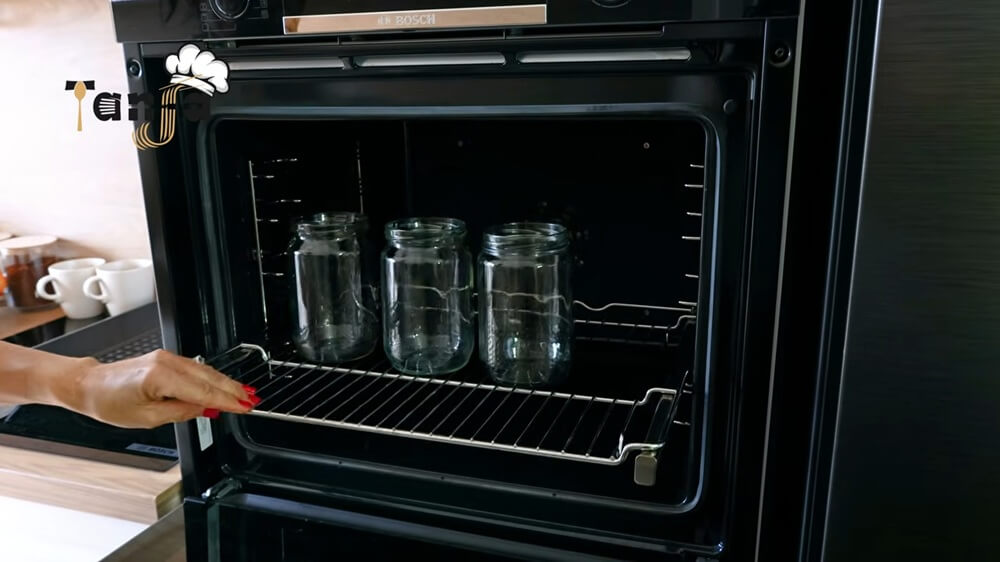
Step 7: Fill and Seal the Jars
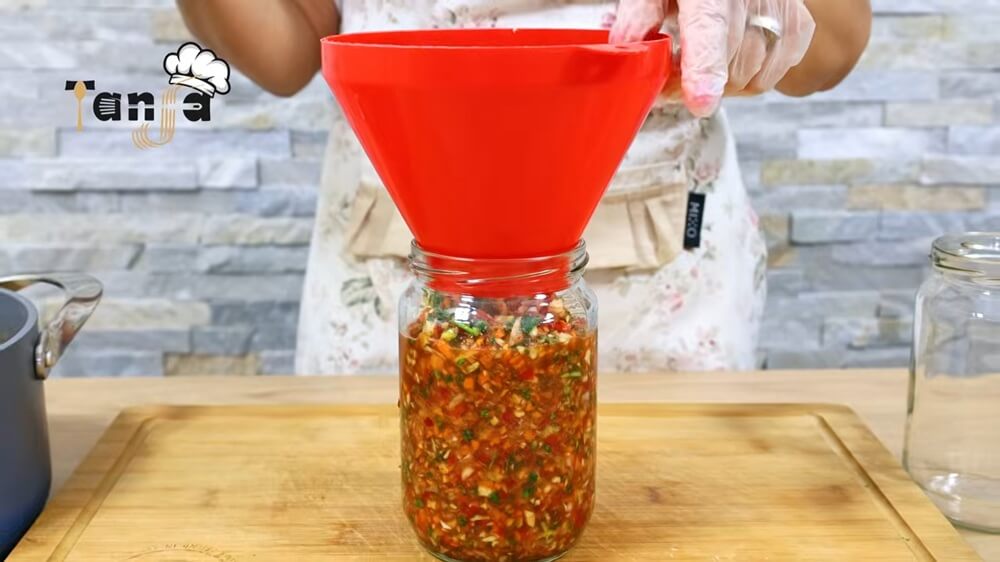
Spoon the vegetable broth into your sterilized jars. Press the mixture down as you fill to squeeze out any trapped air pockets, then seal each jar tightly with a sterilized lid.
Step 8: Store It
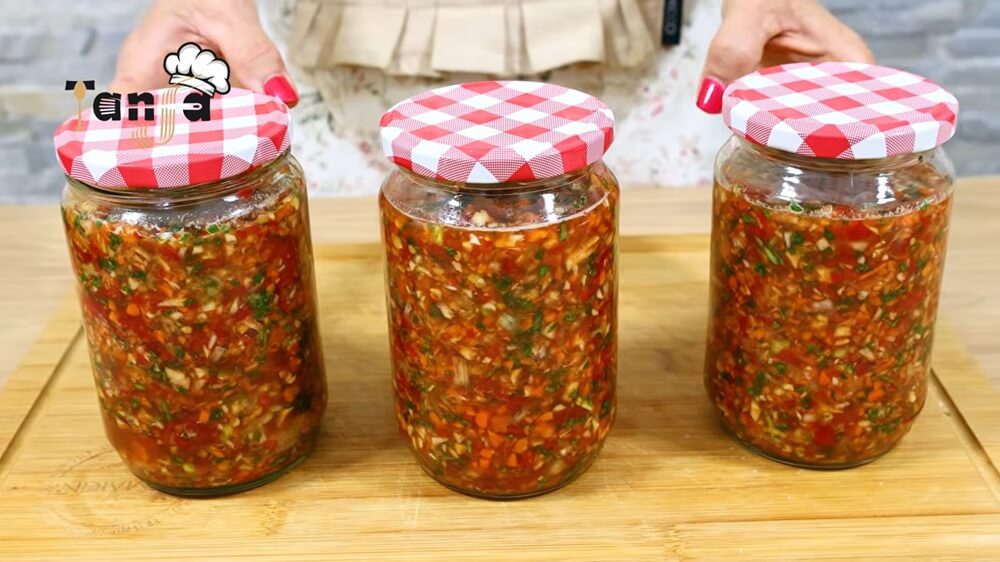
Keep your jars somewhere dark and cool. A basement is ideal, but any cool pantry or cellar spot will do. Stored properly, your homemade bouillon will last up to a year.
How to Use It
Use this homemade bouillon anywhere you'd normally reach for a store-bought cube. Stir a spoonful into soups, stews, and sauces, or use it to season rice and meat dishes.
Since it's already loaded with salt, start with a small amount and taste as you go so you don't oversalt your cooking. You'll likely find the flavor is richer and fresher than anything that comes wrapped in foil.
Like this post? Don't Forget to Pin It On Pinterest!
You May Also Like:
The post How to Make Homemade Bouillon That Lasts All Year appeared first on Homestead Survival Site.
from Homestead Survival Site https://ift.tt/w9WlZx4
No comments:
Post a Comment