Wednesday, April 29, 2026
Homemade Bone Broth Recipe and Instructions
Estimated reading time: 8 minutes

It’s a Prehistoric Recipe that Has Emerged as Today’s Health Food.
Bone broth is exactly what it sounds like: A broth made from bones, although some contemporary recipes add vegetables for flavor and added nutrients. From a culinary standpoint, it’s the fundamental recipe for a stock that is often used in soups, stews, and gravies.
As more and more people looked at the nutritional profile of bone broths, they started to notice certain elements and nutrients that have been shown to have health benefits in other occurrences. Some clinical studies soon followed, and the evidence began to grow indicating that bone broth was in fact a nutritious addition to a diet and had distinctive health benefits.
Want to save this post for later? Click Here to Pin It On Pinterest!
But Buyer Beware
While there are indications that bone broth can provide good nutritional benefits and contribute to overall health, some of the claims made about it are a bit outlandish. It may relieve some symptoms of osteoarthritis but to date, there are no credible clinical studies that prove it can cure it.
That notwithstanding, bone broth does possess an impressive list of nutrients including:
- Calcium
- Magnesium
- Potassium
- Phosphorous
- Iodine (fish bones)
- Glucosamine
- Chondroitin
- Collagen
- Vitamin A
- Vitamin K2
- Zinc
- Iron
- Boron
- Manganese
- Selenium
- Omega-3 fatty acids
- Omega-6 fatty acids
- Protein
- Amino acids including glutamine, glycine, and arginine
That’s quite a list for a simple recipe of water and bones and that doesn’t include any of the vitamins or minerals that would occur if vegetables were added.

So What’s the Benefit?
Some benefits you may already know. Many of the vitamins and minerals that show up in standard vitamin and mineral supplements occur in bone broth. Things like Vitamin A, calcium, selenium, iron and zinc.
It’s some of the unique things like collagen, chondroitin, and some of the amino acids that start to take bone broth to another level. These compounds, micronutrients, and amino acids are resident in the bone, marrow, and connective tissue attached to some bones.
Many studies have focused on the health benefits of these nutrients and some of the findings were highly encouraging.
- According to one study by the National Institute of Health, glucosamine and Chondroitin support overall joint health.
- Another NIH study identified the collagen in bone broth as a beneficial nutrient for both bone and joint health.
- There are some indications that the glutamine in bone broth can help to protect and heal the lining of the digestive tract.
- Bone broth was also shown to be an anti-inflammatory.
- Significantly, multiple studies demonstrated a decrease in joint pain and the symptoms of osteoarthritis. It’s not a cure, but it was shown to help.
- Finally, studies were done that indicated bone broth had a calming and relaxing benefit that can aid someone suffering from insomnia.
None of the studies promised a miracle cure for anything, but given the range of credible evidence for the benefits of bone broth, it’s worth considering as a regular supplement to most diets.
The standard caution is that if you have a chronic condition and are under a doctor’s care, you should consult with your doctor first. Here’s the nutritional information for a standard 8-ounce cup of beef bone broth:
- Calories: 31
- Protein: 5 grams
- Fat: 12 grams
- Carbohydrates: 3 grams
- Fiber: 0 grams
- Sugar: 1 gram
Let’s Make Bone Broth
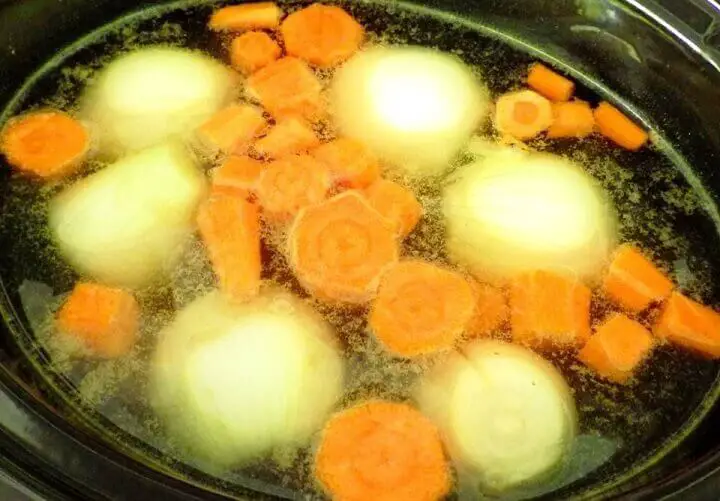
The recipe is fairly simple and you’ll spend most of the time occasionally peeking at a simmering pot on the stove or crockpot. There are a couple of preliminary steps that are a touch fussy, but overall it’s a very simple recipe.
Let’s Start with the Bones
Beef bones tend to show up as the most popular bone source for bone broth but our ancestors used bones from birds to buffalo to fish. You can too although fish bones are going to give the overall broth a bit of a fishy flavor but their bones are a great source of iodine.
It’s all up to you but mixing multiple bones from beef, pork and poultry probably wouldn’t be all that noticeable from a flavor standpoint.
You can often buy beef bones from your local butcher. They’re sometimes sold in the meat counter as doggy treats although many markets sell them specifically for broth and call them “soup bones.” You may even find a local butcher who will give you the bones for free, but even if you have to pay for them they’re usually very inexpensive.
Anytime you roast a chicken or turkey, save the carcass. Many of us use a turkey carcass for an after Thanksgiving turkey soup but even a Sunday evening roast chicken can make a great bone broth on Monday.
If you want the most nutrient-dense broth, pay attention to the types of bones you're using. Knuckle bones and feet are loaded with collagen and will give you that thick, gelatinous broth that's a sign of a quality batch. Marrow bones add a rich, deep flavor. Neck bones are another solid option. A combination of knuckle bones for collagen and marrow bones for flavor is hard to beat.
Use what you have available and if you like the taste, make it again.
Vegetables?
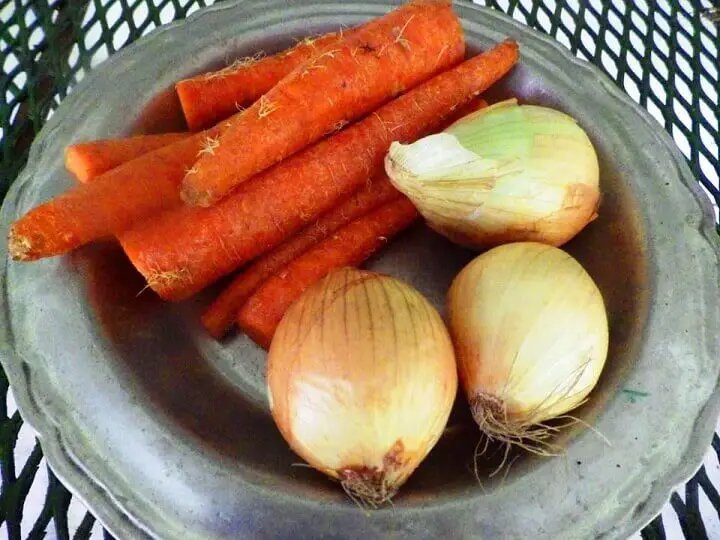
Vegetable are an option. They’re the standard addition to a stock including carrots and onions. Again, up to you. You can make it straight with just the bones or take it up a notch with some vegetables.
Some recipes call for the addition of garlic and some herbs, but be careful with those. You’re going to be simmering your bone broth for hours and hours and over time, things like garlic and herbs can overpower the broth. If you want to add some herbs or garlic, make sure you add them towards the last hour or two of simmering.
And Then Just Add Water
You’ll need at least a couple of gallons but it will reduce as you go.
Before You Start…
Roasting
There’s a roasting step that’s important before boiling and simmering begins. Roasting the bones and the vegetables (if you’re using them) caramelizes them and gives a rich, brown color to the broth. It’s not critical to the final result but the flavor and the translucent brown color are worth the extra step.
Blanching
One more optional step worth knowing about: blanching. Before you roast, you can cover the raw bones with cold water, bring them to a boil, dump the water, and rinse the bones. This draws out a lot of the impurities that would otherwise show up as scum later. It's an extra 15 minutes but it means less skimming and a cleaner finished broth.

Bone Broth Recipe
Ingredients
- 4 Pounds Beef soup bones
- 3 Medium onions (quartered)
- 6 Medium carrots (chopped)
- 8-10 Peppercorns
- 2 TBS Apple cider vinegar You won’t taste it in the finished broth and it helps to draw the nutrients from the bones.
- Cold water Enough to cover all of the ingredients in the pot with room to spare.
Instructions
-
Preheat the oven to 450 degrees F.
-
Arrange the bones and vegetables on a roasting pan
-
Roast on the upper rack of the oven for an hour or until the bones and vegetables have a brown, caramelized color on the edges.
-
Drain any fat from the roasting pan.
-
Use some tongs to place the bones and vegetables into a large stock pot.
-
Scrape any bits from the bottom of the pan into the pot. You could also pour a ½ cup of hot water into the pan and scrape it around before pouring into the pot.
-
Add water and the vinegar to the pot covering the bones by at least a couple of inches.
-
Bring the uncovered pot slowly to a boil and skim the scum off the top while it comes to a boil over 30 minutes. That scum is coagulated proteins and impurities releasing from the bones. It won't hurt you if you don't skim it, but removing it gives you a cleaner, better-looking broth.
-
Cover the pot and reduce the heat to simmer. You can transfer everything into a crock pot if that’s easier to manage.
-
Simmer on low heat for 6 to 24 hours. The longer the better. Check the pot every now and then and skim any new scum. Add a little water if it starts to boil away.
-
When done, use a slotted spoon and tongs to remove the bones and vegetables and discard them.
-
Strain the broth through cheesecloth in a colander to clear out any large bits of vegetable or meat bits.
-
If you want a highly translucent broth you can filter the broth again through a coffee filter in a small colander or large strainer. Totally optional.
Storage
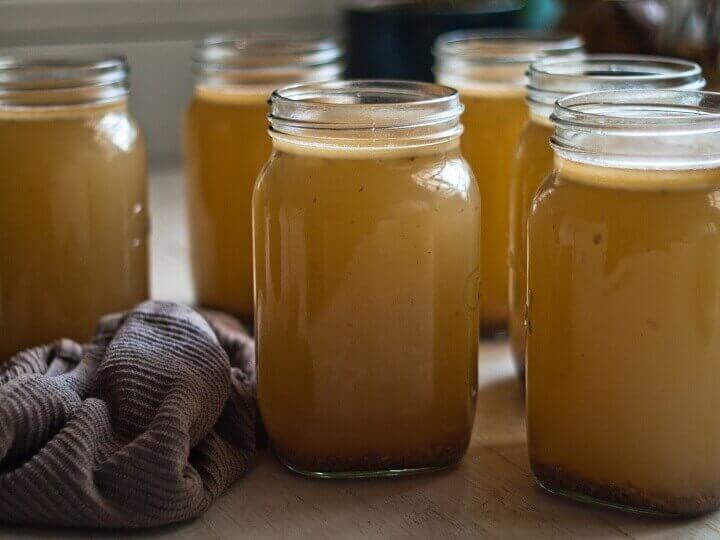
One thing you may want to do is refrigerate your freshly made bone broth overnight. The next morning you’ll see any fat hardened and floating on the top. Skim it off and either keep your bone broth in the fridge or freeze it for later. This will give you a clear, translucent broth unclouded by fat.
You can store your bone broth for up to a week in the refrigerator. If you freeze it the broth will keep for up to 6 months. One way to freeze it is in an ice cube tray. That way you can plop some broth cubes into a soup or stew or microwave them in a coffee cup to the temperature you like.
Is It Supposed to Look Like Jello?
If you pull your broth out of the fridge and it's thick and jiggly like gelatin, that's actually a good sign. It means you extracted a solid amount of collagen from the bones. The more it gels, the better. It will liquify again as soon as you heat it up. If your broth stays liquid in the fridge, it's still nutritious, but it means there was less collagen in the bones or it needed a longer simmer time.
Ways to Use Bone Broth
Beyond soups and stews, there are plenty of ways to work bone broth into your regular cooking. Use it instead of water when cooking rice, quinoa, or other grains for an easy flavor upgrade. Add it to braised meats or use it as the base for a pan sauce.
It's also great for deglazing a pan after searing meat. And plenty of people just heat up a mug of it and drink it straight. It's a warm, savory drink that's a lot more satisfying than it sounds.
Like this post? Don't Forget to Pin It On Pinterest!
You May Also Like:
The post Homemade Bone Broth Recipe and Instructions appeared first on Homestead Survival Site.
from Homestead Survival Site https://ift.tt/yWBzxpF
Car Fire Extinguisher: What You Need and Why It Belongs in Every Vehicle
Most drivers spend years on the road without ever thinking about what they would do if their car caught fire. That is exactly the problem. A vehicle fire can go from small flame to total loss in under two minutes, and by the time emergency services arrive, the window to intervene has already closed. A […]
The post Car Fire Extinguisher: What You Need and Why It Belongs in Every Vehicle appeared first on Ask a Prepper.
from Ask a Prepper https://ift.tt/PoC5qbc
Tuesday, April 28, 2026
13 Sources of Water When the Grid Goes Down
Estimated reading time: 8 minutes
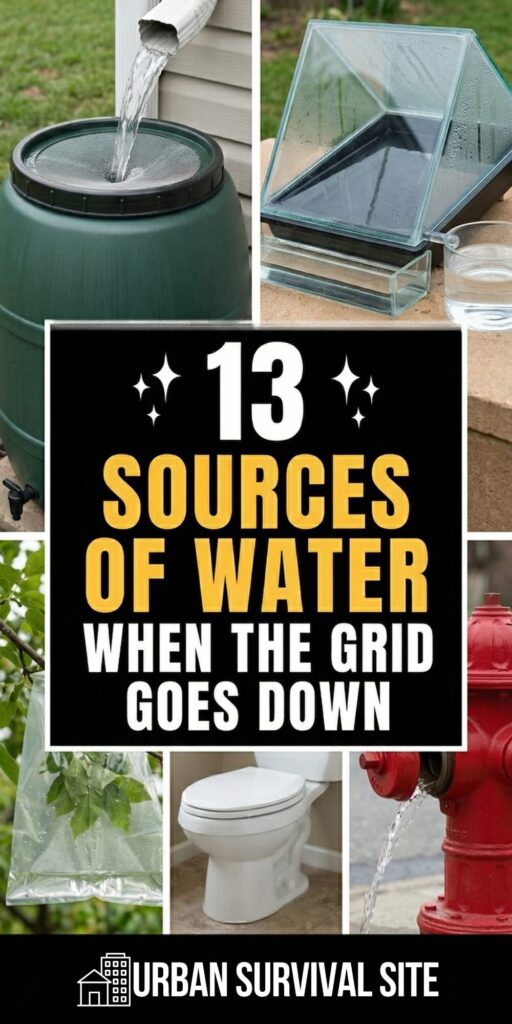
Everyone knows the importance of water in a survival situation. You can only survive without it for three days, but you’ll feel severely dehydrated after just one.
This is why water needs to be one of your biggest priorities. You should stock up on two gallons per day per person, but you should also know how to find and collect water.
Why? Because disasters happen when you least expect, and you could be away from home when the next one strikes. Or worse, your home—along with your water supply—could be destroyed.
In case either of these things happens, you need to know how to collect water. Here, then, are 13 ways to collect water during a disaster.
Natural Water Sources
The first way of finding water is obvious. Simply walk downhill (or toward clusters of bushes and/or trees) until you find a natural source of water in a lake, stream, river, or pond. If you can't find one, try digging a hole about a foot deep. If the soil is moist enough, the hole should fill with a bit of groundwater. Shouldn’t be too hard, right?
Unfortunately, there’s also no guarantee you'll find water this way, which is why you should know about some other methods…
Rainwater
Stretch out a tarp and tie it between four trees. If you can't find four trees near each other, dig a wide and shallow hole in the ground, then lay the tarp over it and hold it in place with a heavy object over each corner.
When the rain falls, it will collect in the middle of the tarp. Pour the water from a tarp to a bucket when it starts to get heavy, then set the tarp back up to collect more rainwater. Repeat this process until it stops raining or you have plenty of water.
Better yet, modify your house's gutters to direct rainwater into barrels with a rain catchment system.
City Parks
Most city parks have fountains, ponds, or streams. Collect as much water as you can but don't drink it yet. Most park water has chemicals and pesticides in it, meaning it’s not safe to drink yet. To remove chemicals from water, it's not enough to simply boil it or use a standard water filter. You'll need a high-quality water purification system.
Check out this article for a few suggestions.
Water Heaters
Water heaters are capable of storing anywhere from thirty to a hundred gallons. Unlike water from city parks, the water in heaters is safe to drink because it has already been treated. The first step you will want to do is plug all the sinks and bathtubs and then run the water until they fill up or until the water quits running. Then you can get into the pipes in the walls and collect the water in there.
It’s going to require a lot of work to break through the walls and access the pipes, but if you’re really thirsty it will be worth the effort. This article explains how to drain a water heater.
Toilets
Yes, if worst comes to worst, you can always access the water in a toilet, at least in the tank. Unless your dog is with you, you probably won't want the water in the bowl of the toilet for obvious reasons.
Most toilets hold anywhere from one and a half up to six gallons of water, so that’s too much water to pass up. You should absolutely boil and filter any water you collect from a toilet before you even think of drinking it.
Most of the water in the tank should be safe to drink (at least according to the CDC), unless someone recently pushed contaminated water back into the tank with a plunger. No one’s saying that it isn’t gross to think about, but if you want to stay alive and have no other water, it might be necessary.
Grocery Stores and Restaurants
Grocery stores and restaurants are goldmines for water. Check walk-in coolers and freezers for ice, which you can melt down and drink. Ice machines in restaurants and hotels are another great source. You'll also find water in unexpected places like the steam trays on buffet lines, the coffee and tea urns behind the counter, and even the pipes running to commercial ice makers.
Don't overlook canned goods either. Canned fruits, vegetables, and soups all contain liquid that can help keep you hydrated in a pinch. It's not a long-term solution, but it could buy you enough time to find a better source.
Office Buildings
Scavenge office buildings and businesses for water dispensers, vending machines, and refrigerators. If you're lucky, you'll also find soda, coffee, tea, chips, pretzels, crackers, and so on.
But don't stop there. Office buildings are full of overlooked water sources if you know where to look. Break rooms almost always have a coffee maker, and there's usually water left in the reservoir. Same goes for any hot water dispensers used for tea. Check the employee refrigerators for water bottles, sports drinks, or anything else people left behind when they evacuated.
Larger office buildings often have their own water storage systems, including rooftop tanks that gravity-feed water down through the building. If the municipal supply has been cut, these tanks may still be holding thousands of gallons. Head to the top floor and work your way up to the roof to check.
Don't forget the HVAC system either. Commercial air conditioning units produce condensate water as a byproduct of cooling the air. In a large office building, this can add up to several gallons a day. Look for the drip pans beneath air handler units, usually found in mechanical rooms or ceiling access panels. The water won't be pretty, but it's usable after filtering and boiling.
Fire Stations and Fire Hydrants
Fire stations are often overlooked as a water source, but they can be one of the best. Most fire stations have large water storage tanks on site, and the building itself will have the same water heaters and pipes as any other structure. If the station has been abandoned, use the same methods described earlier to drain the pipes and water heater.
As for fire hydrants, opening one without the right wrench is difficult, but not impossible. A hydrant wrench (also called a pentagonal wrench or hydrant key) is all you need, and they're cheap enough to keep in your bug-out bag. Even after the municipal water supply fails, hydrants connected to elevated storage tanks or pressurized loops may still have residual water in them.
Solar Stills
The solar still is a classic survival method for collecting water. You’ll need a bucket, some rocks, green leaves, and a plastic sheet such as a tarp or a shower curtain.
Dig a hole about two feet wide and one foot deep, then set your bucket in the middle of the hole and surround it with the green leaves. Spread the tarp over the bucket and secure it with rocks on all four corners. Set a smaller rock in the middle of the tarp so that it weighs down over the bucket.
Over the course of the day, water will drip down into the bucket, and you should have around 150ml of water by the end of a twelve hour time period. Watch the video below for more details.
Transpiration Bags
Another classic water collection method is the transpiration bag. Although this method yields less water than a solar still, it's also less work. All you need is a clear plastic bag and some cordage. Tie the bag around a branch that has lots of green leaves.
Throughout the day, moisture and water will collect in the bag. You can also set a small rock in the bag so that the water collects in one place. NOTE: Make sure the tree you use is not poisonous. The video below describes the method in more detail.
Gathering Dew
In the morning when it’s still moist outside, tie a clean rag around one or both of your feet and walk through an area of green grass where the dew has yet to evaporate. Each rag will become soaked with water which you can then squeeze into a bowl.
Repeat this process until the dew evaporates or you have plenty of water.
Fog Collection
This one sounds unusual, but it works, and in the right conditions it can produce a surprising amount of water. Fog collection is the process of stringing up a mesh screen or net between two posts and letting fog droplets collect on the surface, then drip down into a container below.
Almost any mesh material will work in a pinch, from window screen to shade cloth to even a clean piece of cheesecloth. The finer the mesh, the more water you'll collect. Set it up perpendicular to the wind direction for best results. This method won't do you much good in dry desert air, but if you're in a coastal area, a mountainous region, or anywhere that sees heavy morning fog, it can yield a little bit of clean water.
You May Also Like:
The post 13 Sources of Water When the Grid Goes Down appeared first on Urban Survival Site.
from Urban Survival Site